


Large, heavy duty, two-tier rolling clothes rack. Assembly required. Tips included.
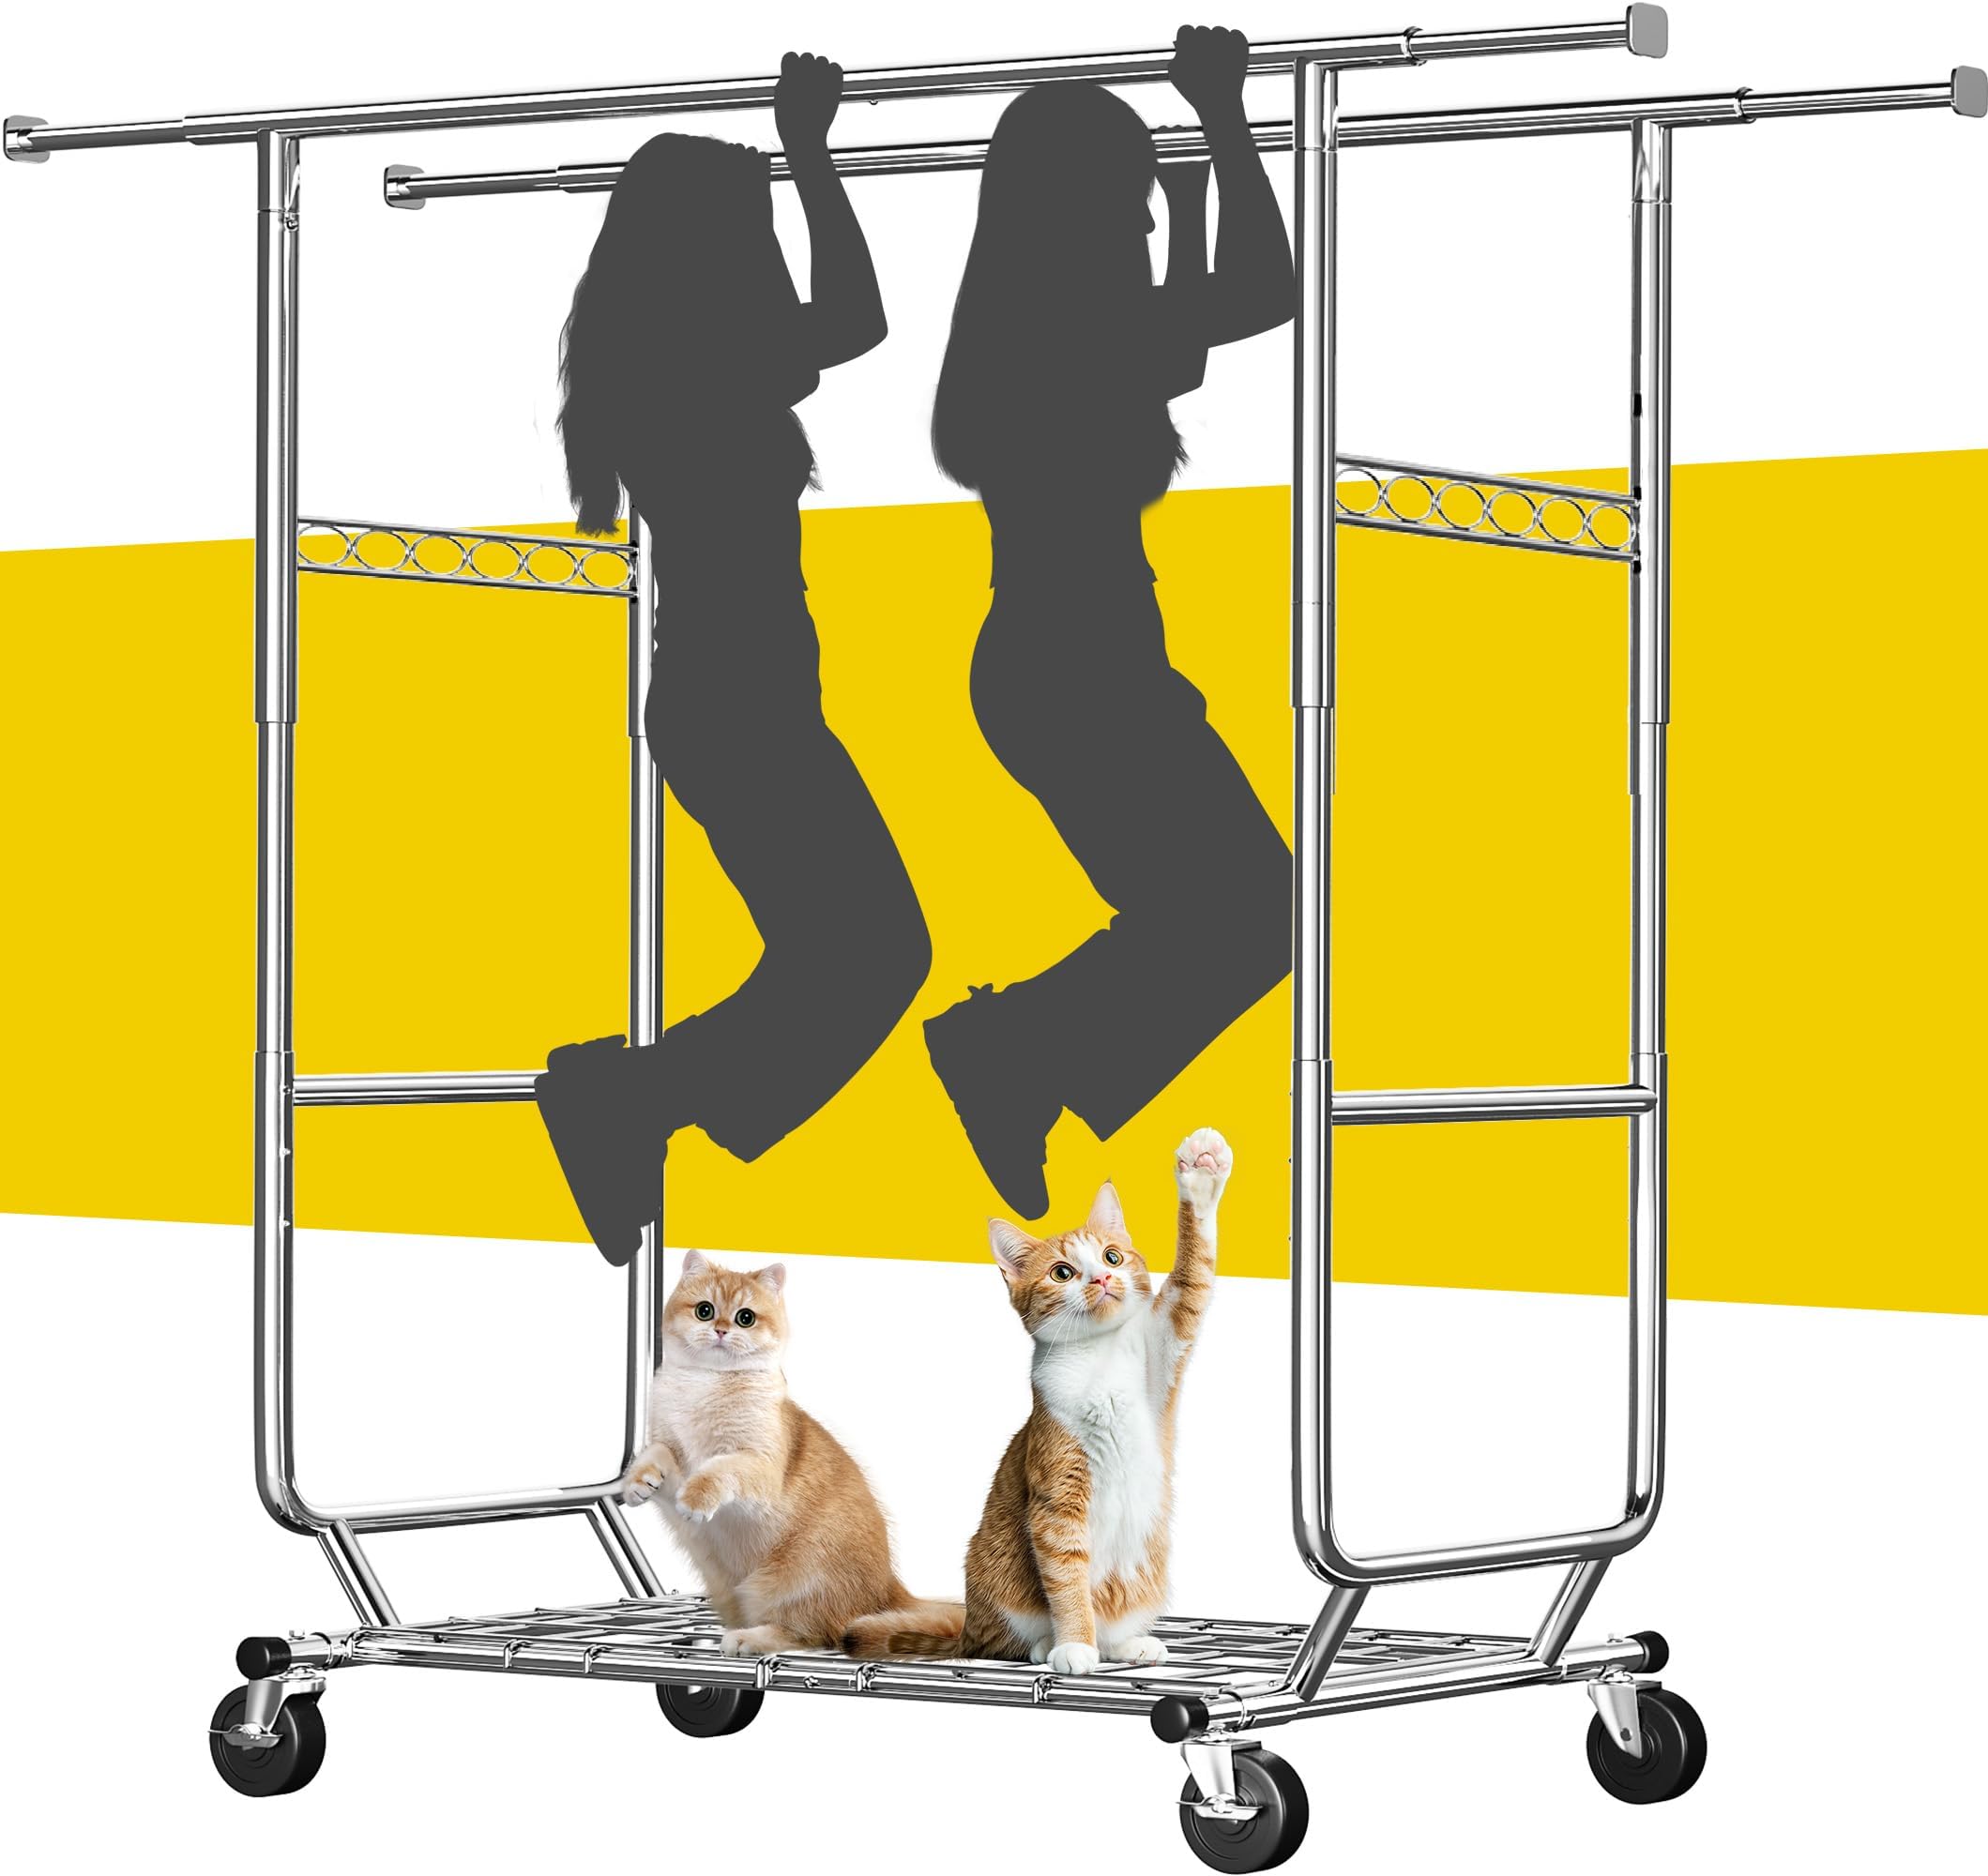
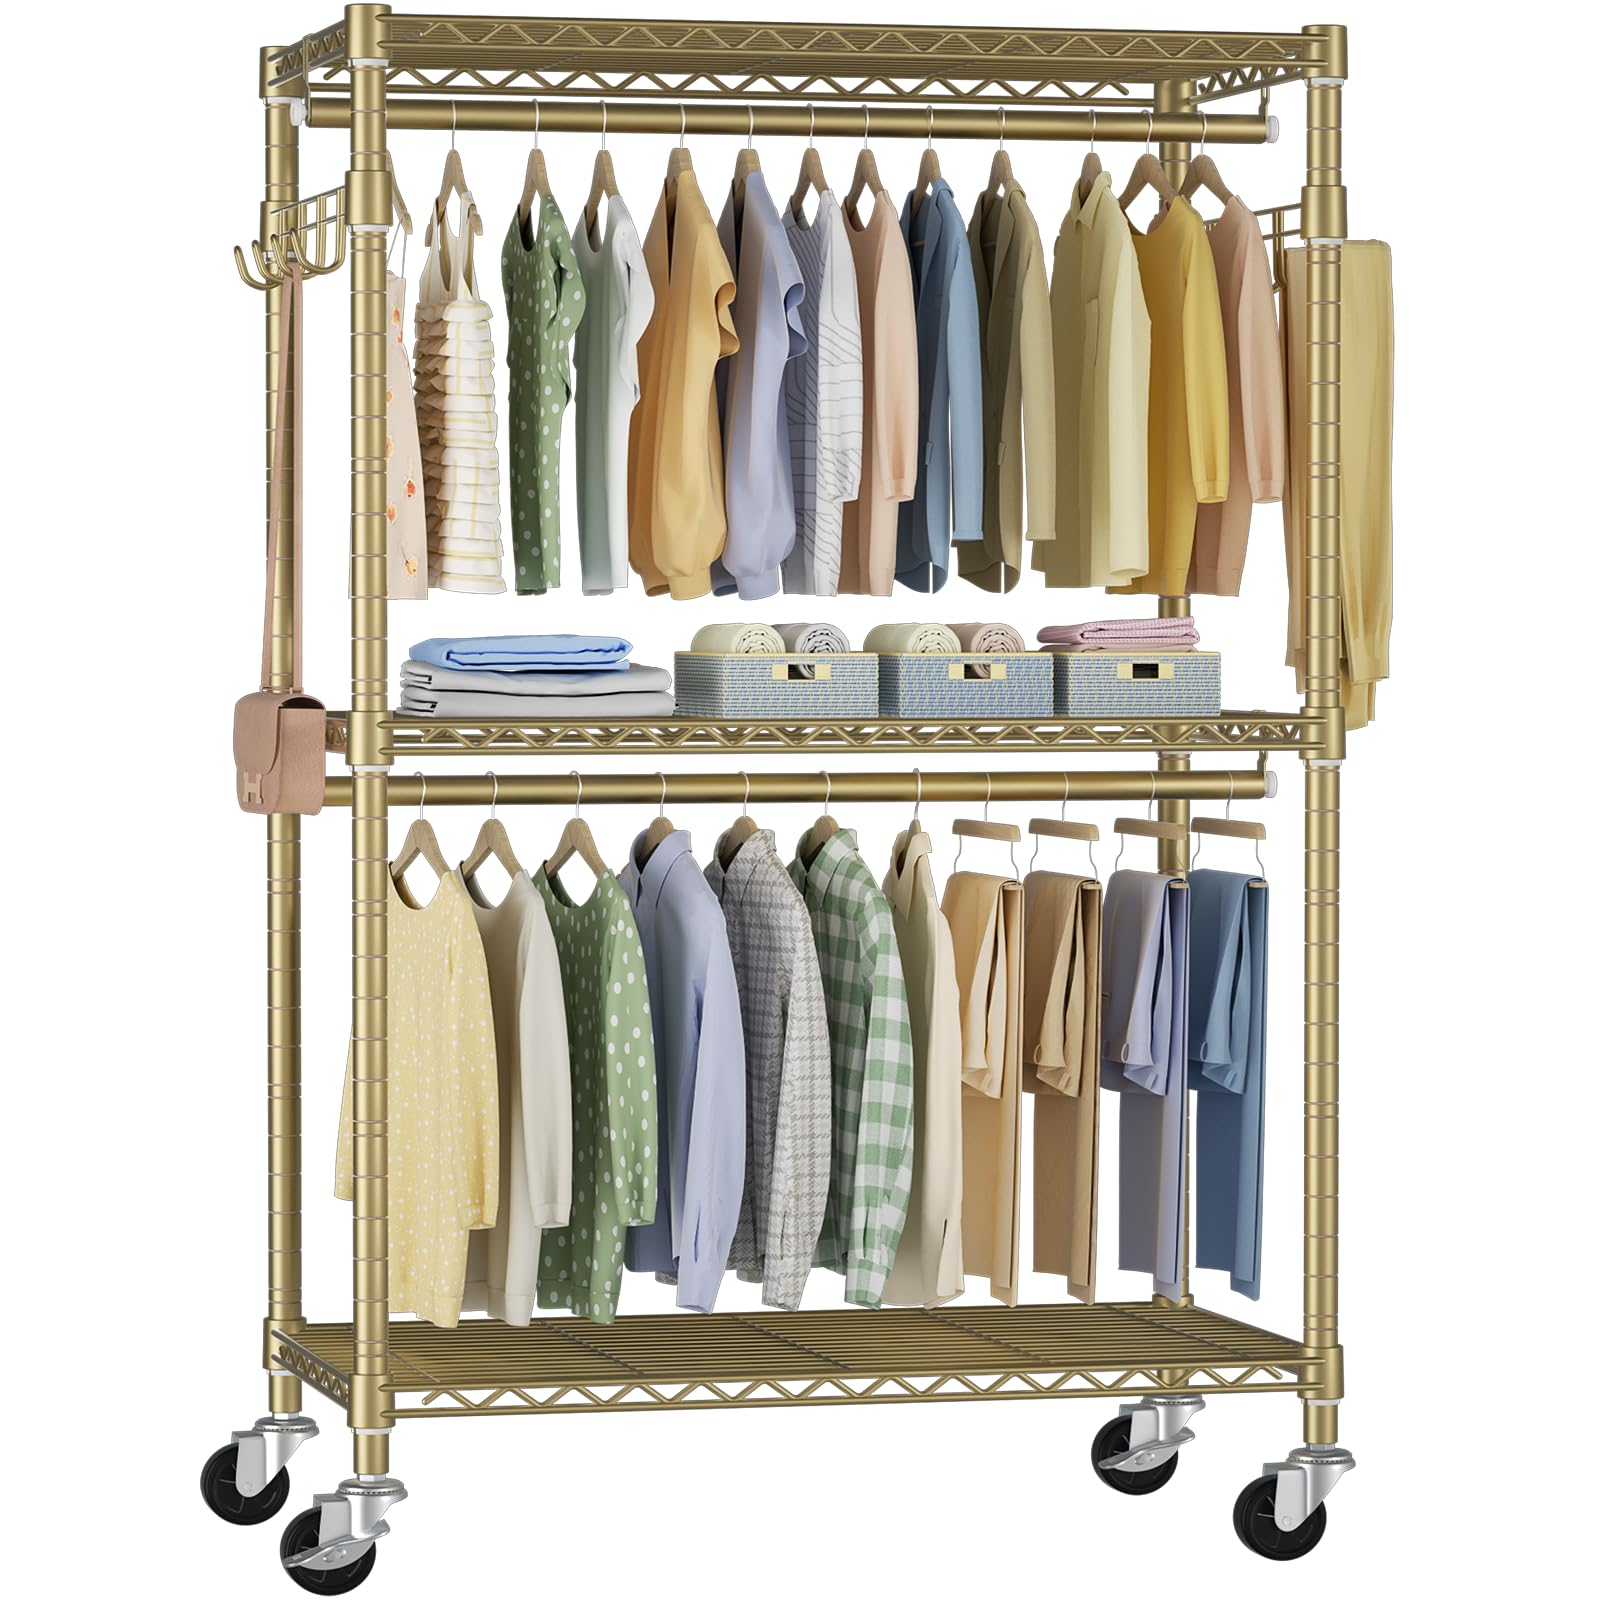
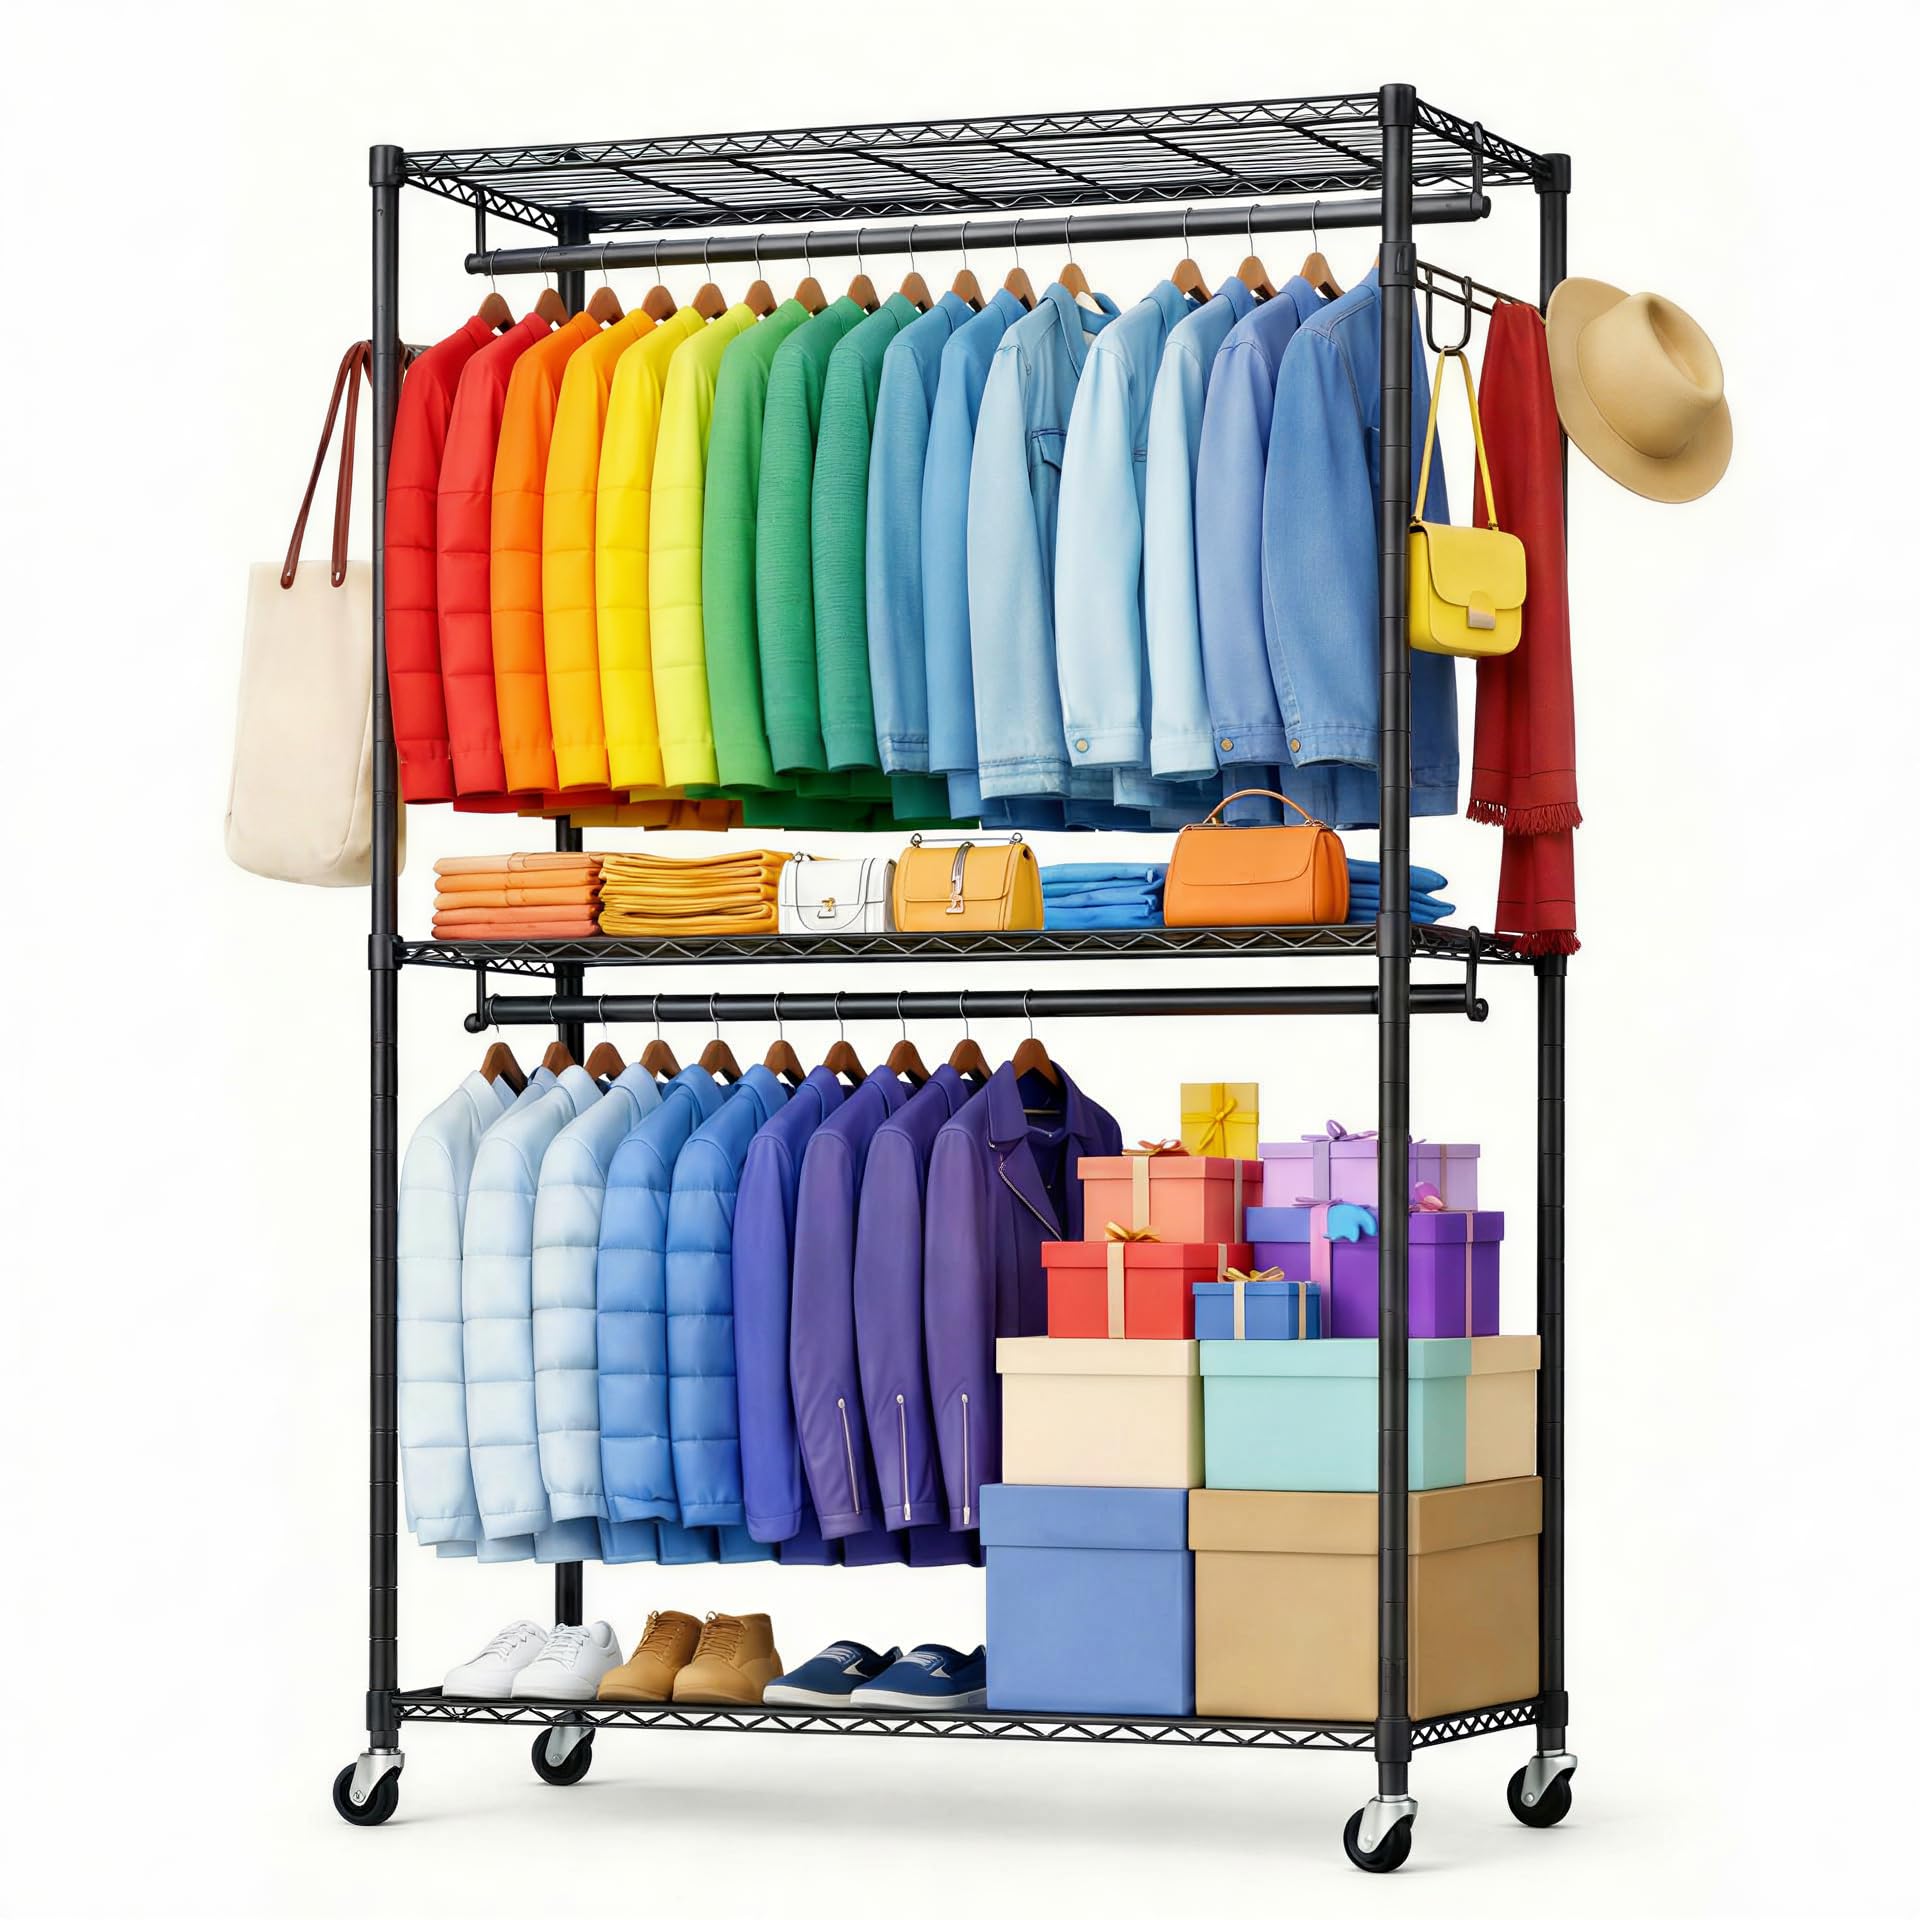
I got this heavy duty rolling clothes rack to add more hanging and storage space. It did. It’s huge. I did not realize it would be over 6-1/2 feet tall, though, so putting it together and finding a place to store it have been more of a challenge than I expected. But it’s a great rack, if you have the room for it, and it works well in a bedroom, laundry room, guest room, or even for seasonal clothing storage. It’s like adding another whole closet to your home. The rack is tall and wide. You can hang a lot of clothing on it, or stack it with boxes and it holds everything without sagging. The dual hanging rods are very useful and give you a lot more storage for the square footage the rack is taking. The side hooks are a nice bonus for bags and accessories. The entire rack is made from solid metal with thick tubing, and it feels extremely sturdy once assembled. Even when loaded with heavier items, it stays stable and doesn’t wobble, if you get it put together correctly. The finish looks clean and durable, and it seems like it will hold up well over time. The wheels roll smoothly, making it easy to move the rack when cleaning or rearranging the room. The locking wheels work well too and keep it firmly in place when you don’t want it to move. Be aware that due to the height, you might not be able to roll it through all your doorways. Measure first to be sure and/or plan ahead to keep it in one room, otherwise you will have to tip it to get it out of the room, which won’t work for you once it is loaded with clothing. The assembly was a bit of a challenge. You need to read the entire instruction manual all the way through and be sure you understand it before beginning. It is written in a very concise way and the pictures are tiny. If you miss a step, you will have to undo everything back to that step to make it work. I’m going to give some tips here, so you don’t struggle with it as I did. First, it’s not tool free. You will need a rubber hammer or a regular hammer and a piece of wood to cushion the shelving wires as you pound it together. The framework will only be stable if the shelving is set so that all four corners have supports at the same height on each of the upright pieces. The support is provided by little plastic pieces that clamp around the vertical uprights of the framework. They are held up by clamping them so that a protrusion inside the plastic pieces fits into a groove in the upright. Then, the conical tube on the corner of the shelf pieces slides down over the plastic supports, clamping them tightly together. This works because the tubing on the shelves is larger at the bottom and smaller at the top, so the further down you can hammer them, the tighter they fit together and the stronger the support for the shelving. You can tell which side of the shelf is the bottom because the tubing at the corners will have a little cut out. Face the cut out down when you put the shelf on. Count grooves carefully when placing the clips, so the shelves come out level. You must build from the bottom up, securing each shelf properly before continuing. When you get to the middle shelf, the support pieces must go around the joint where you screw the top support piece onto the bottom support piece. My last tip is to just slide the hook side bars on without determining exactly where the supports will go, before putting on the top rack. This is so that you can set the unit upright and see how high you want these to be. I am five foot two inches and can’t reach the hooks if placed at the top, as pictured in the directions. It’s ok to place them lower. You will see what works for you when you get to this point. The rack is so large that I was unable to back far enough away to get a picture of it fully assembled. So, I am including some pictures that might help you understand what to focus on when assembling it, as mentioned above: 1- outside of the plastic support pieces. They must be oriented upright, as marked, when you put them on the upright supports of the rack. 2- inside the plastic support pieces. This shows the protrusion (the line) that will fit into the groove on the upright support. 3- inside support piece lined up with groove on the upright. These will fit together when you clamp two support pieces onto the upright. When clamped correctly, they won’t slide on the upright. There is nothing to hold them onto the upright until you slide the shelf over them. If they keep falling off, wrap some tape around them. 4- groove cut out on the bottom of the shelf corner tubing. 5- user manual. This is a strong and practical clothing rack that offers a lot of storage without taking up too much floor space. The price for this item seems reasonable for a heavy duty metal rack like this and it could make a good gift for someone who needs extra closet space or a temporary wardrobe solution. Amazon offers their no hassle 30-day return/refund/replace guarantee with this product and it ships free for Prime members. For the sturdy construction, easy assembly, smooth rolling lockable wheels, adjustable storage options, and high weight capacity, I am giving this clothes rack five stars. Read more