
Good trailer side lights
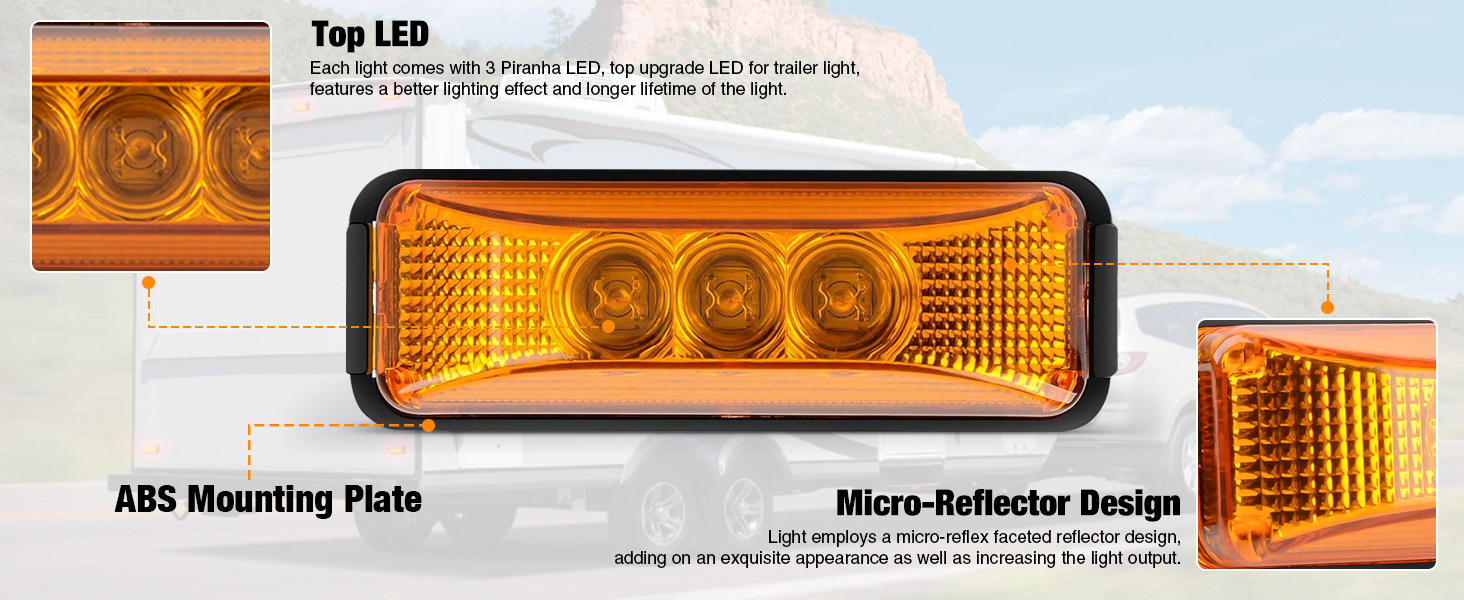
Install was pretty straightforward. Very clean flush mount, I really like the snap in design. So far haven’t seen any moisture buildup. None of the LEDs have gone out. Decent illumination for their size. Read more


Nilight



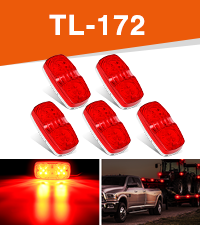
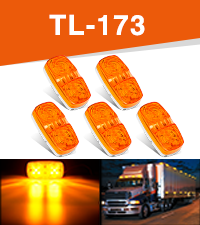
Product video 1
Rated 4.5/5 across 1,744 reviews — highly regarded by customers.
Customers find these marker lights to be solid, bright, and easy to install, with good functionality and value for money.
Generated from the text of customer reviews
Install was pretty straightforward. Very clean flush mount, I really like the snap in design. So far haven’t seen any moisture buildup. None of the LEDs have gone out. Decent illumination for their size. Read more
These Nilight LED lights are compact, bright, and very easy to install. With a sealed and waterproof design, they're ideal for my truck. They function as marker, indicator, or clearance lights, offering great visibility and durability even in harsh conditions. Highly recommended. Read more
fit my utility trailer, beautiful LED Read more
MOUNTING: These lights are theoretically easy to mount but if you have a hardend steel frame on your trailer, you can forget the self-tapping screws this light comes with as they won't survive the drilling. Go buy some 8-32 ,1 inch stainless steel phillips bolts with a flat washer. locking washer, and nut. Drill out the hole in the black light bracket just slightly larger than the bolt and you're good to go. These light require a ground to frame. If your trailer frame is painted, consider using a wire wheel in a drill and grinding the paint to bare metal for a solid ground. Also crimping a connector hoop the ground wire makes attaching to one of the mounting bolts much easier. Once the black braket is mounted, you have to place the light into the bracket. It's a super tight fit and the only thing that holds the light to the bracket are two little plastic teeth at the ends of the light that slide into a groove at each end of the bracket. You have to be careful when attaching because the teeth or the lip of the groove can break. Go slow and place one end into the groove at an angle and try to slide the other into the groove. I used a screw driver to gently pry the lip of the groove up to create more room. Once in place, make sure it's properly seated by using a small screw driver to put the orange teeth on the light toward the back of the groove. It should click if not all the way in. When trying to angle the light to get it in the bracket, you may need to gently tap it to get the teeth of one end to fully seat in the groove. If you don't, the other end won't clear the top of the groove and it won't go in. BRIGHTNESS: These are bright lights however there is one caviat. The brightness is only viewable when looking dead on to the light. The lighting effect significantly diminishes at even gentle angles. It was so bad, when I was testing the light, I thought they weren't working until I happened to walk to a different angle and noted that they were in fact illuminated. Read more
Used for turn signals on golf cart Read more
Looks amazing on my EZGO golf cart. Easy install, very durable. Read more
Easy to installed, but not as bright as I thought they would be. They still look great.I Read more
Light is weaker than the originals on the trailer but do the job. Installation was time consuming. Nothing lines up and had to make holes in the base plate for screws and wires. Read more

Nilight 10 PCS 3 4 Inch Round LED Clearance Light Front Rear Side Indicator Bullet Marker Lamp for

Nilight TL-14 10PCS 3 8 6 Amber Indicator Rear Side Truck Trailer RV Cab Boat Bus Lorry LED
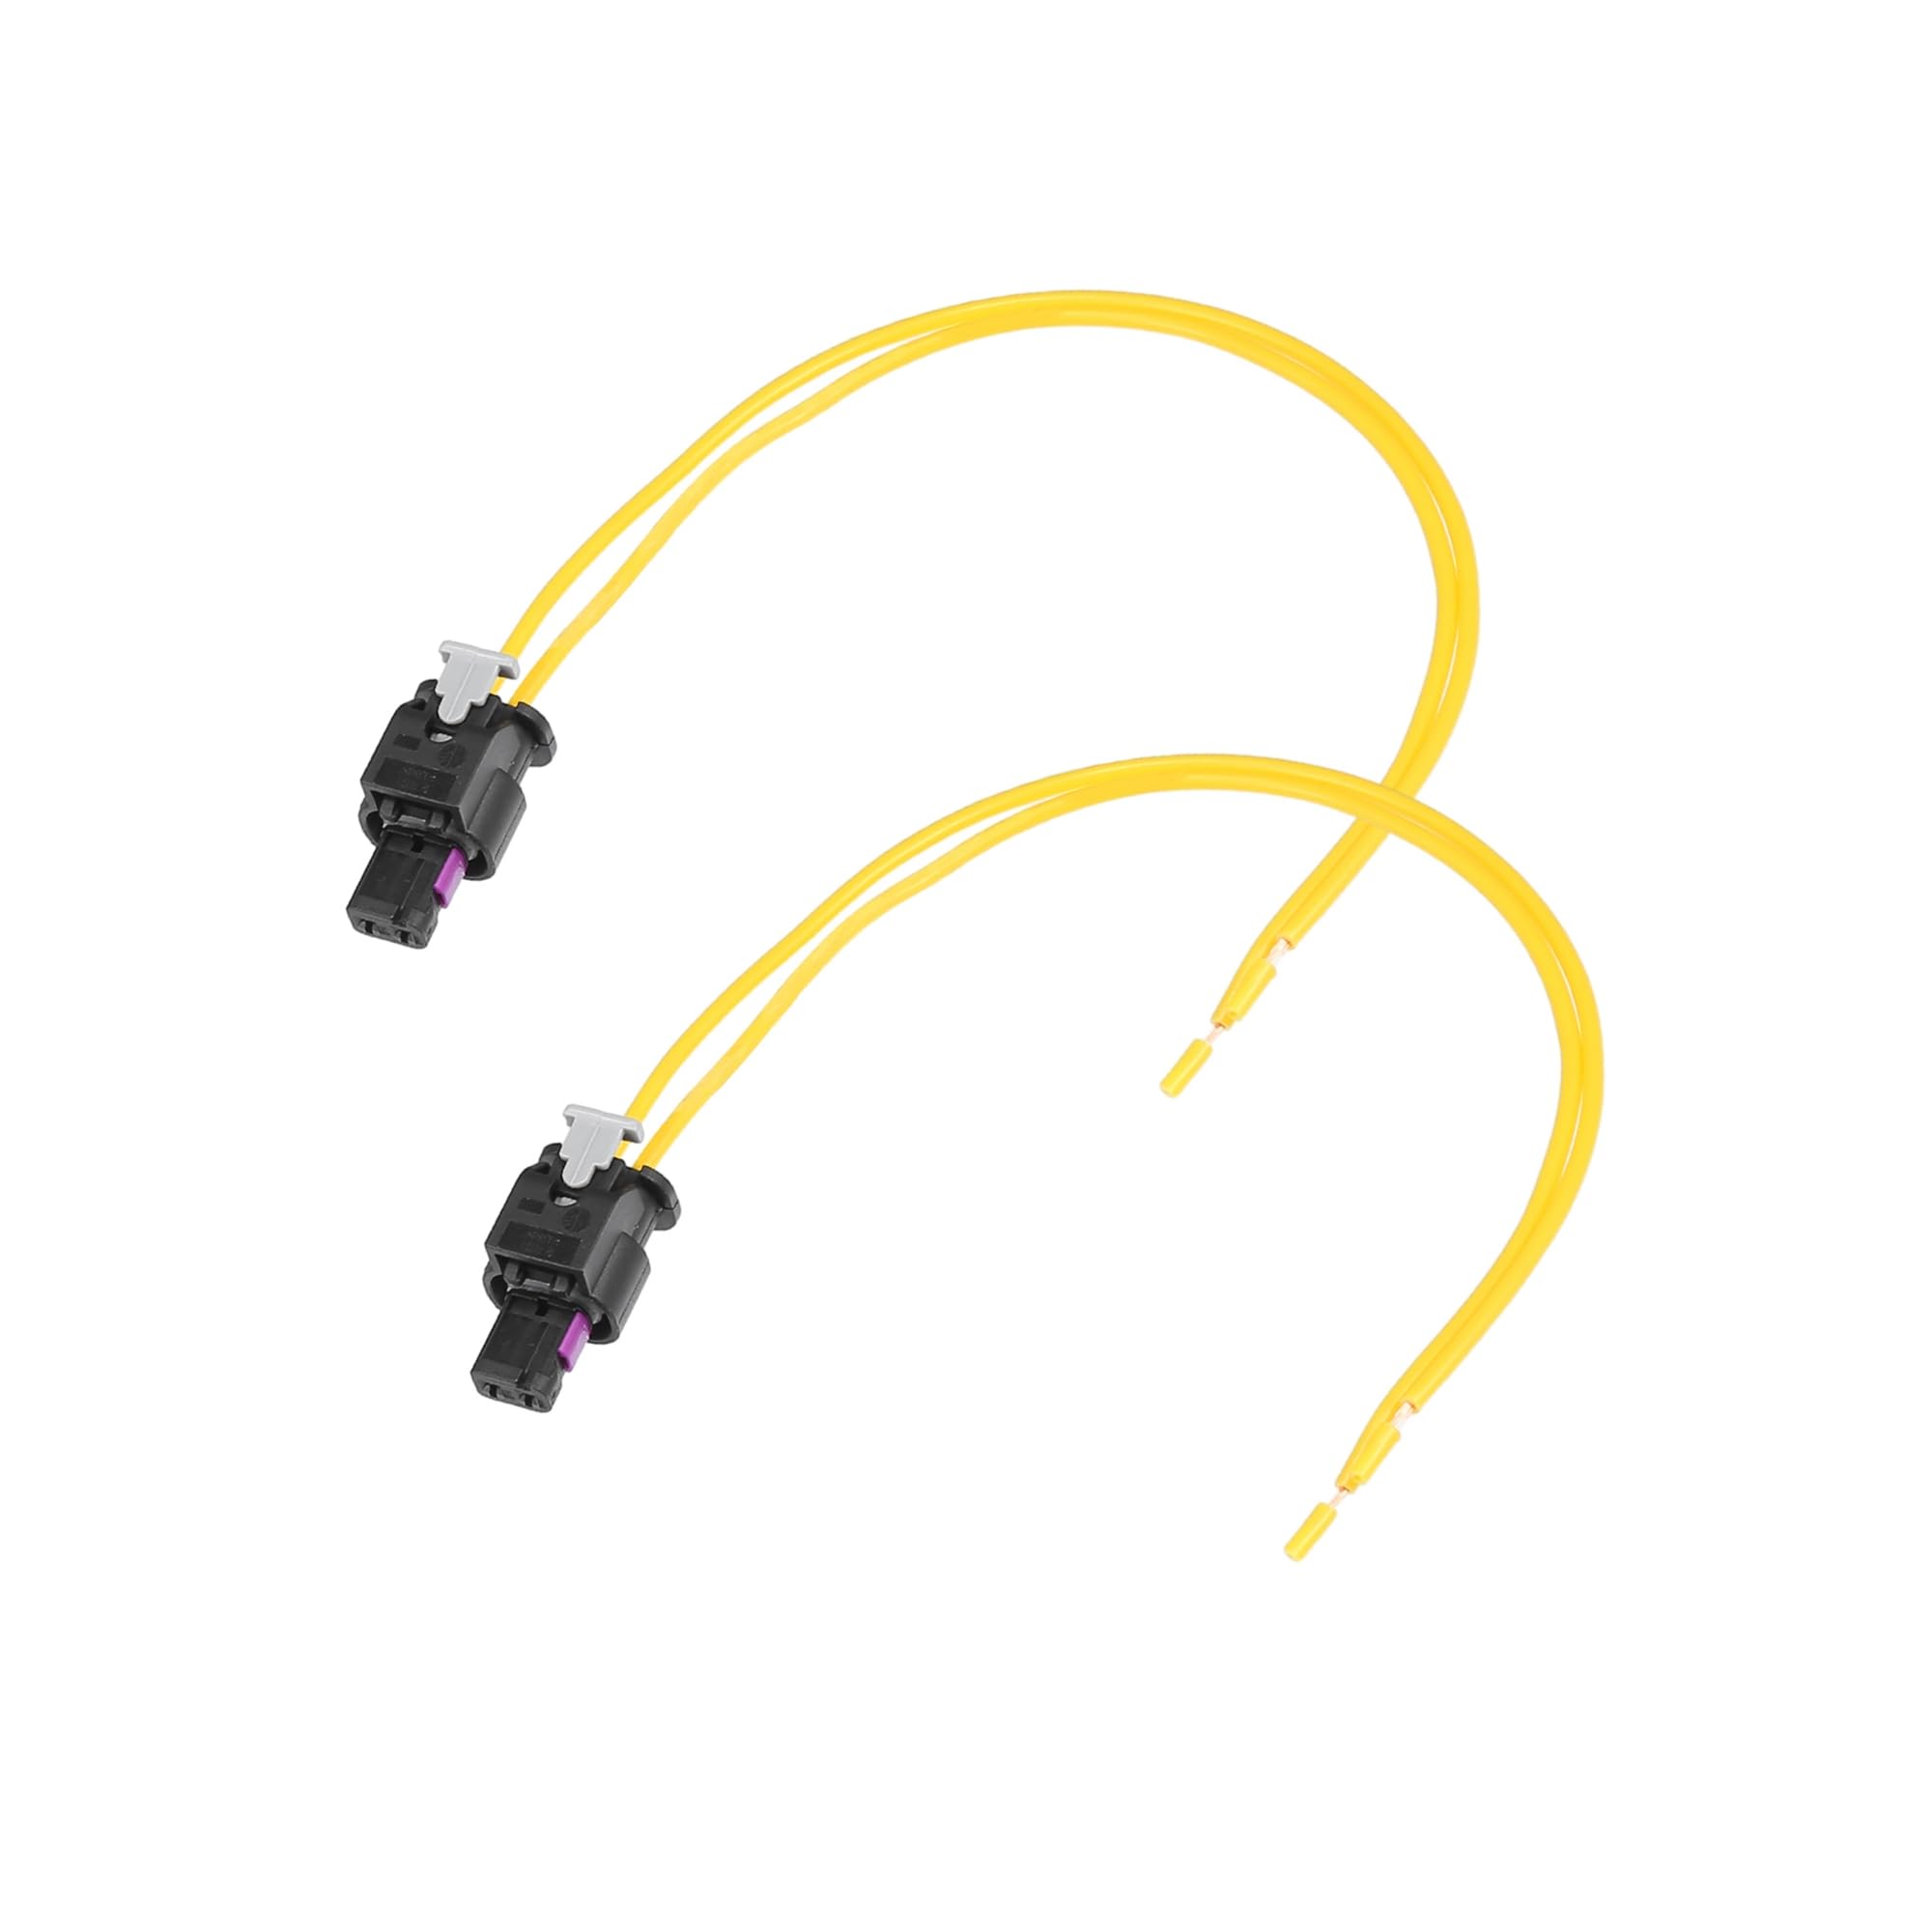
Car Side Marker Pigtail Connector Harness for Chrysler 300 2015-2022 Front Rear Side Marker Light Bulb Cable Durable
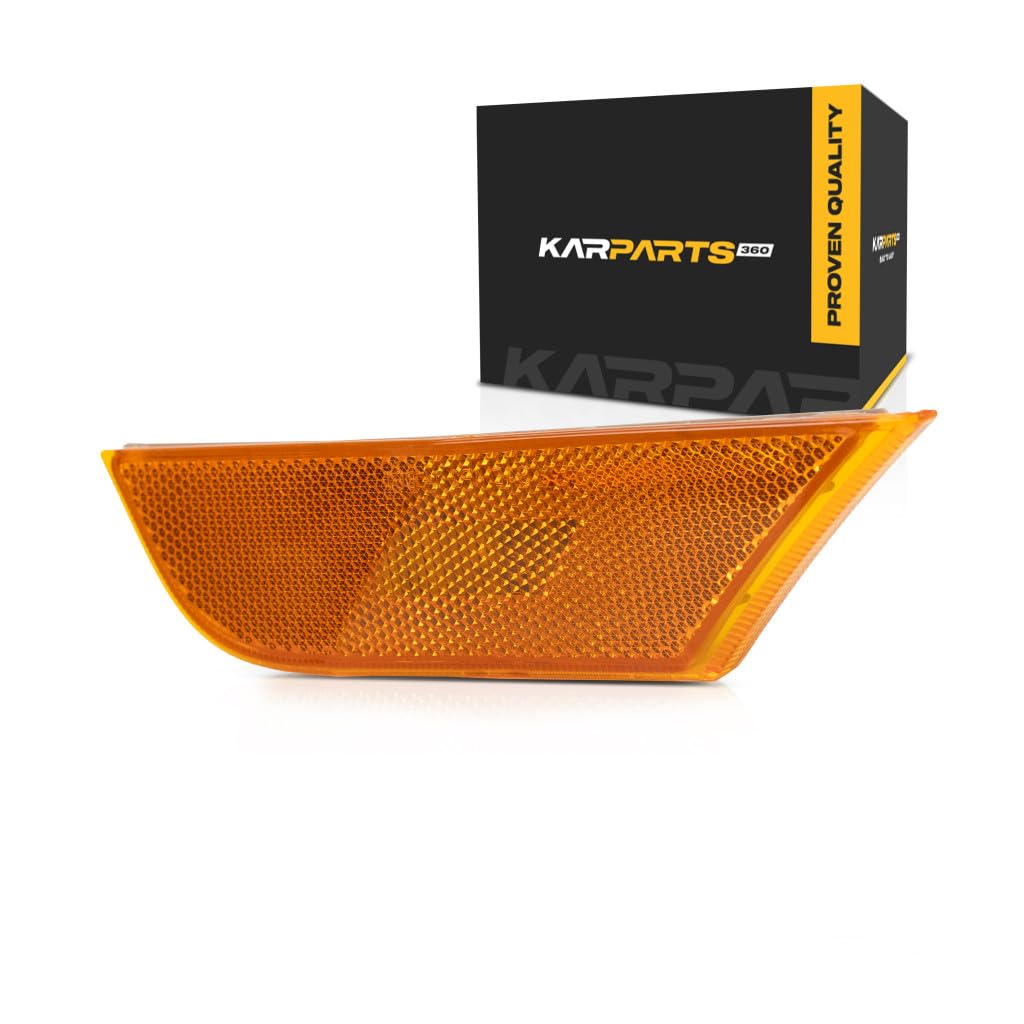
For Honda Odyssey Front Signal Marker Light Assembly 2018 2019 2020 Driver Side CAPA For HO2550128 33850-THR-A01

Nilight - 90015A Battery Switch 12-48V Waterproof Heavy Duty Battery Power Cut Master Switch Disconnect Isolator for Car
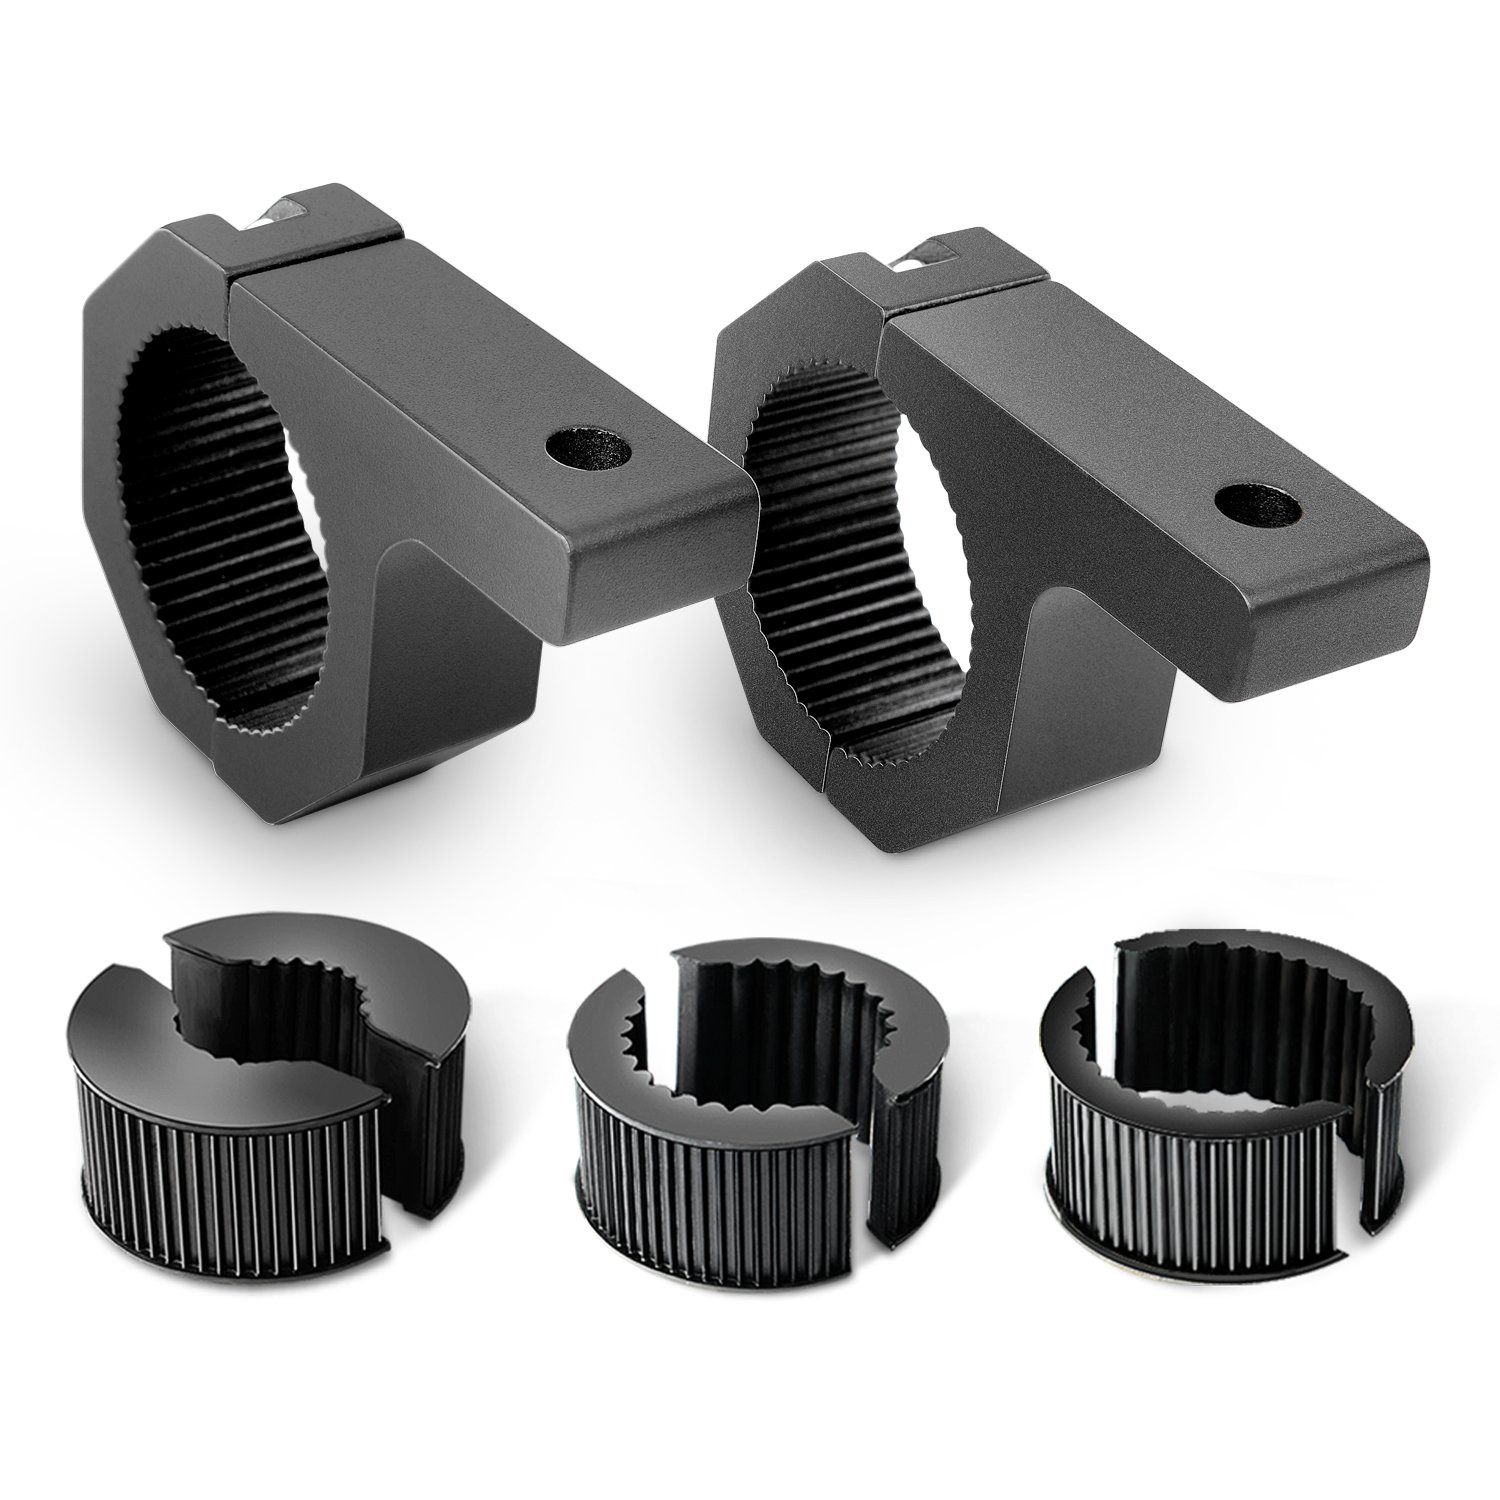
Nilight 90020B 2 Pack Mounting Bracket Kit LED Off Road Light Horizontal Bar Tube Clamp Roof Roll Cage

Nilight - TL-01 6 Oval Red LED Tail 2PCS w Surface Mount Grommets Plugs IP65 Waterproof Stop Brake

Nilight - NI -WA 06 LED Light Bar Wiring Harness Kit - 2 Leads 12V On Off Switch
We use optional analytics cookies to understand how visitors use Ventari and improve the experience. This banner controls analytics measurement only. See our Cookie Policy.