kashundria berry—March 12, 2026✓ Verified purchase
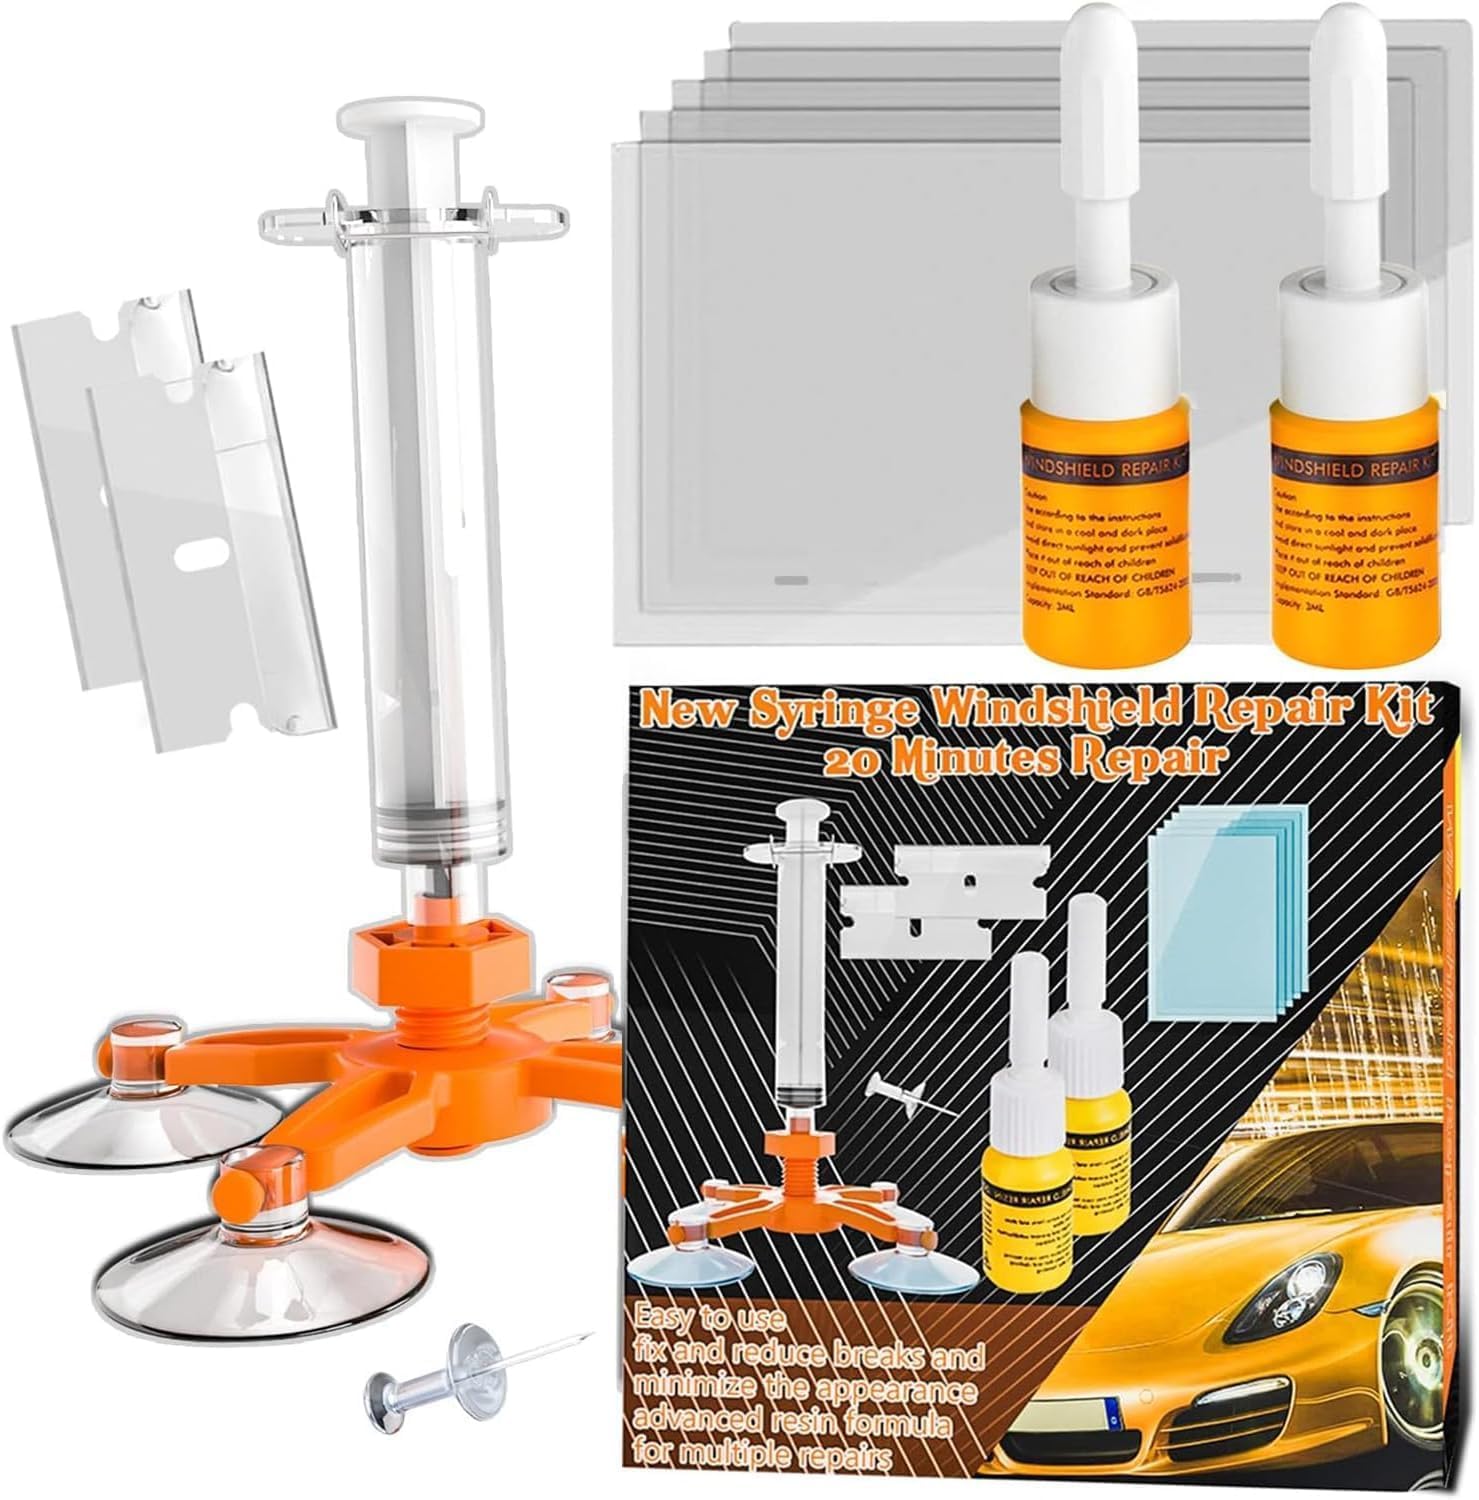
This repair kit from Permatex has been pretty handy for quick fixes at work. I used it to seal a small chip on my truck and it worked well. the syringe and plunger make applying the resin simple. definitely a useful tool to keep in the glove box for emergencies 🚗. glad i have it around now. Read more
Nicky Little—January 2, 2026✓ Verified purchase
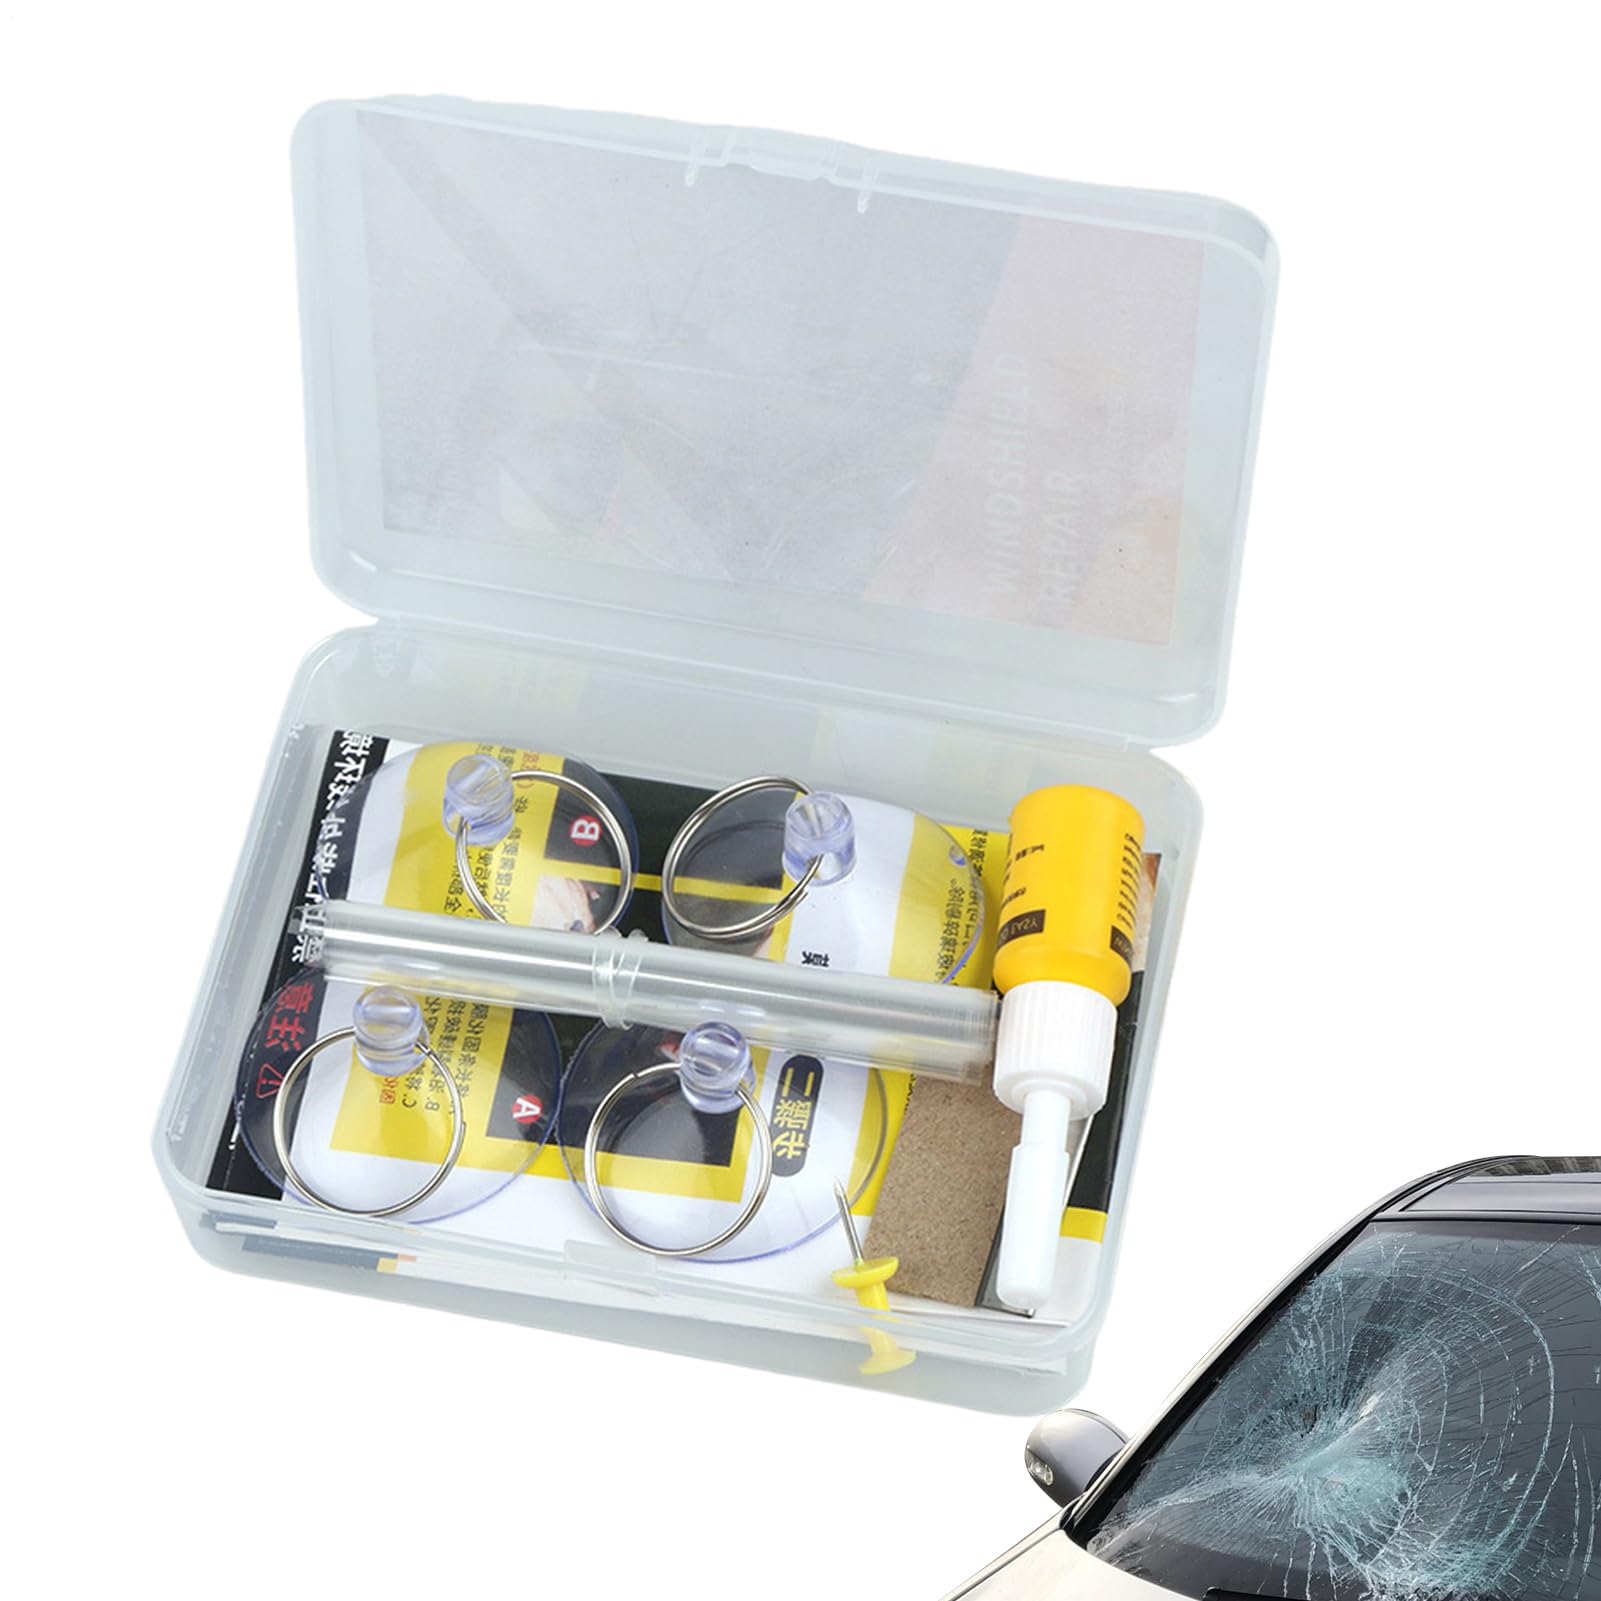
I picked up the Permatex 09103 Windshield Repair Kit after noticing a small chip on my windshield that I didn’t want spreading into a full crack. I wasn’t expecting professional‑shop results, but honestly, this kit impressed me. The instructions were clear, and the whole process took maybe 20–30 minutes. The resin filled the chip nicely, and once it cured, the spot became way less noticeable — you really have to look for it now. More importantly, it stopped the crack from spreading, which is exactly what I needed. A couple of tips from my experience: make sure you’re working in good lighting so you can see the chip clearly, and give the resin enough time to cure fully. Patience pays off here. Overall, for the price, this kit is absolutely worth it. It won’t make your windshield look brand‑new, but it does a great job at stabilizing chips and improving the appearance. Definitely cheaper than replacing a windshield. Read more
Bacon—February 12, 2026✓ Verified purchase
I am pretty sure it was my fault, but the stopper was not free moving when I got it, so don't be me and check to see if you can move the plunger up and down before you start. Other than that it was a pretty simple operation and the results are great, even after I messed up. Read more
Dr. T.—July 26, 2025✓ Verified purchase
Easy to use with great results. Watch videos about it first, then proceed. The syringe clip seems flimsy/delicate; I practiced using it a couple of times before beginning the process. Also, as soon as I inserted the resin tube into the pedestal the resin overflowed out almost immediately. There's no way to really tell what amount is in the tube and/or going into the pedestal; it would be handy if the resin tube were clear. No matter, there was plenty left in the tube for the final step. Have several paper towel squares nearby to wipe up spills. I put a full sheet around the wiper blade just below the area I was working on. After locking the plunger in step 6, I lightly tapped around the pedestal to accommodate the release of air bubbles. Finally, my nick/chip was a small bullseye type, less than the size of a dime. This product seems perfect for that type. My windshield was originally damaged while I was traveling on the interstate, at my next fuel stop I put a piece of clear tape over the area (on the outside of the windshield). A glass repair technician suggested I do that years ago when I had another incident like this. I believe it keeps moisture out until it can be repaired. Read more
pinkpineapple—October 27, 2019✓ Verified purchase
Overall disappointed. Repair improved appearance less than 50% still have a quite visible chip (should have taken before/after pics, but I was too optimistic on this first trial repair). The repair did result in a nice flat fill on top surface (moisture protection) but big internal voids. Some details: 1. I made the mistake of starting the repairs in sunlight, missing the "shaded area" instructions until my third reading DURING the repairs, when I got to final step 10: "Move the vehicle to sunlight". I was too focused on waiting for a cool <75F day with sun (in San Antonio, took till 27Oct). I moved the vehicle to shade between steps 6 and 7, perhaps too late, as the windshield was already warm. So, maybe the poor quality result is all my fault. 2. Cleaning loose glass with push pin created a surprising amount of loose crushed glass. I'm glad I didn't skip on this but it seems a more thorough flush than the teensy alcohol wipe would be appropriate. I felt like I made the chip much more visible by doing the pin chiseling. 3. Removing the pedestal and adhesive disk was very difficult - it had a very good bond (used only the recommended 10 + 20 minute dwells). Doing this removal with the razor blade was not safe, requiring too much force. 4. I was shocked at the flow of liquid resin running down the windshield when I removed the pedestal. I had the rags in place, so no harm done, but I (perhaps erroneously) expected some minimal setting up of the resin during the 30+ minutes after application. There is no setting until sun hits the resin, apparently. 5. Placing the square clear curing strip over the wet resin patch was very slippery and challenging to razor squeegee out bubbles. 6. Moved back to sun, temp had climbed to 78F. After 20 minutes (15 minutes recommended) I peeled off the square curing strip. Resin was cured under the curing strip, but thicker deposits around the edges were still wet and smearable. Instructions do not mention removing excess resin when the strip is applied or how to treat edges of curing strip while wet. 7. With the curing strip removed, you are left with a neat square of raised cured resin, that must be razored off. Otherwise you are left with an obvious square of resin around the repair - the sharp edges at the edge of the curing strip do not disappear naturally. So, the Finishing Tip: "IF the surface of the glass is uneven" is NOT optional. I razored off the entire square area, using the blade to carefully shave directly over the chip repair. Not sure if this is correct or not - directions unclear. Finished surface was more filled and flatter than when I started, but compared to a $50 professional job, this looks like far less than a $5 repair - and I payed more than $5 for this kit. A casual observer would not think that this chip was repaired at all. I will try another brand for my next chip. I should have rated this Two stars, but I figured more would read a one star review - sorry Permatex. Read more
JRS—May 5, 2025✓ Verified purchase
Product ultimately worked but when we removed the device taped to the window there was a ton of liquid product in the tube that spilled out, luckily only on the window. I watched the videos and never saw that happen but I did use most of the tube. The product did not cure completely until plastic strip was put on it and car moved into the sun. Did not changed chip appearance that much IMO but when you run you finger across it feels like glass with no chip. Took two stars due to uncured product spilling and some missing tips to removal in instructions. Tip I saw online that needed to be in the instructions was to remove excess filler from inside out leaving the filler over chip to the end then place razor perpendicular to window and scrap side to side. This prevents you digging out filler while flattening the filler over the chip. Technique worked perfectly and you will see why when you pull the plastic square off after sun exposure. Edges of filler come up a little too showing how easy it is to pull out of chip if you’re not careful. Read more