
Works Great
This sure beats replacing the whole internal fill valve assembly. It's a wear part and will wear out eventually. Original part lasted ~15 years. Very easy DIY job. Still working great after many months of daily use. Read more
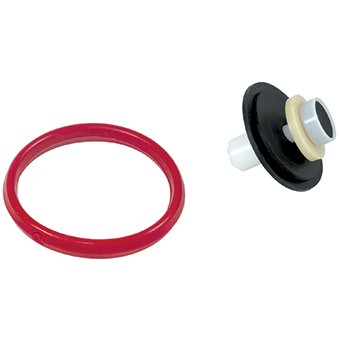
Coast Foundry and Mfg. Co.
Product video 1
Rated 3.5/5 across 10 reviews — opinions are mixed.
Customer summary is not available yet.
This sure beats replacing the whole internal fill valve assembly. It's a wear part and will wear out eventually. Original part lasted ~15 years. Very easy DIY job. Still working great after many months of daily use. Read more
The valve piston assembly fits correctly, but the red O-ring gasket is far too large. It's advertised to repair the 1B1. Most leaky fill valves leak because of the gasket wearing out. Since this gasket doesn't fit, the repair kit is USELESS. I bought an American-made repair kit at a local plumber's supply and it fit perfectly. Read more
I would highly recommend the dealer that sold these to me. The price was great and the items arrived promptly. The price was so good I bought what I hope will be a lifetime supply (24 pieces). I encourage others to shop the internet instead of going to their local plumbing supply house and paying a lot more. Read more
I ordered two of this item and received them in a week. They are too big and do not fit my Master mark IV 1B1 Valve. I wasted the money on the two items and the shipping charge. I think the vendor should give the dimension of the item on the description to avoid this misfortune from happening again. Read more
I just got the repair kit today. I had it installed in less than 10 minutes, needing only a pair of pliers. No directions were included, but none were needed. Read more
Good product. Read more
Does not fit the 1B1 Master IV. Read more
REPLACEMENT INSTALLATION > turn off the water to the toilet > unscrew the ball float, and lift it out > unscrew the three screws around the "corners" (or ears) of the ballcock top (see photo Lasco 04-7175 Toilet Ballcock Repair Top Assembly for Coast Brand 1B1X ) > lift top off, then lift the plunger and (o-ring) gasket out. There is no need to make special notes of the orientation---the parts fit only one way > thoroughly coat the rubber portion of the plunger and (o-ring) gasket with silicon grease**. Permatex 22058 Dielectric Tune-Up Grease, 3 oz. Tube Let the grease soak in for 10 minutes or so. > thoroughly clean the grooves into which the plunger and (o-ring) gasket fit---best with a dry cottton cloth. Q-tips can be helpful > Wipe ALL excess silicon grease** off the plunger---you do NOT have to wipe extra grease off the (o-ring) gasket > Set the (o-ring) gasket in place in the groove. > Set the plunger in place (narrow end of the plastic part up) > Set the cap in place and tighten the three screws. DO NOT use a power screwdriver, as that may overtighten. It is important that the screws are evenly tightened and tight enough to prevent leaking around the 0-ring gasket. You want them good and tight, but without breaking the plastic. Arbitrarially numbering the screws 1 to 3: tighten 1, then 2, then 3. Then retighten 1, then 2, then 3. Finally recheck the tightness of 1, then 2, then 3. > Re-install the ball float > Turn the water back on. Test > If the water does not stop running at the end of the flush, you may have to adjust the center screw (which actually presses down on the plunger. This screw adjusts the height of water in the bowl. If the height is too high, then the toilet will "run on". If the height is too low, then the toilet doesn't flush properly. So, screw the screw out most of the way, test, screw in one turn, test, and repeat until the toilet flushes properly. > If the above doesn't stop your run-on problem, then you may need a new flapper (on the bottom right of the toilet bowl, below the ball float). Kohler GP83064 Flapper Used In Older One-Piece Toilets MAINTENENCE / REPAIR > Simply cleaning your old plunger and (o-ring) gasket (and the grooves into which the o-ring sets) and lubricating with silicon grease** is usually enough---you should only have to actually replace these once every 10 years or so. > The same goes for the flapper. Usually, you can simply clean it (and where it seats in the toilet), lubricate with silicon grease**, and it will work without replacement. > Actually, the same goes for leaking faucets---disassemble, clean, coat the o-ring seals with silicon grease**, and reassemble, and they will almost always work fine for another 5 or 10 years. Important > **DO NOT use petroleum grease---it will severely damage the rubber seals > Compare the Amazon photos with the parts of your toilet to be certain that you are ordering the right parts. > "Clean" generally means to rub with a cotton cloth (not just a paper towel) until no more black comes off onto the cloth. You can use a little soap if that helps. > Click on “Stoney” just below the product title to see my other reviews, or leave a comment to ask a question. Read more

Valve Repair Kit Model 410 Series

009M3 3 4 Total Repair Kit- Compatible Replacement for Watts LF009M3 009M3 Assembly - 0888527 888527 RK 009M3-T

T S Brass B-0969-RK01 Vacuum Breaker Repair Kit for B-0969 N A
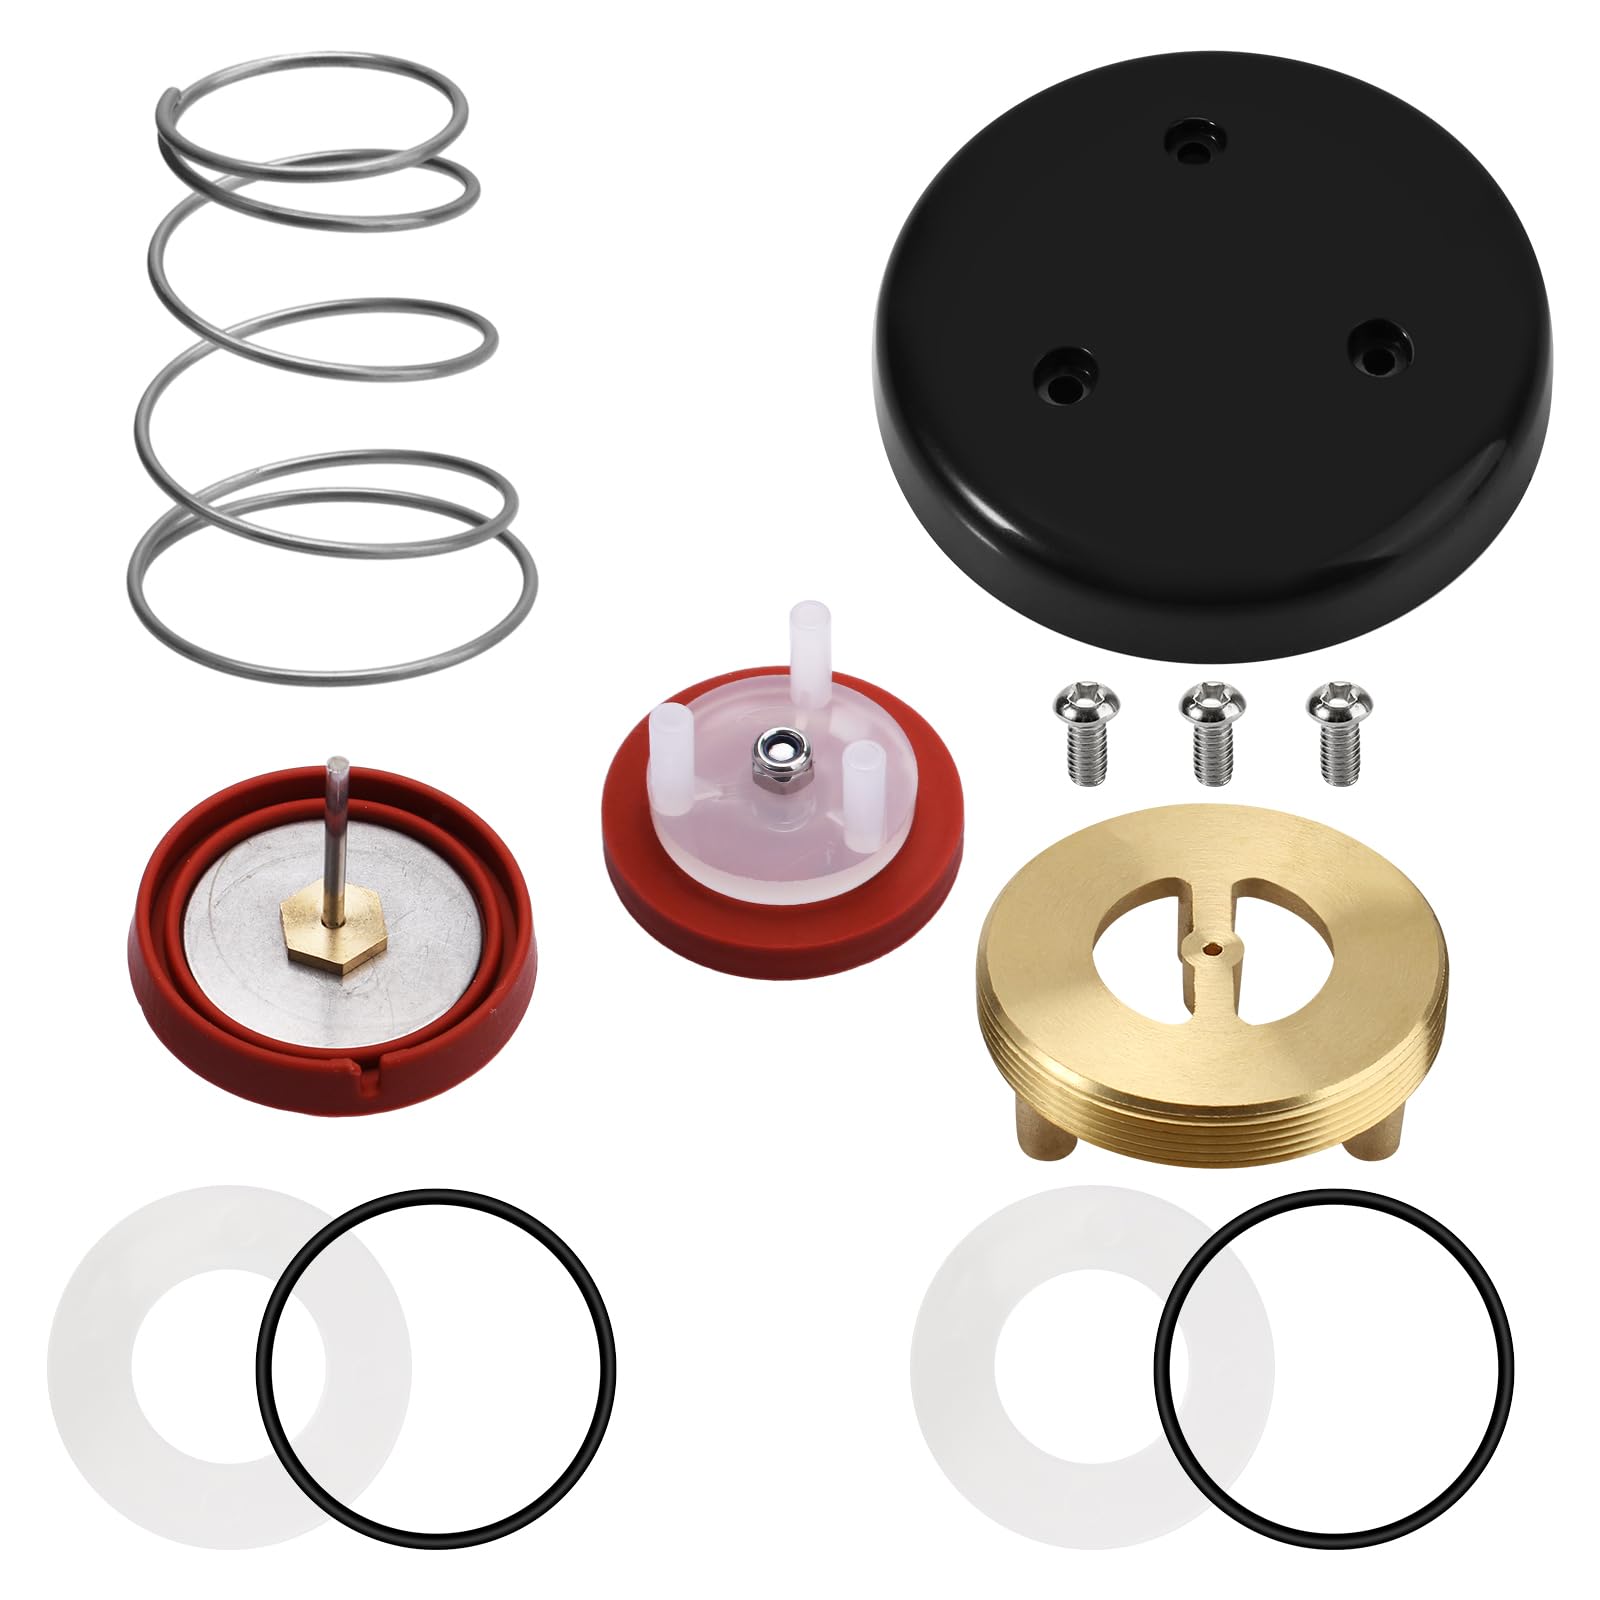
Pressure Vacuum Breaker Repair Kit and Bonnet Repair Kit RK1-720A for Zurn Wilkins 1 2 3 4 and

Encore Repair Kit Hot

Porcelain Repair Kit White High-Gloss Chipped Sink Tile Repair Kit to Quickly Fix Sinks Chips and Tile Cracks

Tile Repair Kit Ceramic Tile Repair Kit for Chips Crack Color Match Porcelain Tile Chip Repair Kit with
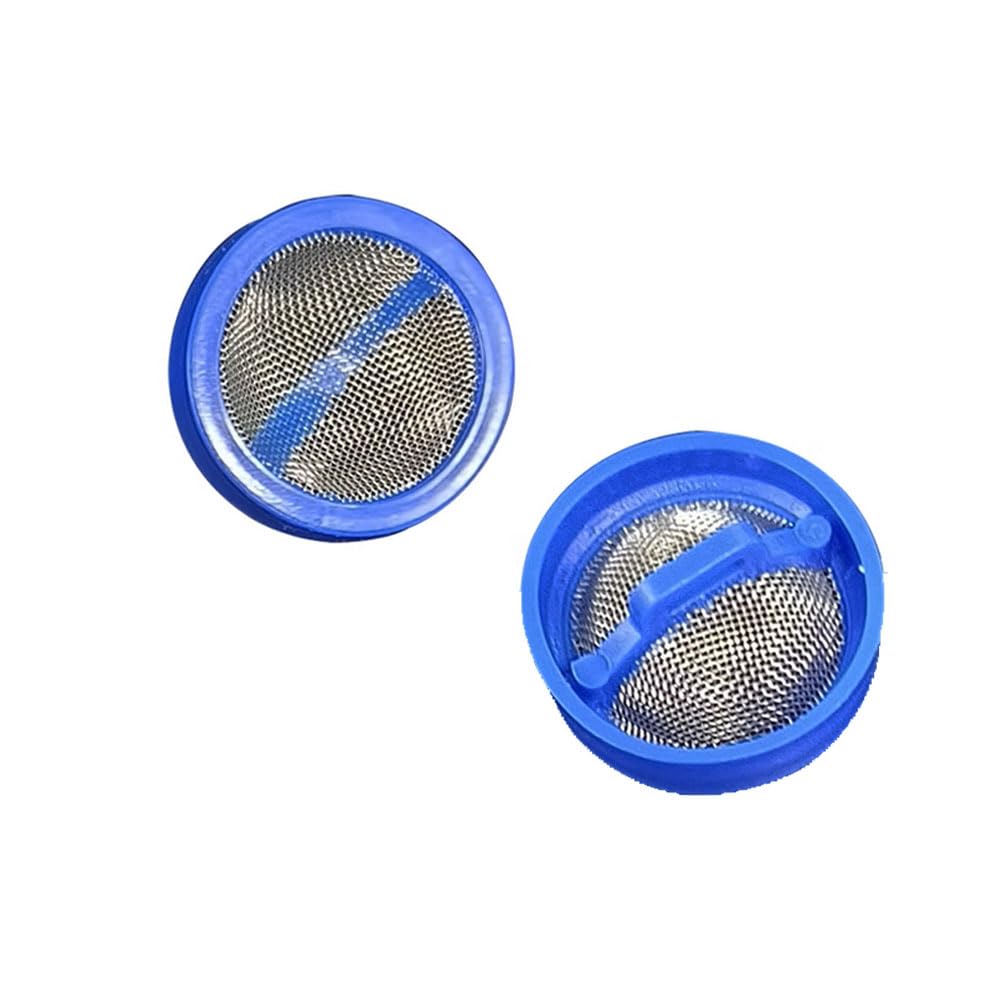
Washer Hose Filter Water Inlet Valve Filter Screen Water Filter Replacement Repair Kit for Washing Machine Mesh Water
We use optional analytics cookies to understand how visitors use Ventari and improve the experience. This banner controls analytics measurement only. See our Cookie Policy.