★★★★★
Check with carrier before ordering anything>>>
Maria—March 11, 2026✓ Verified purchase
Great product but my carrier only allows their product on the extended rv traveling wifi. My fault I should have called them first. Read more
TP-Link
In Stock
Easy Returns · Return eligibility shown before checkout
| Brand | TP-Link |
|---|---|
| Model Name | TP-Link Portable Wi-Fi 6 AX1500 Travel Router |
| Special Feature | Access Point Mode, Guest Mode, Internet Security, LED Indicator, Parental Control |
| Frequency Band Class | Dual-Band |
| Wireless Communication Standard | 802.11a, 802.11ac, 802.11ax, 802.11g, 802.11n |
| Compatible Devices | Personal Computer, Smartphone, Tablet |
| Recommended Uses For Product | Business, Home, Vacation |
| Included Components | Power Adapter, Quick Installation Guide, RJ45 Ethernet Cable, TL-WR1512X, USB Cable |
| Connectivity Technology | Ethernet, Wi-Fi |
| Color | Black |


Product video 1
Great product but my carrier only allows their product on the extended rv traveling wifi. My fault I should have called them first. Read more
Muy facil de instalar... el tamaño es divino!!!! Read more
I am very happy with this little guy. It does exactly what I wanted out of it. Very easy to setup and easy to connect to my network, Hotspot with my phone and it when worked at one of our hotels we visit. I used it to watch Hulu TV shows with out any issues. I have not tried the VPN or anti-virus features yet. You do need to use a web page to make the initial connections but the you can use the phone app to control the router access and passwords. Turn on guest assess and parental control. Great price. Good Wi-Fi coverage. Read more
As a network engineer, I've used dozens of WiFi access points, firewalls, switches and various network devices. And many travel routers can be complex and difficult to setup. Especially when connecting to a WiFi hotspot or hotel WiFi, then being able to access it's WiFi connection, or connecting with an ethernet cable if I needed to connect a device that didn't have WiFi. This new, compact, TP-Link TL-WR1512X model was probably the easiest one to setup. While it does have the same features. They are simplified so the typical user that isn't as experienced won't have any problems. The WAN side easily connects to either an ethernet cable or a WiFi connection. But it would mainly be used to connect to a WiFi connection. So the "LAN" side where your devices connect to, can either connect to the WiFi on this device, or the ethernet connection. If this is done, you can connect to hotel WiFi that charges per device. And once connected, then if you connect other devices, they don't need to "register" as another device and you can connect as many devices as you wish. Its compact size and USB-C power makes it easy for travel use. And while you can set it up from anywhere, you should configure it at home first. Many can have a difficult time, which is understandable if you haven't setup a device such as this before. But it actually is fairly easy. Especially if you set it up at home first. To set it up at home to easily use it for travel. You need a WiFi connection at your home of course. But almost everyone does. There is a label provided that lists the SSID it will display by default, and a numeric default password for its WiFi and the device itself. Simply power it on, wait until the blue light is solid and not blinking. And from any laptop that has WiFi, you will see the "DLink" and "DLink_5G" networks available for you to connect to, which is this device. You select either of them and enter the password from the provided sticker (or it is also on the bottom of the device itself). Once connected, you only have the ability to connect to the config page of the TP-Link travel router. So you open a browser to http:\\192.168.0.1 And you will be prompted to create a password to the device. Enter it twice and don't forget it... Then a wizard like interface will walk you through connecting to any WiFi access point such as a hotel WiFi connection. It will display the networks it sees, at your home you will know what yours is. And you simply select it and enter the password for your home WiFi. At a hotel it is "open" and won't have a password. It will then connect and you can complete the last steps, such as changing the name or password of the routers WiFi itself to a name and password of your choosing. If at home, setup is pretty much complete. Once connected to home or public WiFi. You can now do anything you would when connected to your home WiFi. If at a hotel for example, once connected you would be prompted to "register" with the hotel WiFi just as if you were connecting with a single phone, tablet, or laptop directly to the hotel WiFi. But once you do, you are internet connected. And any other devices that connect to the SSID of this router (not the hotel WiFi name), which is TP_link or TP-link_5G by default unless you changed the names. Now other devices won't be prompted to register with the hotel WiFi and will have internet access. Connect all the devices you wish and you only had to "register" once. If you do this at home. It's ready for travel. Now when you go anywhere. You just power up the TP-Link travel router. Connect to its WiFi name, and go to http://192.168.0.1 Login on that page with the password you set. And you just go to the WiFi connection for the WAN side. It will display the hotel WiFi name, you simply select it, it has no password. Then once connected, when you open a browser to any website, you get the hotel WiFi registration screen, and once you register, it's done, and all devices can now connect without having to register to the hotel WiFi again. If the connection times out and you're prompted to register again, just repeat on any device you were prompted to. And once you do, all other devices connected to the TP-Link's WiFi itself will all have internet access again. Should you need to change the configuration at anytime, you connect to its WiFi name, go to http://192.168.0.1 and login with the password you set the first time you configured it. And you can alter any options you need. The provided documentation is short, but is very clear for setting up in several different configurations. The device is solid so it won't break in your travel bag or suitcase. Simple to setup and use. But do set it up at home first. Then it's easy to just connect to it wtih its own WiFi SSID, and update the WiFi it should connect to and access the internet through wherever you may go. Practice setup and then when you travel it will be quick and easy. Excellent price for a multipurpose but simple travel router with all the bells and whistles, but if you don't require them, you don't even need to touch those settings. Read more
This little portable router is really handy, especially if you do things like trade shows or exhibits where you need a Wi-Fi connection and you don't want to pay the exorbitant rates of the venue or the union that's running the place. In my case, it's a perfect solution whereby I just use my Wi-Fi hotspot connection on my phone to run the router and then I connect the routers ethernet port a network switch.... And that handles all of my display devices that need internet. Saves a boatload of money. As far as travel goes it works just as well. You can use it to hook into the hotel Wi-Fi and then use that to run a cable over to your laptop or to whatever other devices you might have. Again, this is useful if you do a lot of exhibits because you can set up all the stuff in your hotel. Am rim in advance with this router and then just simply take it to the display hall. The user interface makes sense and once it's configured it just works. Overall, I think it's well designed and I really like the fact that it's very compact. I took a picture of it next to a quarter and you can see what I mean. I also like the tether app that comes with it so that you can do all the configuration on your phone rather than needing to hook your computer up. Of course, if you're used to a GUI on a web browser, it works just as well by going to 192.168.0.1 when you've got it plugged into your device. It does come with a sticker that is the default password that you really need to be sure to take a picture of just in case you lose it or it gets peeled off. They don't automatically attach it to the device. So get yourself a backup photo so that you can get back into the system if you need to. Read more


TP-Link AX1800 WiFi 6 Router Archer AX21 Dual Band Wireless Internet Gigabit Easy Mesh Works with Alexa -

TP-Link Roam 6 AX3000 Dual-Band Wi-Fi 6 Travel Router Multi-Gig Portable OpenVPN WireGuard Public Network Sharing Hotel Cruise

TP-Link Roam 7 BE3600 Wi-Fi 7 Portable Travel Router Dual-Band 2 5G Port USB 3 0 Multi-Modes in
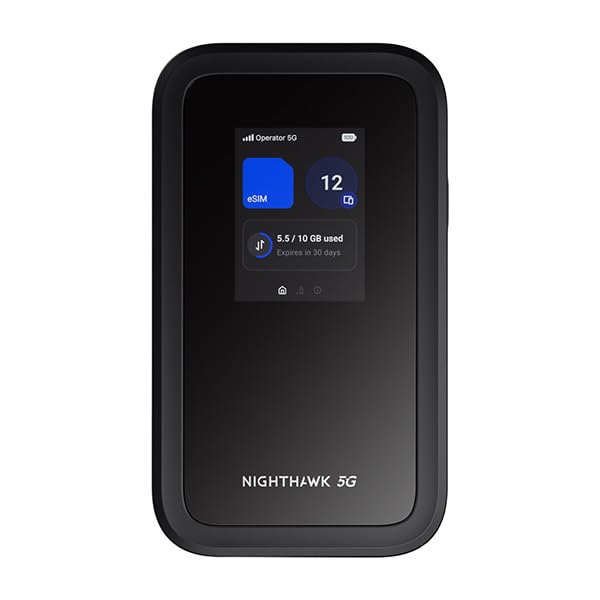
NETGEAR Nighthawk 5G Mobile Hotspot M7 with eSIM or SIM Portable WiFi 7 Router for Travel in 140

GL iNet GL-BE3600 Slate 7 Portable Travel Router Pocket Dual-Band Wi-Fi 7 2 5G Router Portable VPN Routers

GL iNet GL-BE9300 Flint 3 Tri-Band WiFi 7 Router High-Speed 6GHz Gaming WiFi Router for Wireless Internet Long

TP-Link 4-Port USB 3 0 Hub Slim and Compact USB Splitter with Foldable Cord Design USB hub for

TP-Link AC1200 WiFi Extender 2023 Engadget Best Budget Pick 1 2Gbps Signal Booster for Home Dual Band 5GHz

TP-Link AC1300 USB WiFi Adapter Archer T3U - 2 4G 5G Dual Band Wireless Network Adapter for PC

TP-Link AC600 USB WiFi Adapter for PC Archer T2U Plus - Wireless Network Adapter for Desktop with 2
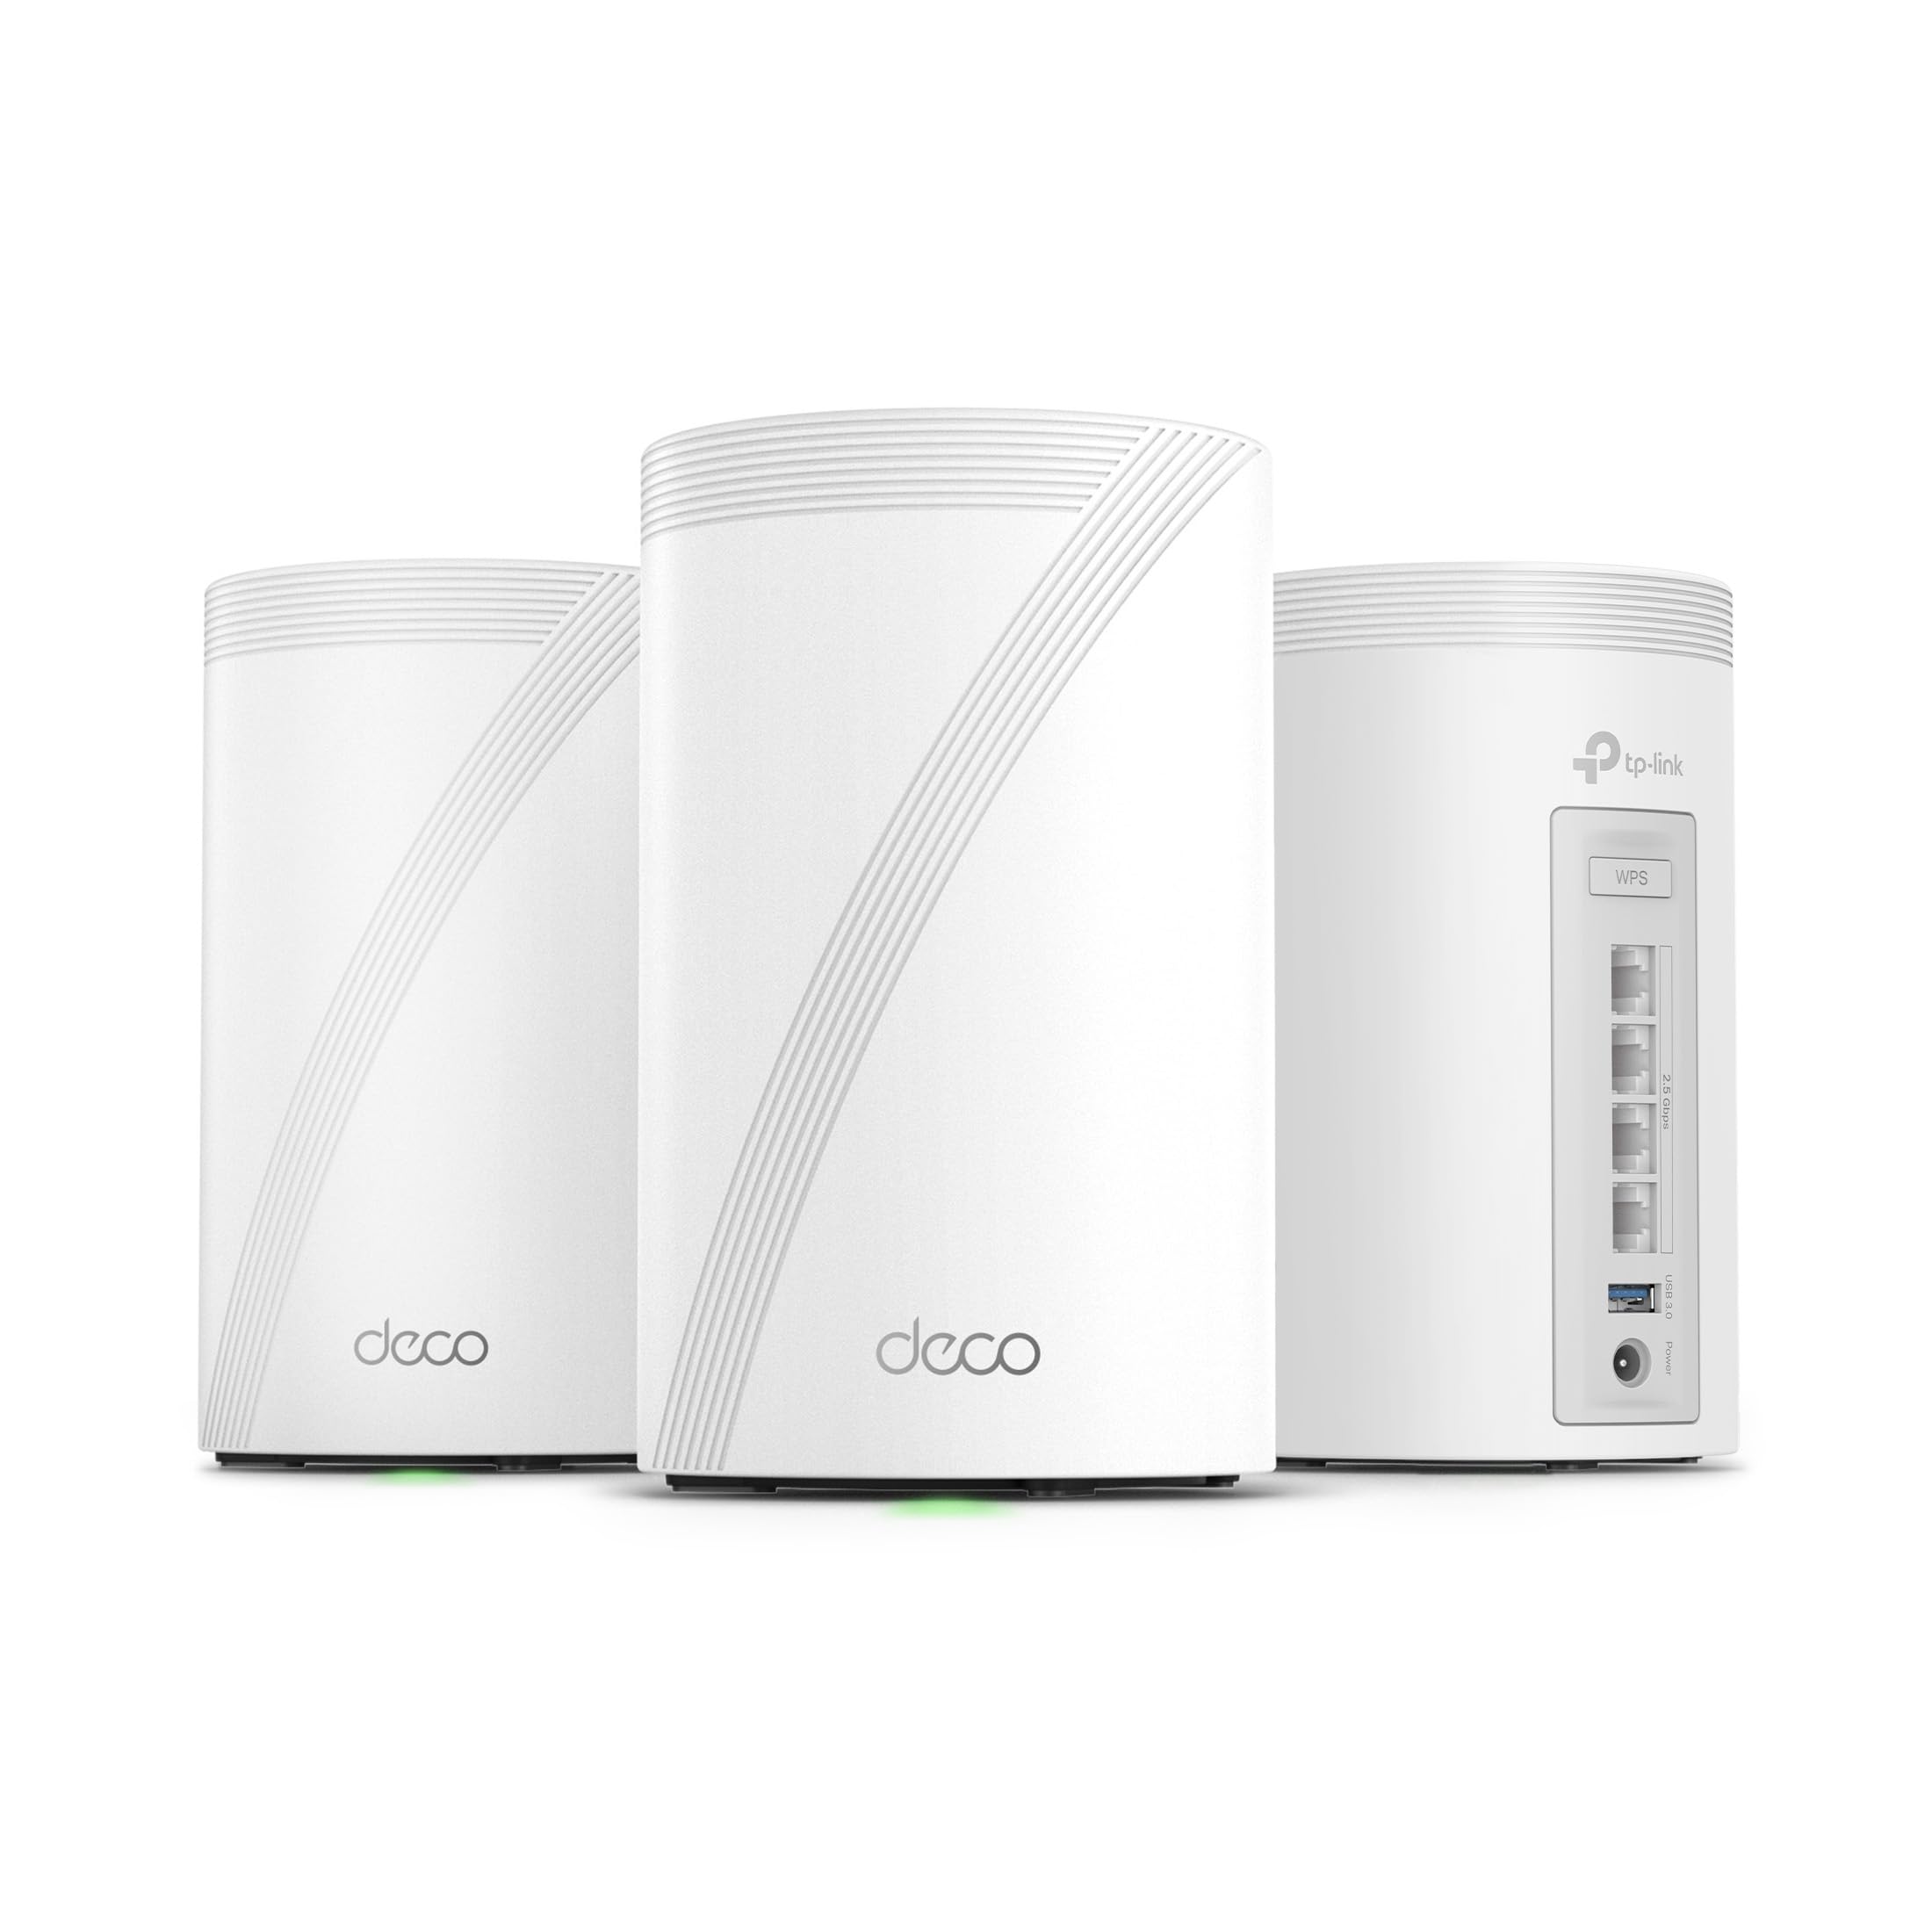
TP-Link Deco 7 Pro BE63 Tri-Band WiFi 7 BE10000 Whole Home Mesh System - 6-Stream 10 Gbps 4x2

TP-Link Nano AC600 USB WiFi Adapter Archer T2U Nano - 2 4G 5G Dual Band Wireless Network Transceiver

TP-Link Powered USB Hub 3 0 with 7 USB 3 0 Data Ports and 2 Smart Charging USB
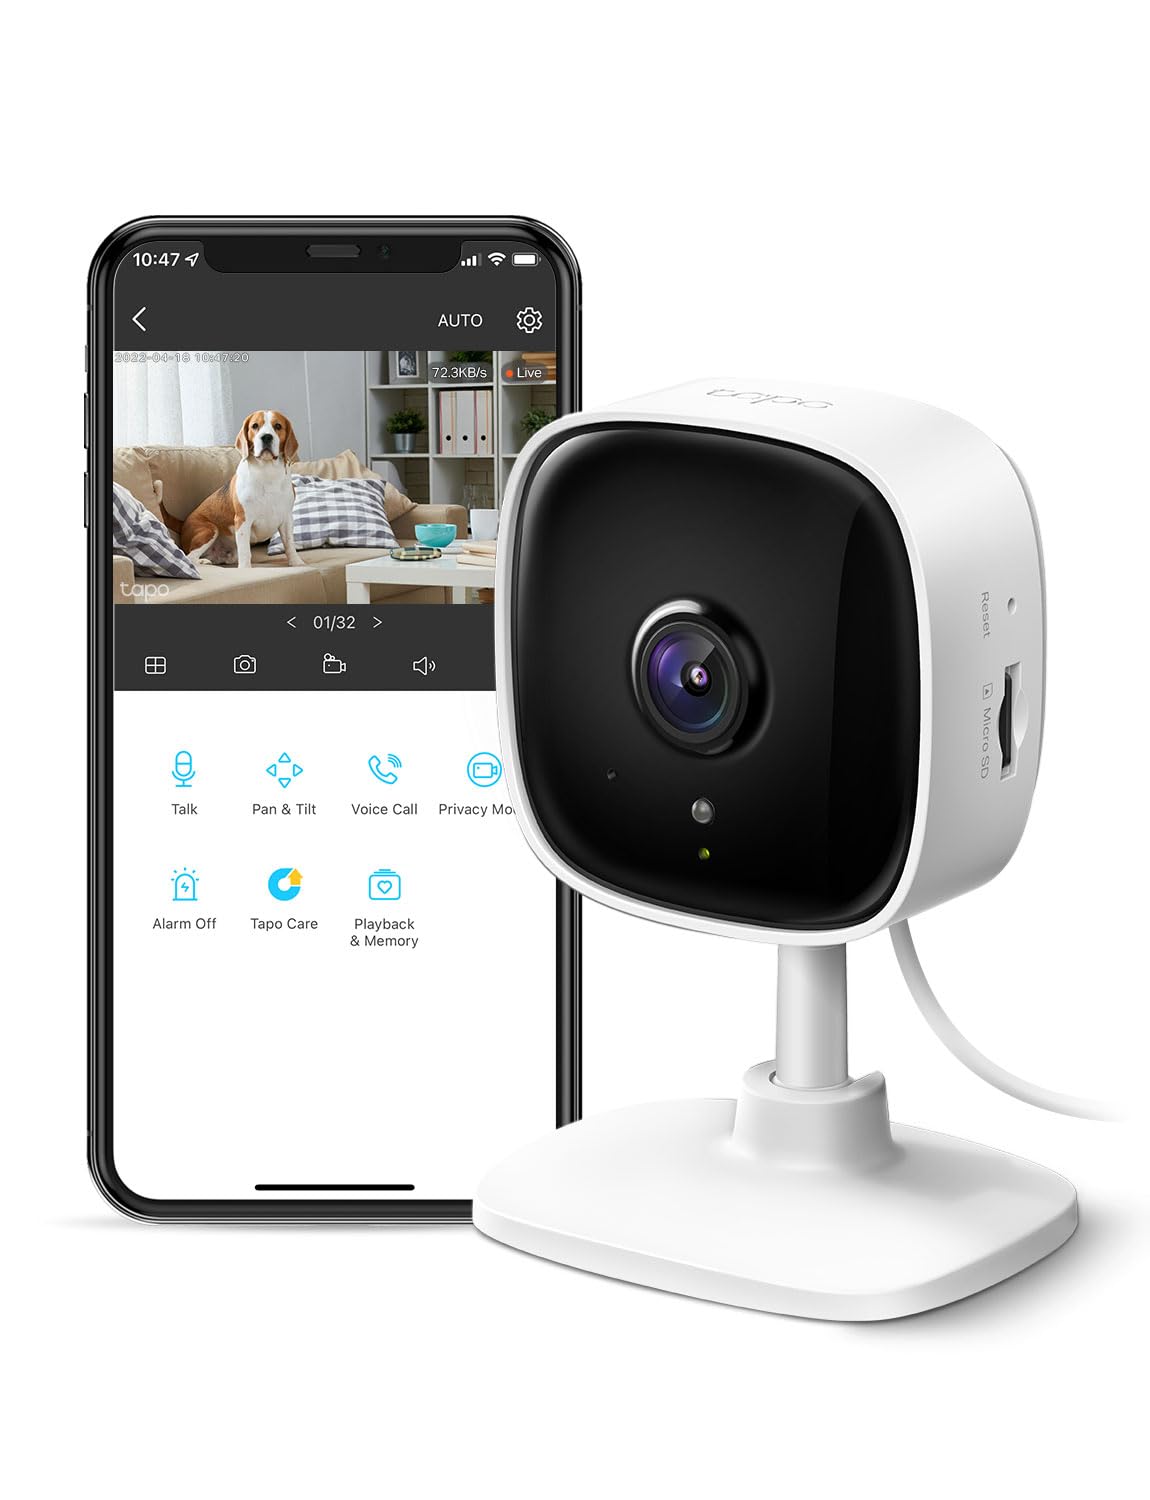
TP-Link Tapo 1080P Indoor Security Camera for Baby Monitor Dog Camera w Motion Detection 2-Way Audio Siren Night

TP-Link UH5020C USB-C Hub 5 in 1-2 USB 3 0 Ports 2 USB-C Ports Computer Accessories Compact and

TP-Link USB 3 0 to Ethernet Adapter UE330 - Portable 3-Port USB Hub with 1 Gigabit RJ45 Ethernet
We use optional analytics cookies to understand how visitors use Ventari and improve the experience. This banner controls analytics measurement only. See our Cookie Policy.