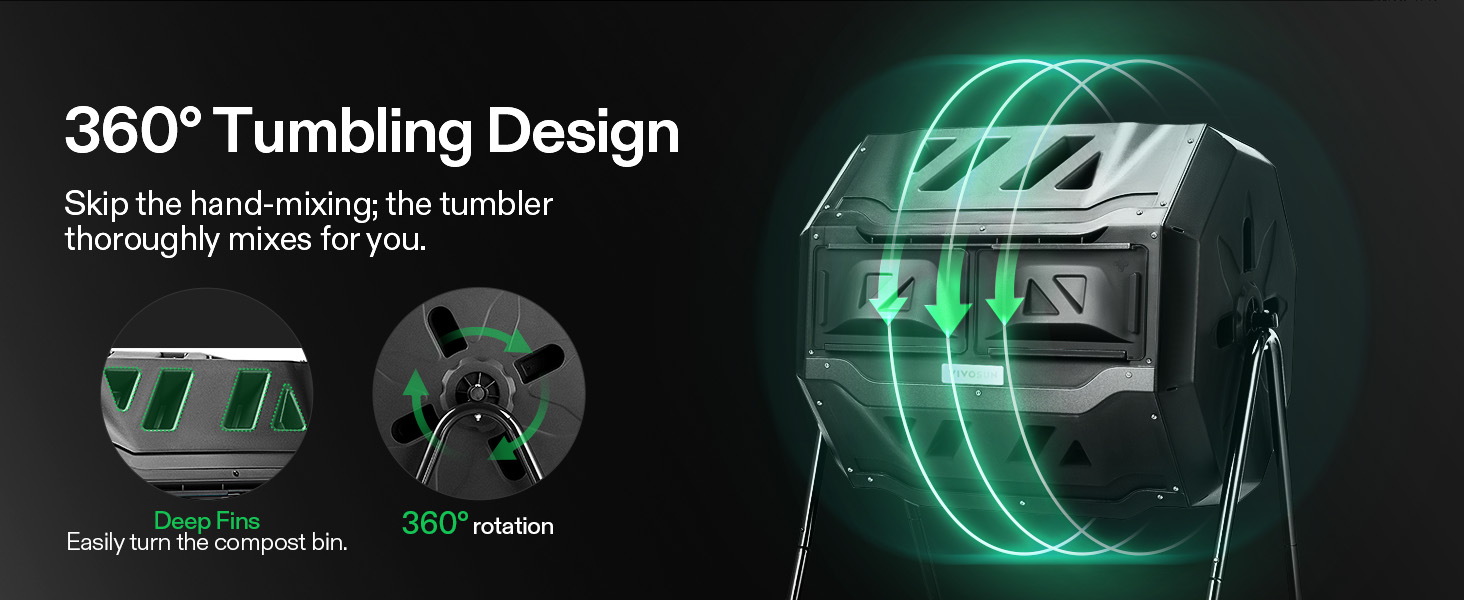
This is a good quality composting bin. Moderate assembly required. I would suggest tightening each screw with a screw gun to help with assembly as you go. My compost is in and waiting for results. Read more
This composter is exactly what I’ve needed! It’s easy to turn, contains the smell, and is massive while also being compact! I took one star off because assembly is SUPER DIFFICULT. It took me over an hour and a half to get it put together and the instructions are terrible. The center divider seems useless and more in the way than anything, getting it in the brackets while installing the final pieces was extremely difficult. It has gaps as well, so it’s difficult to assemble. When empty, it’s very light and easy to move. Overall, I have about 5 gallons of compost already that I just had in a bucket on my porch in it, and there’s still so much room!! It’s easy to till and the doors slide open and close pretty easily (they do stick a little bit). But overall a great product and I’m excited to use it and grow my composting amount/process. Read more
Got this for my wife. Easy to assemble, size is perfect. Love the dual composting compartments. Spins well and sturdy design. Recommend Read more
Was sort of a pain in the rear end to put together. Save yourself the torture and use a drill. Otherwise it came together nicely and works great! Read more
took an hour or more to build (thousand screws/nuts); but worth it. sturdy and good looking. will see how how long it lasts GETS THREE STARS BECAUSE THE DOORS ARE TOO SMALL TO GET MATERIAL IN AND OUT OF THE TUMBLER. NEEDS LARGE DOOR Read more
Thanks to all the other reviewers for their input. Here's how I put it together and it worked great. 1. The first step in the book is to assemble the legs. IMO this should be last because they're big and just take up a ton of your workspace. Put the metal bars back in the box until the end. Also, part E has the pins on both ends. Part F has pins on one end and holes on the other. G is obvious based on the shape and has holes on both ends. 2. When assembling the tumbler, here's the order. Remove the doors completely and attach the door holder part to one side. Be sure to tighten all screws fully as you're not coming back around at the end. I found it easiest to just hold the nut and use the screwdriver to tighten fully. Trying to hand tighten the nuts left me with sore fingertips and no improvement to function. Attach 3 of the sides (for a total of 4 sections) or 4 of the sides if you want to make the middle both easier and harder at the same time (keep reading and then choose your path... wisely...) When attaching, pop in the clip parts along the long edge first, then the short edge. It's easier than the reverse. Attach the other end to the 4 or 5 sections you already assembled with the first side. This will keep them in place as you add the middle insert. Slide the middle insert in slightly off kilter and rotate it into place. If you have 4 pieces this will be easier, but it will fall out more easily so you'll be cursing while you attach the 5th panel. If you have 5 panels attached at this point, you'll need to angle it in, then bend it slightly to pop past the inner fins and shift it into each of the slots on the inside of the panels. Note here that there are black arrows both on the inside of the panels and the center divider. Make sure they're on the same side for the best fit (the arrows on the center divider are only on one side. Make sure they point to the ones on the panels.) Another important thing about the center divider that I got from another review. It will be flush against the panel that holds the doors. It will appear to fit correctly there. For the other panels, there will be small openings in the corners. This is expected. The measurements of the unit are such that it cannot be flush against all the sides. It's ok!!! Add the remaining panels and be sure to fully tighten all screws. Again, if you hold the nut in place rather than trying to screw it on, it will be easier. Assemble the legs Insert and attach pole (yes the nut only goes on "so far" and then stops. This is expected) Add the doors, plus symbol outside Voila! I can't speak to how well it composts yet, but anything will be better than my current pit method. I'm happy so far and will probably get a second one for all my composting needs. Read more
First, the pros: 1) Extra screws and nuts were provided. This is rare nowadays, but this came with 4 extra sets of screws and nuts and 2 extra center pipe end caps 2) The nuts are self-tightening: you only have to get them started a few turns then you can screw the screws from the outside (with the included Philips screwdriver) and they will tighten without having to hold the nut with your finger or a wrench. This is key since it is hard at times to wrap your arm inside of the bin to hold the nut while tightening the screw from the outside. 3) Thickness of the plastic is pretty good for what this is. It presents as fairly sturdy when assembled. 4) Large size. I got the 43 gallon model and I can tell it will hold a lot of compost. 5) The tumbler rotates smoothly and easily. 6) The legs are sturdy and easy to assemble. Now the cons: 1) not that easy to assemble. I'm 60 years old. I've been around the Ikea block several times. I've assembled huge pergolas and gazebos and carts and sheds and all varieties of machines and devices. I have every tool. I can do plumbing and electrical work, carpentry, both rough and finish, drywall, irrigation, tile and marble. I've done it all. But this wasn't that easy to assemble. The worst part was thinking the center divider should fit nicely into the center grooved channel that goes around the inside perimeter of the tumbler, when it doesn't even come close. I think the manufacturer said, "let's use one center divider for all the different tumblers we make, fit be darned." I spent more time trying to make the center divider panel fit than assembling the rest of the unit. Check out my pictures to see how poorly it fits. I tried flipping it over, rotating the divider every which way, but nope, didn't happen. 2) You have to work your way around the tumbler, adding one panel at a time. It was difficult at times to hold the panels in place while I was screwing them together. There are these raised, stubby posts that are supposed to snap into holes on the adjacent panels and many times the snap was not as snappy as it should have been. Some of the connections seemed a little loose but upon completion, the sides seem to have pulled together as a team and the weight of the compost may push the edges out enough so that those posts snug up against the holes. Summary: I believe this was worth the price and it will function well for several years. Read more