




Awesome for camping
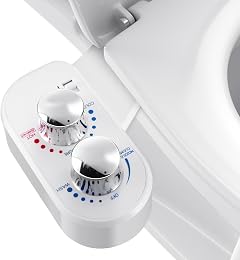
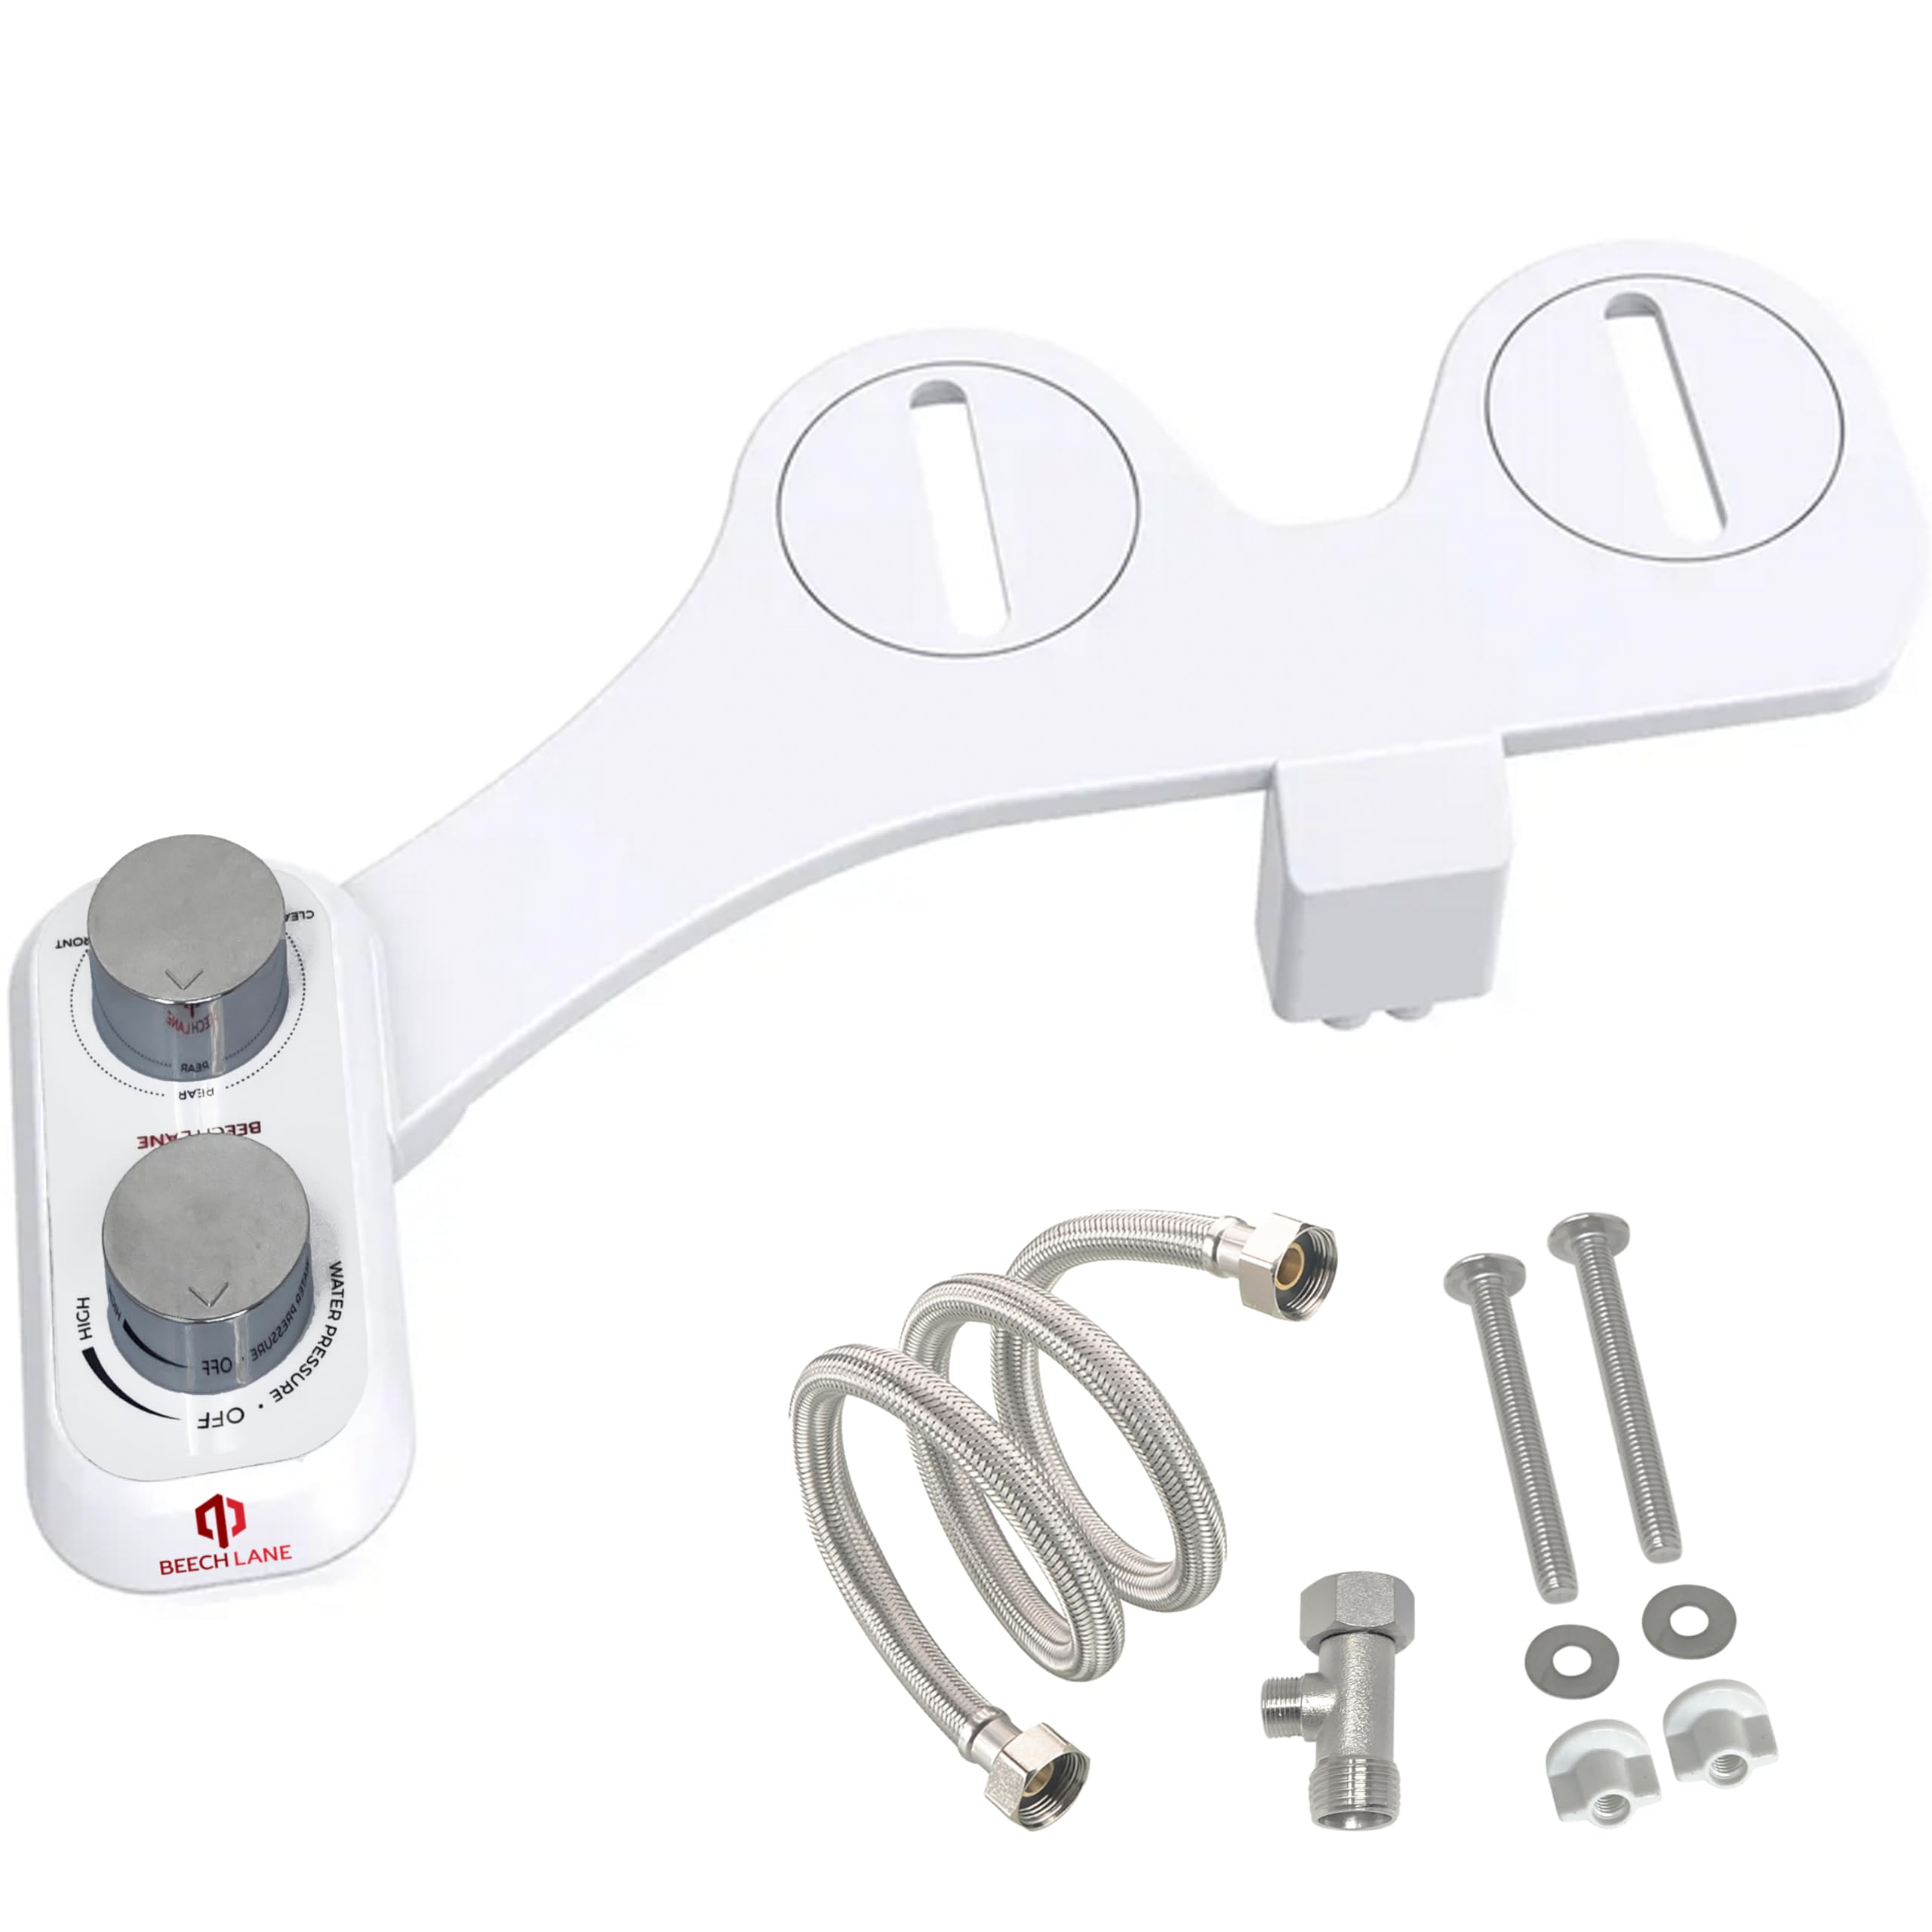
Works Awesome for camping! First of all, not our first time camping. We have been camping for over 25 years but we took a 10 year pause after the kids left the nest. We recently purchased a new camper and on our maiden voyage we stopped at a campground in a sleepy town in Florida. We wanted to work out some of the bugs. I must say there have been amazing changes in the past 10 years and we were determined to adapt to those changes. First we bought a macerator, no more 3 inch hoses, amazing! but we still had issues with toilet paper clogs. We were using our regular paper, the thick soft kind and we noticed about every other empty we had to do the tanks flush and drain and flush and drain and……….. During Covic we purchased a bidet to reduce paper so we thought ,tried one in the camper. I first tried a regular toilet bidet that was on sale ($24 wow) but it would have cost about $15 to retro to a camping toilet so I purchased this one (specifically for campers). From the first day my wife and I loved it. It works great and reduces paper significantly. Included items: 1 bidet, bidet hoses, 3 way adapter to add bidet hose, teflon tape (not really needed), spacers/washer, new toilet seat bolts and an instruction booklet. Appearance: very nice but a little cheap looking, It does integrate with the toilet very well. Knobs are plastic, the frame is all plastic. Insulation: Putting it together was fairly simple, but ended up a little costly for me. Step one: turn the water off, push down the foot pedal to drain the water off the system and place towels under the hoses. Step two: disconnect the water hose at the base of the toilet. Some water will drain out hence the towels. Note: Our camper is plumbed with PEX pipes which are very stiff. I had to work the pipe back into the wall to get the water connecting off of the toilet. Step three: I decided to hook all the hoses up before putting them in place since we were working in such a tight space. I did use the teflon tape, but every hose has rubber gaskets so not really needed. The bidet connection is plastic threads so I was careful not to tighten fully. Note: I purchased an inline shutoff at home depot, just as a safeguard from accidental flow (see pictures). Step four: Remove toilet seat, put the bidet in place, place the large bidet spacer/washer to line up with toilet holes, put the toilet seat back on, drop in bolts and tighten. Note: Everything is a little loose (toilet seat, bolts, bidet and washer). The key is to move things around so they line up. First the seat usually has a cap or cover for the hose. It should slide back so that it rests a little behind and flat on the bidet. Then line up the seat on the toilet. I tighten the bolts fairly tight and then tighten again after everything was complete. Step five: Hook up the 3 way to the toilet and waterline. As stated earlier, my waterline was PEX. I had to cut the PEX tube, reinstall the fitting and then attach the waterline. Note: Many campers today use PEX. I thought at first I would just cut the PEX and reinstall with a hose clamp. That did not work. I finally bit the bullet and bought a PEX crimper for $40 and clamps for $6 to complete the job. This was an unexpected expense but very professional looking and a very tight seal. Function: Very nice, the shutoff works perfectly. We are using 80% less paper and feel much cleaner. Pros: Simple, clean, fairly easy to install, less paper and blackwater issues. Cons: You may need special tools like a PEX crimper and PEX clamps. You will use more water and possibly more frequent emptying. Tips: the shutoff really works for us and gives us piece-of-mind. The plastic threads on the bidet are a little scary when tightening. It feels as if they are going to strip the threads. Make sure the thread is lined up from the beginning. I lightly tightened it and when the water was turned on, it leaked a little. I tightened until the leak stopped making sure to not over tighten. Read more