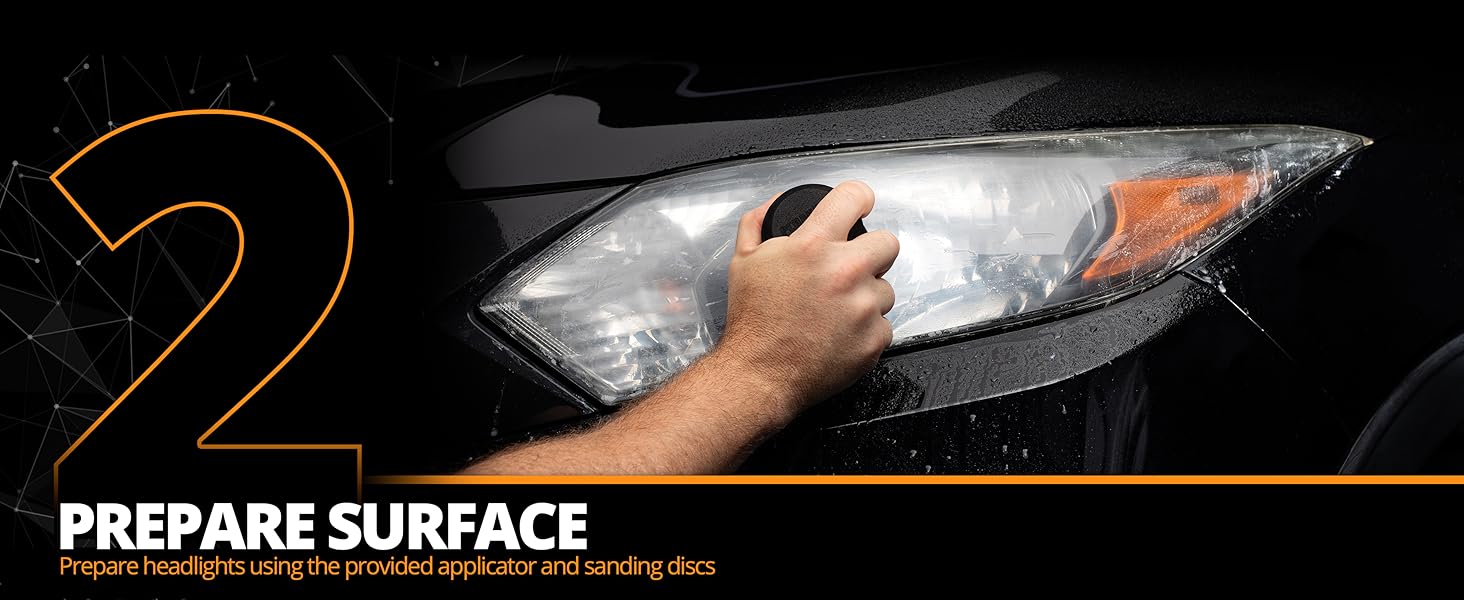
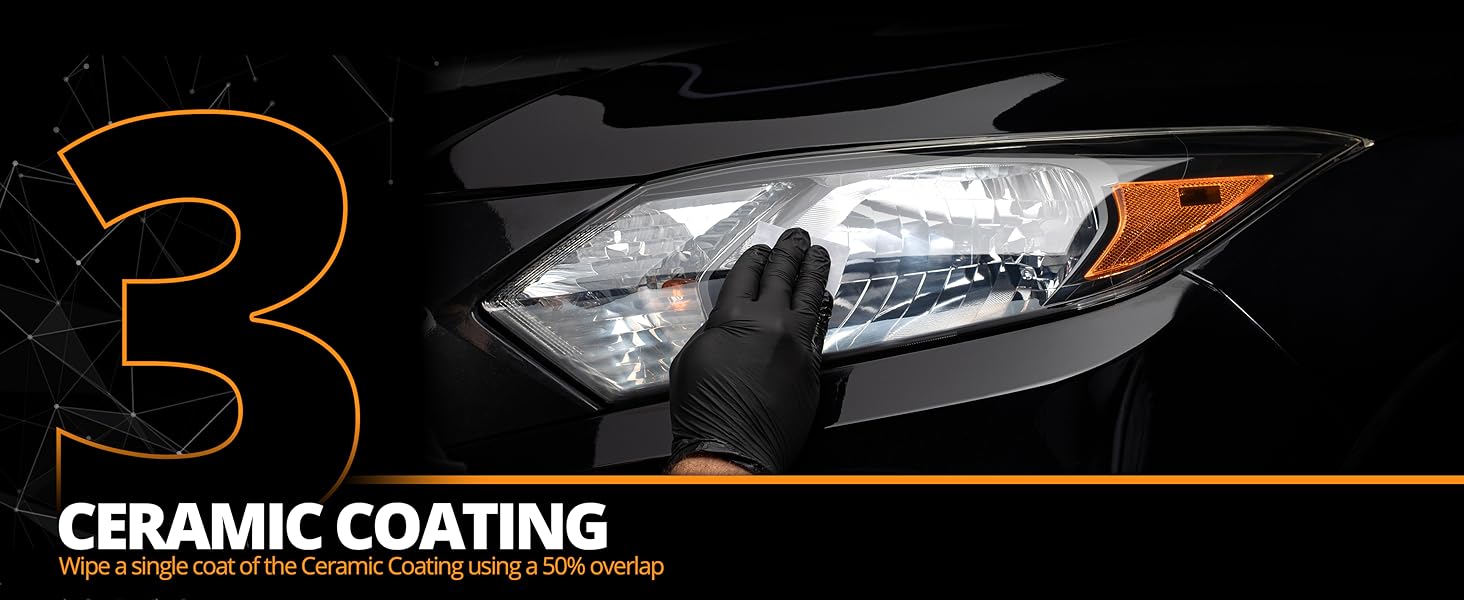
This product works so well, the amount of effort and time you spend on it is far exceeded by the results, it's almost like magic. Look at my before and after pictures and see for yourself. The headlights I used this on were oxidized, I normally use headlight polish on it every month or so to clear it up but it takes a lot of effort, the results aren't amazing and it only lasts a few months. The before pictures show the extent of it after a complete wash and wipe down with isopropyl alcohol. The instructions were clear, though I did notice one typo, it mentions to use a red sanding pad followed by gray, but my kit came with red and green, I just assumed green for gray and it was fine. After washing the headlights you must dry it thoroughly and if you sprayed water all around, dry or soak up as much water from the surrounding area as possible. This is important, you don't want wind to move standing water so that it sprays onto the headlight at the worst time (like the clear coat step), take no chances. If you have an electric duster, an 18V job site blower, or an air compressor, use those to blow all standing water away. If you get water into the hood while washing, don't lower the hood until the headlights are fully done and you waited for the clear coat to dry/cure completely according to instructions. The hood in the up position can hold water in it, it has drain holes to drain water out when it's laying down flat, if you lower the hood before the clear coat is dry the water will run out of the drain holes right onto your uncured headlights, leave the hood up. Most of the time and effort you spend will be on the sanding step and that depends on the size of your headlight and how intricate it is, headlights with intricate designs and reliefs will be annoying, you'll have to use the sandpaper by itself without the foam grip and fold it and spend a lot of time on edges and corners. In addition to the instructions I highly recommend you mask off the entire surrounding area with painter's tape, make sure you fold the painter's tape over and into the gap between the headlight and the bumper or fender. The nail biting part is at the end when you're applying the clear coat, you obviously don't want to mess it up, you're undoubtedly going to notice you missed a tiny spot, despite the directions saying not to go over it in multiple passes, I did it anyway and it turned out fine, you just want to do it quickly before it has time to set. The clear coat is sorcery, it self levels, I even saw a few tiny air bubbles and those all disappeared, after an hour it was dry and the finish not only looked 100% clear, it was completely free of defects and texturing, it literally (I can't emphasize this enough) looked like a brand new headlight. I expected a clear coat applied with a small gauze pad to be uneven, have visible strokes and texturing (like brush strokes), instead it's completely level with no marks and has no texture whatsoever, when I rub my fingers over it the surface feels shiny, reflective, slippery, like a new headlight. The result was so good I kept staring at it for over ten minutes at all angles. The whole job probably took me roughly one and a half hours from start to finish including masking, washing and drying the headlights. The sanding steps take the longest, the clear coat step is done in a minute or two. Time will tell how long it will last, if it even lasts a year I'll be happy. The pictures show driver's side "before" (I didn't take a picture of passenger side "before" but it looked the same), then an after shot for both driver and passenger side. Some things about the "before" shot: 1. It may look like light oxidation because you can still see through it, that oxidation is lighter than it normally would be, it hasn't been that long since I last polished it with headlight polish. Had I left it for a few more months it would have become totally opaque. 2. If you're wondering why there's a sharp line where it becomes completely transparent, that's where the hood sits and blocks the UV (like a farmer's tan). Read more
I had used other types of headlight restorer years ago ... the kind that used a drill. I never found that those worked that well. Today I used this product to restore a headlight on my 2012 GMC Sierra. One headlight is new having been replaced after a fender bender, so the older one stood out. This stuff is easy to use and works very well. I wouldn't say the restored headlight looks as good as the new one, but it looks A LOT better than it did. The directions are clear and with the steps numbered it's easy to use. Took me about 15 or 20 minutes to do one headlight from start to finish. Since I only needed to do one I have product left over to use later if necessary. Read more
...foggy, yellow headlight syndrome? If so, there's still hope! If you have dealt with in the past or are currently dealing with this silent but frustratingly annoying problem, just know that you are not alone! You understand not only how terrible it looks but also more importantly how it can restrict the amount of light that shines through at night time while trying to drive! Well finally there is hope! Finally there is an inexpensive and unbelievably effective solution! So if you or a loved one understand the frustration of not being able to solve what seems like such a simple problem without using methods that require a "professional" to charge you ridiculous amounts of money for a solution that may or may not even work. Or if you've fallen victim to "As seen on TV" promises or that quirky yet engaging young man who approaches you at your local gas station with claims (and quite effectively to be fair) to be selling the "next big thing" in headlight restoration... THERE IS FINALLY AN EFFECTIVE SOLUTION!!! Ok, all joking aside, plus I wanted to make sure I got your attention. First and foremost I could understand how this review may come across as some type of paid promotion or that I am gaining something from submitting such a lengthy review that unabashedly shows love to this amazing product. Well rest assured I am not! I am just your average dude who decided to give this product a shot because quite frankly nothing else works! The reviews for this ceramic headlight restoration kit we're very positive and provided me somewhat skeptical optimism but I figured all these other dudes and dudettes are showing pictures and talking about how great this product works that I figured for the price it was definitely inexpensive enough to give it a shot. Why not?! Over the years I've probably spent at least 15 to 20 times that amount trying to remedy this really annoying problem! Seriously folks it is an issue. If you have no one idea what I'm talking about and have never had to deal with it then you are very lucky, but if you're here reading reviews and thinking about buying this product then you just know. You just know that it can really make your car look dirty and old, but most importantly it can be a legitimate safety issue! If your headlights can get as foggy and yellow as mine it can seriously effect the amount of light my headlights are shining onto the road in front of me and to the cars coming towards me. That's pretty scary! It has gotten so bad recently that I have questioned whether my headlights are even on or not because the lack of light shining from my headlights! That was when I decided to do yet another dive into finding a product that would actually work. Well I found it, and this Cerakote ceramic headlight restoration kit is the answer! A couple things of note when using/applying this product. Pay attention to the manner in which the instructions tell you to apply or scrub. The first step you're using a small circular motion with pressure, and then the second step you're supposed to use short back and forth strokes, and then the third step requires a different method of applying as well. I only mention this because it was easy for me to get distracted or lose focus and start using circular movements when I'm supposed to use back and forth movements or vice versa. The manner in which you do each step is important so keep that in mind. The most important thing I can suggest about this restoration kit, is to keep the faith! My headlight didn't look foggy after the first step as stated it would so that started making me skeptical that I've been had yet again, but stick with it! I stated above there were times where I kind of just lost focus and wasn't applying the cleaner or scrubbing the cleaner the proper way and then with my headlights not being foggy after step one I thought I was just kind of going through the motions and what was the point?! Even through me trying to sabotage the application and the cynical and skeptical thoughts creeping back in my head yet again this product still delivered way way above and beyond what I had hoped for! What I don't understand is how this product doesn't have five stars across the board and isn't promoted more heavily, because it is legit and it works! Trust me guys I get the frustration of product after product failing to come through, but this product delivered in every way possible and obviously I cannot recommend it enough!! If you're tired of your foggy, yellow headlights, or getting more and more nervous driving a night because the light projected in front of you seems to dissipate more and more over time. Just buy this headlight restoration kit! I promise you will not regret it!! After literally years and years (and different products) of trying to find a solution this Cerakote ceramic headlight restoration kit is the solution I have been looking for all along. This company has earned a lifelong customer and fan and I would hate for other people to continue to struggle to get their headlights clean when there is a very inexpensive and super, super effective solution! Read more