


Worked when original monitor didn't have the option of mounting on a rack
Easy to install, just follow the simple instructions. Worked like a champ! Read more
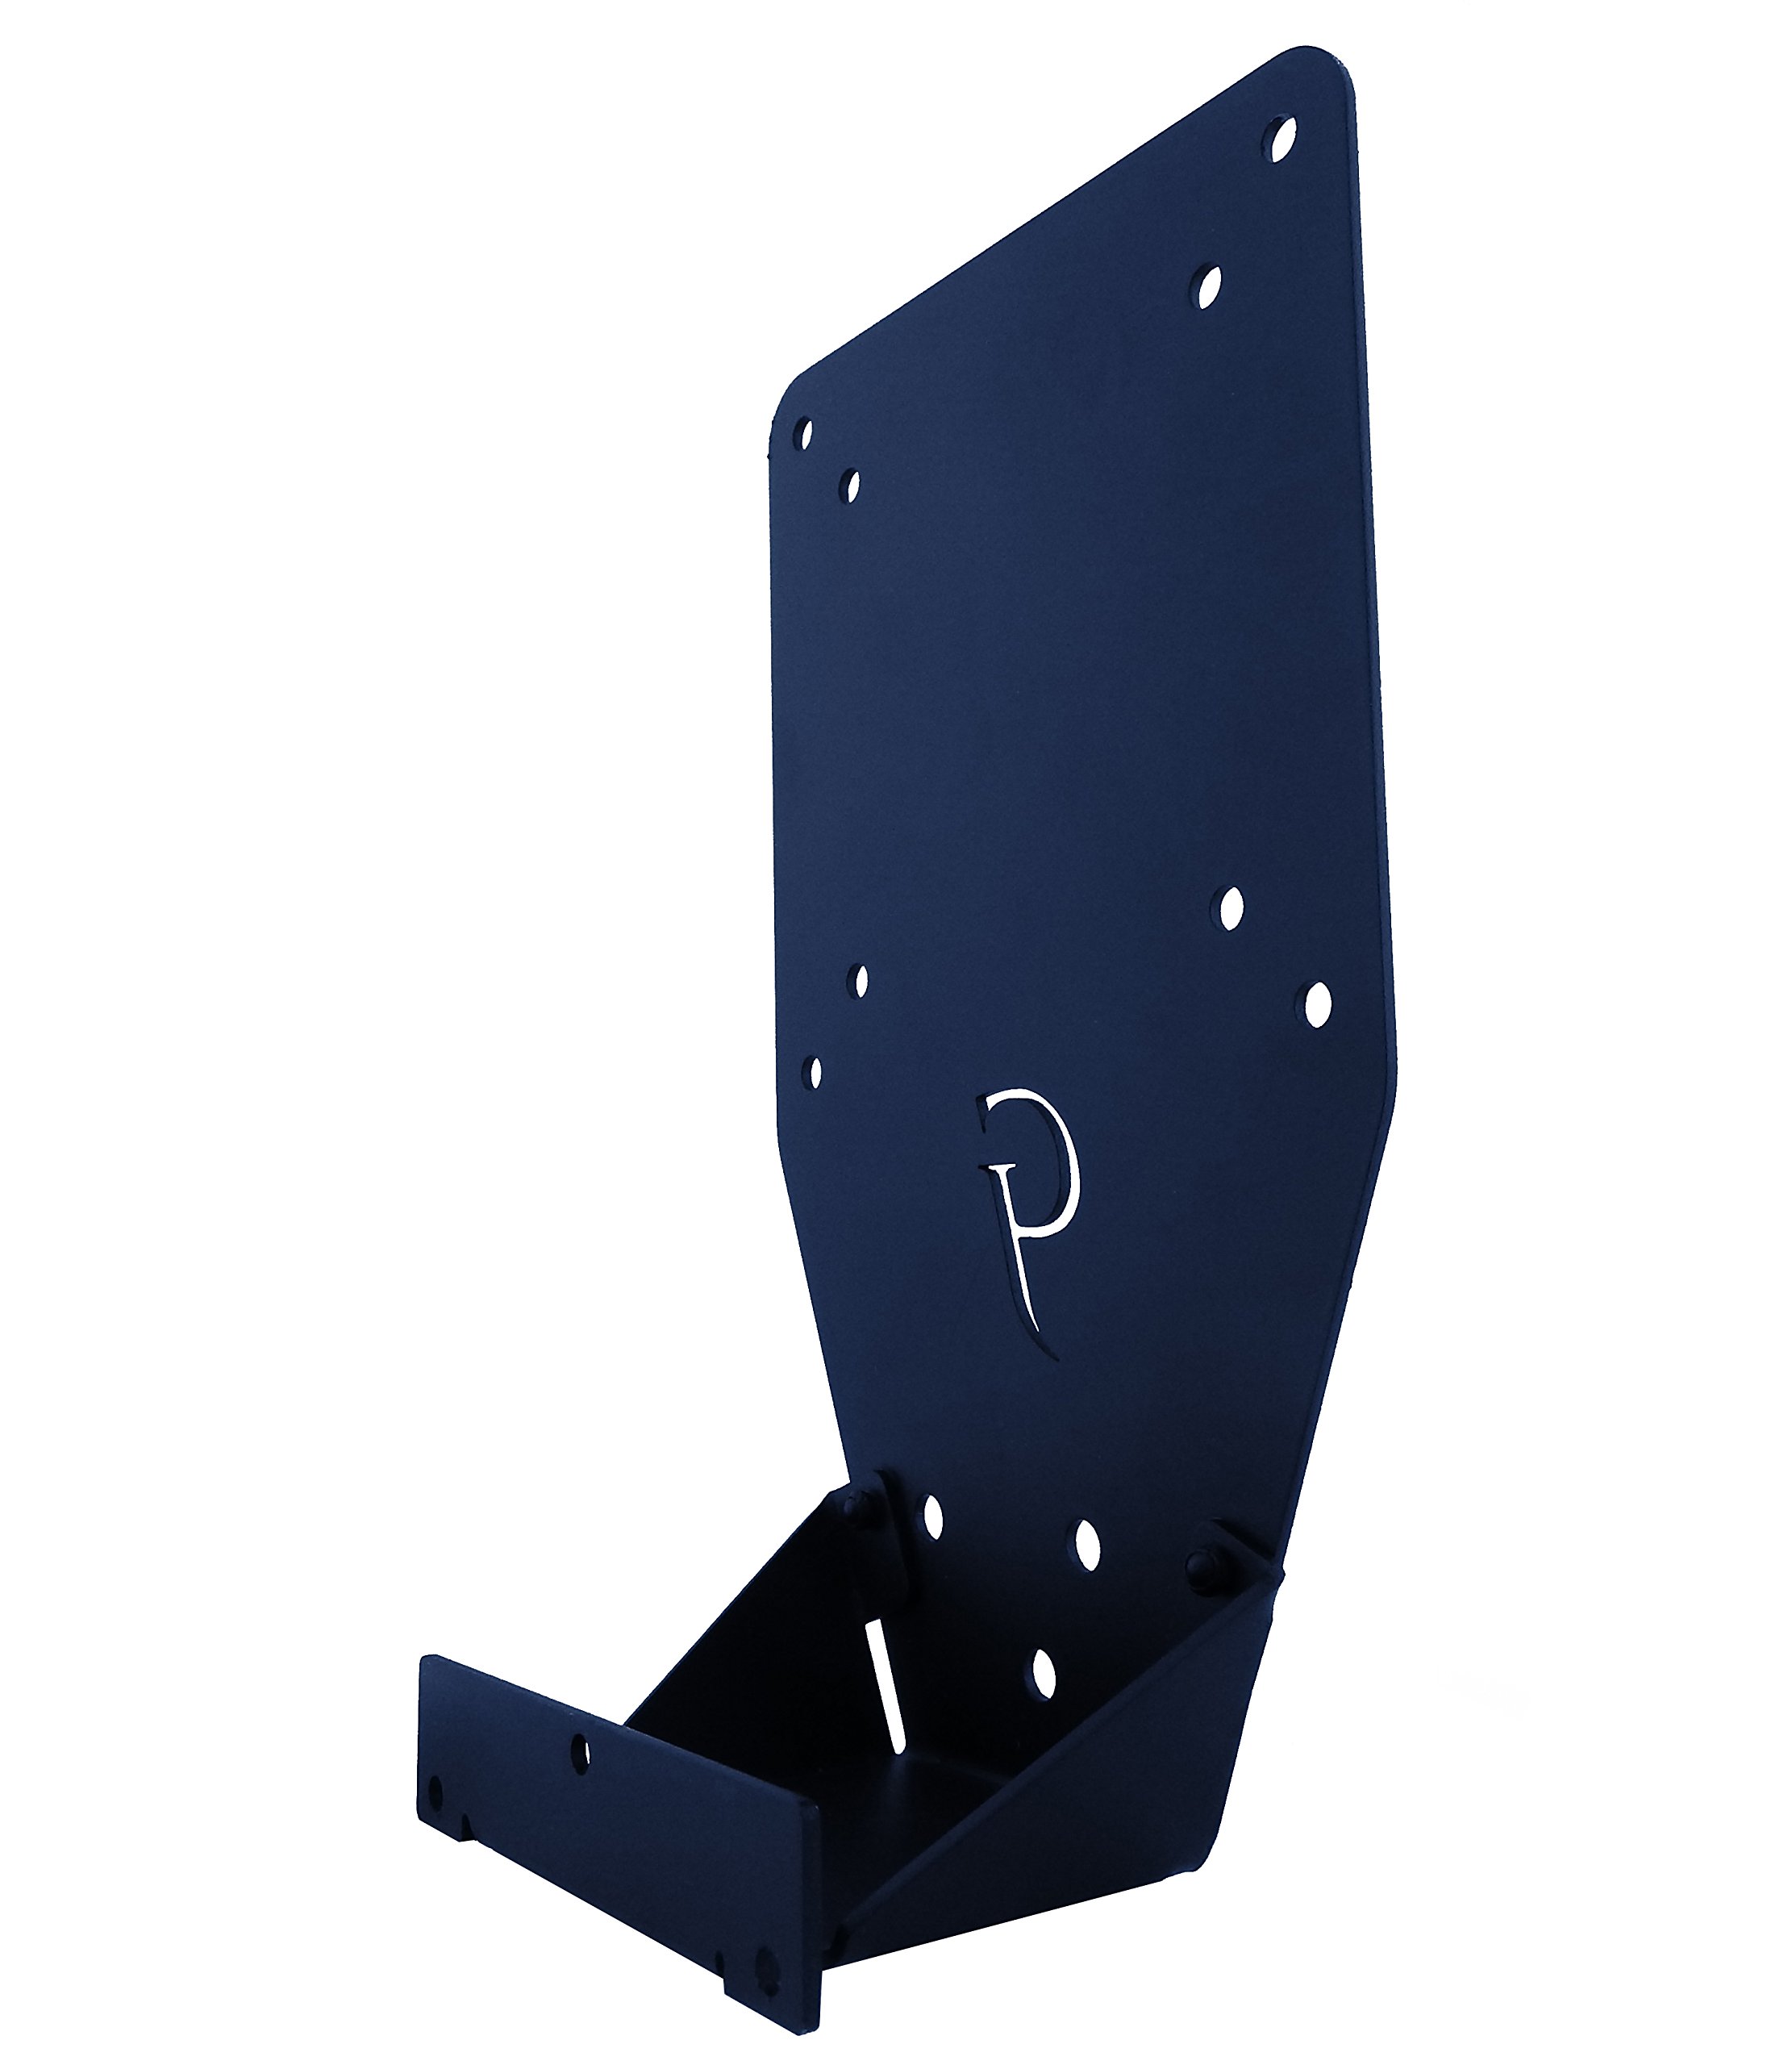
Gladiator Joe
$48.99
Have a question about this product?


Product video 1
Rated 4.3/5 across 8 reviews — well received overall.
Customers find the monitor adapter easy to install.
Generated from the text of customer reviews
Easy to install, just follow the simple instructions. Worked like a champ! Read more
I ordered this for the HP2711x monitors that I have, and I was able to remove the provided bases and install this adapter just fine. However when I went to put in the cables, either HDMI or PCI, there just wasn't enough clearance to be able to hook them up. Going to have to look for an alternative adapter. Read more
The product arrived with the precision of a Swiss watchmaker. In fact, when ordering the product, I was a little skeptical if I could still find any suitable adapter for such an old monitor (HP 2311X). But the product was like made for this, the perfect custom-made product. Okay, if you want to improve a little more, the base of the vga and dvi cables, may be a little tight (see picture). As for the fine finish, the letter G is textured into the product. Read more

If you're looking for a conversion kit to mount an HP2511 or similar monitor, this is likely your only option. The process of installing and mounting the conversion bracket left much to be desired. The conversion kit arrived with the conversion bracket, four screws, 4 nuts and no instructions. I made my way back to the Amazon page to look at pictures to get a sense of how to get this mounted onto my monitor. Here are some instructions I followed to get this mounted. 1. The base of the HP2511 monitor has a button on the rear facing portion (opposite direction of when you are facing the monitor) of the base, which you can depress to release the base. Once you apply pressure you can start to pull the base apart from the monitor. 2. You are left with a spring and plastic covering. On the outer edge of the plastic cover, you'll find some tabs that you can pull apart to remove the small plastic covering, which leaves just the spring exposed. 3. Using a Phillips screwdriver you can now remove the screws that are visible to separate the spring from the monitor. 4. You can now take the conversion bracket and mount onto the back of the monitor with the same screws just removed. If you have wider cables that need to be secured to the back of the monitor, I recommend threading these through the conversion bracket and securing them before screwing in the conversion bracket. I had a tough time doing this once the conversion bracket was in place. 5. The screws and bolts that are provided will likely be needed to secure the monitor with the conversion bracket to your new setup (e.g. monitor arms). Overall this gets the job done, and including some simple instructions would make this a less frustrating experience. Read more
It said I would not receive till June! Luckily they were quick to ship. Product is great! Only issue was HDMI cable plug in is behind the bracket part not by the opening. Not much they can do about that. HP monitor is finally hung with the Acer curve! Read more
I have an HP 2511x monitor. The fit was tight, so the metal flange did not sit 100% but I manage to get it snug but was afraid I might crack the surrounding plastic. The metal could be heavier, it wobbles a bit and has some give. Also I had to tilt my extension arm back by about 5 degrees since it leans. Overall OK, but pricey but there really is no other choice out there. Read more
Solid construction, good fit, great! Read more
The quality of the product is very good. Sadly, our monitors wobble a bit too much as I work on my desk. This causes the visuals of looking at the monitor to be shaky. I have placed two blocks of wood under the monitors near the centers as well as two tennis balls between the back of the monitors and the brackets to act as a wedge and to stop the movement. This seems to be quite ridiculous considering my desk and the built in shelf to which the brackets are attached are very thick, sturdy and solid wood. My husband will build a custom block with a smooth shaped indentation to match the shape of the monitors where they meet. It is a shame that the quality control personnel must not have coordinated with the engineers to test these brackets on actual monitors. If they had taken the time to do so, they would have been able upgraded their design to correct this. The other issue that we encountered as we erected the brackets and installed onto my monitors was how tightly sized the areas are made for where the power and monitor input cords insert. There is not much room whatsoever. Our way to deal with this was to remove the bracket from the monitor and input the cords onto the monitor first. We then had to use quite a bit force to manipulate the bracket back onto the monitors. We were not very optimistic that this would allow us to make it work. It placed quite a bit of pressure on the non power cords on both sides as we had to force a bending turn on one monitor cord and the other side very tight against the outer edge of the bracket. I believe the attached photos show every detail of our uncomfortable situation. We haven’t decided to return these brackets because the overall quality and design are very good. It appears that the manufacturer or designers decided to implement now to make some sales and perfect later. I’m hopeful that when their funds build up that they will take the initiative to upgrade the defects and make them available to their customers. I wish that I could provide a better rating and critique at this point. Perhaps later when (if) I receive the replacement upgraded bracket I can give 5 stars at that point. Read more


Gladiator Joe Heavy Duty Single one Desktop Monitor Mount arm VESA Compatible Fully Adjustable articulating arm Supports Heavy

Gladiator Joe Monitor Arm Mount - VESA Adapter Extension - Compatible with Any GJ VESA Adapter - Raise

Gladiator Joe Monitor Arm Mount VESA Bracket Adapter Compatible with Acer G227HQL G237HL G247HYL H226HQL H236HL SA230 bi

Gladiator Joe Monitor Arm Mount VESA Bracket Adapter Compatible with HP Pavilion 27xi 27bw 27vx 27Vc 25bw 25vx

Gladiator Joe Monitor Arm Mount VESA Bracket Adapter Compatible with Samsung 27 Curved Display CF591-100 Made in North

Gladiator Joe Monitor Arm Mount VESA Bracket Adapter Compatible with Samsung CH711 27 32 inch Laser Cut 100

Gladiator Joe Monitor Arm Mount VESA Bracket Adapter Compatible with 32 Curved Display Monitor CF397 and 24 Curved

Gladiator Joe Monitor Arm Mount VESA Bracket Adapter Compatible with AOC 27B1H 27B1 24B1H 24B1 Laser Cut 100
We use optional analytics and advertising cookies to understand how visitors use Ventari, measure ads, and improve the experience. You can accept all optional cookies, allow analytics only, or decline them. See our Cookie Policy.