
Work perfectly
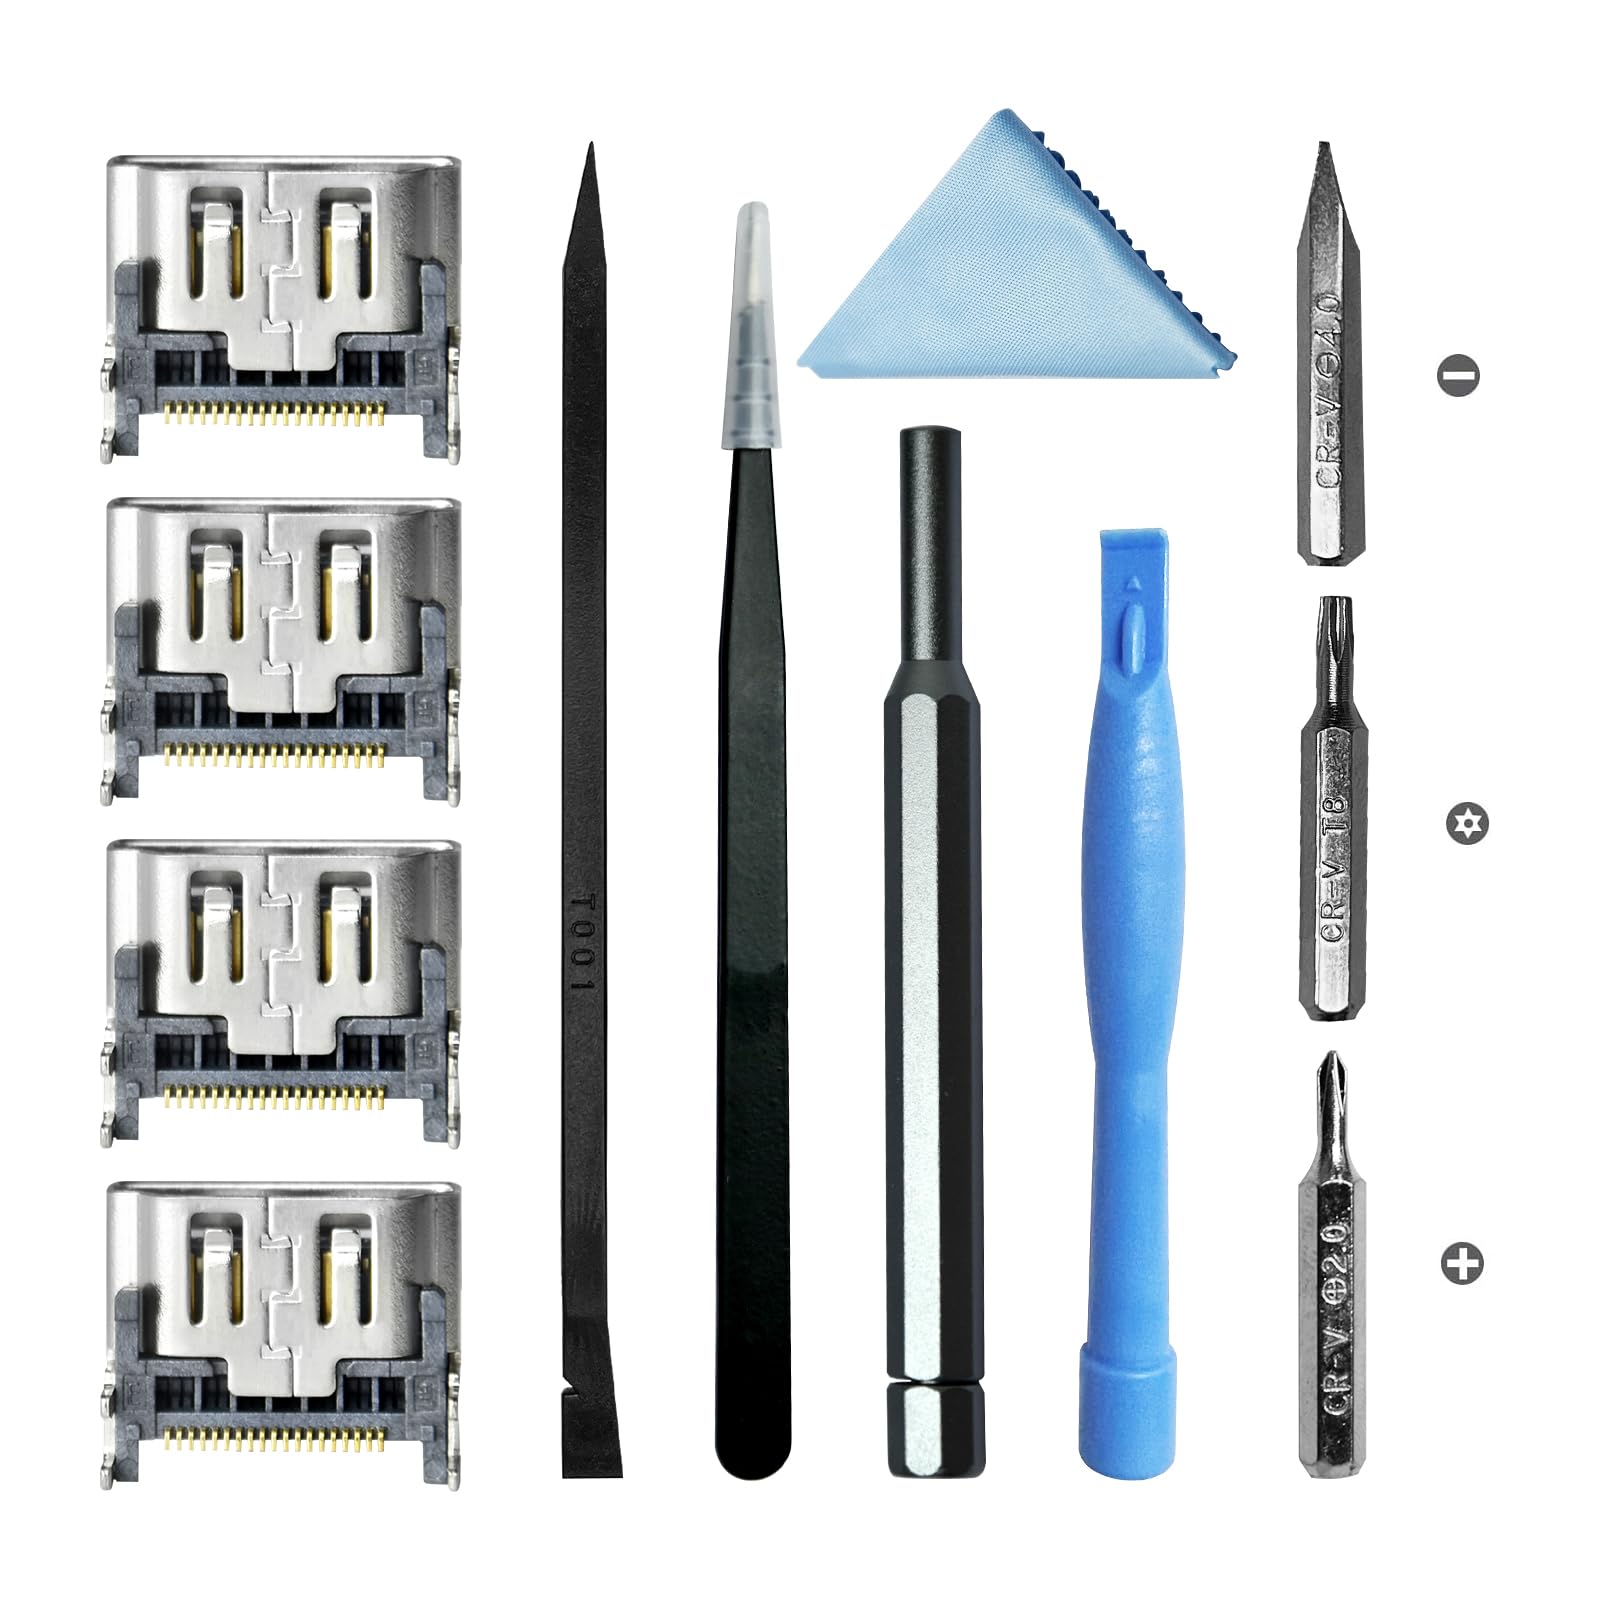
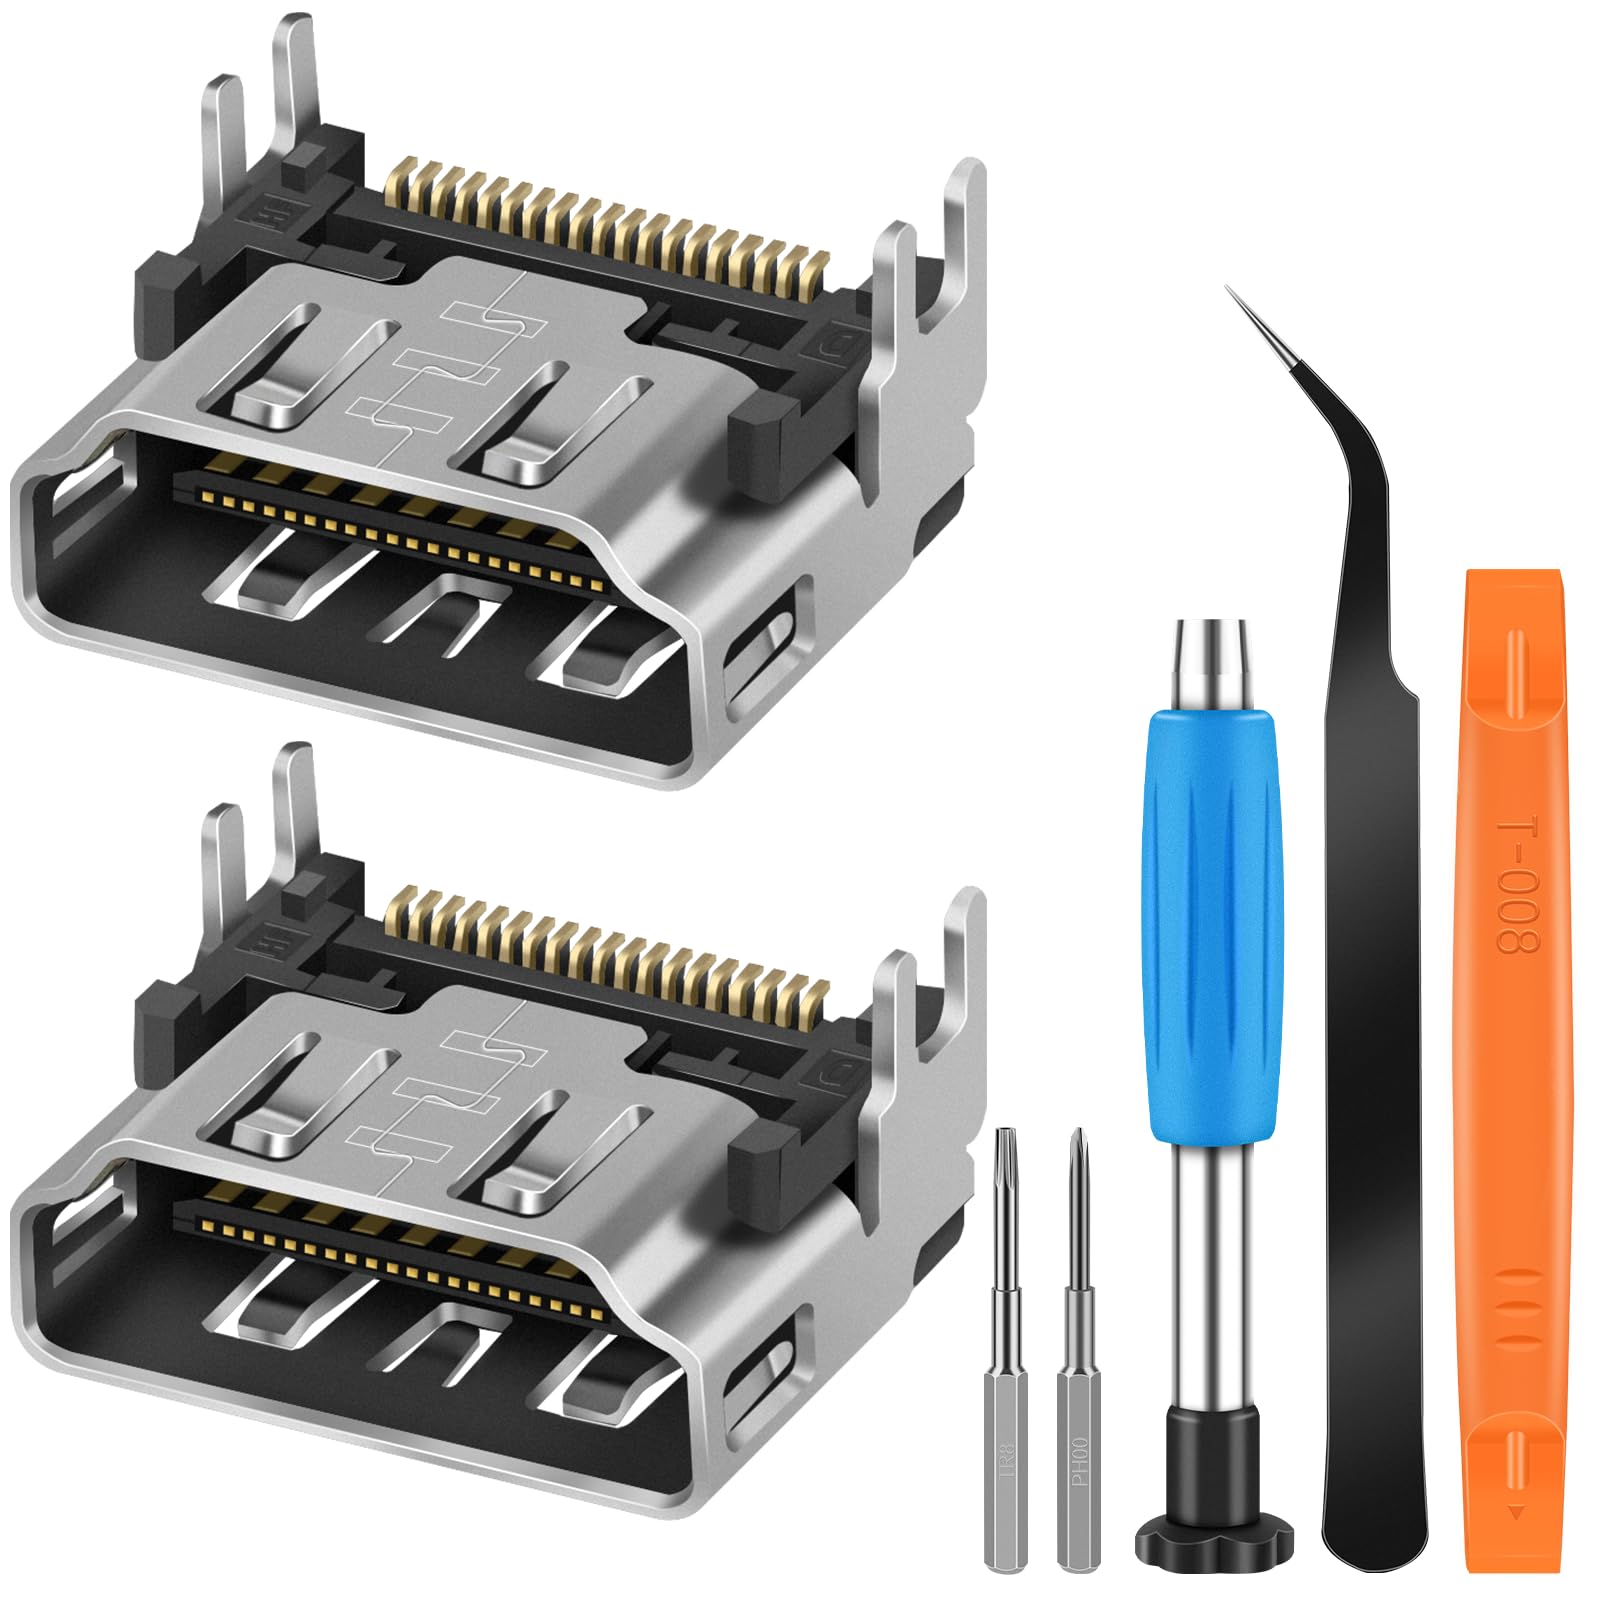
I run an electronics repair shop, and I've used one of these so far. It worked perfectly. HDMI repair can seem daunting, but with the right equipment and a moderate amount of experience it can be relatively simple. Equipment needed: Hot air rework station with digital adjustment Soldering iron Tweezers - high quality tweezers are highly recommended 60/40 tin lead solder Solder flux syringe 90% (or higher) isopropyl alcohol Makeup swabs Digital microscope The kit includes a Philips and a T8 Torx Security bit, which is nice, but I suspect that anyone with the above equipment would have those as well. Anyway.. Procedure: Before starting, plug in the PS5 and make sure it actually turns on. HDMI repair won't help if it doesn't power on. Disassemble the PS5. There are plenty of online tutorials available for this, but use extra care around the liquid metal on the CPU and heat sink. You'll need it when reassembling the PS5. Once you've freed the motherboard sit it on the edge of your workspace with the HDMI port overhanging the edge and facing up. Set your hot air to 440 degrees C and begin applying heat from underneath. To allow the entire area to heat evenly I don't use a nozzle. Some people add flux before doing this, but I find that it doesn't help and just makes more of a mess. After 1-2 minutes you should see the solder on the ground pins melt. Don't try to lift the port just yet. Look carefully at the HMDI pins to see if they're melted as well. Once they're all nice and shiny take your tweezers and gently lift the port away. It should come away without any resistance. **Do not tug** Put the hot air back on it's stand and grab your flux. Coat the grounding pads and HDMI pads with flux. Note: There is a small SMD capacitor a millimeter from the HDMI pads. Use extra care not to brush it off when cleaning flux or applying solder. If you do, it's not the end of the world. The PS5 will work just fine without it, even if you accidentally bridge the HDMI pins to the capacitors pads with solder. Grab your iron and apply leaded solder to the grounding pads to lower their melting point. The factory solder has a very high melting point, so this will help when installing the new HDMI port. You don't have to add a lot, but make sure you mix it in really well. Just rub it around with the tip of the iron. When you're done the pads should be perfect little beads of shiny solder. Some people flip the board and do this on the bottom as well, but I find that it's not necessary. Make sure the HDMI pads are covered in flux, and add a bit of leaded solder to your iron. Run the iron over the HDMI pads a few times until they are also perfect little beads. Use makeup swabs and high proof isopropyl to clean up the flux. I use makeup swabs because they tend not to shred like regular cotton swabs do. Once clean, apply more flux to the pads, and grab your hot air again. Start applying heat from the bottom, just as before. You'll be able to see the solder melt, and once the HDMI pads are all shimmering take your tweezers and sat the replacement port in place. Remove heat and gently press the port in place while it cools. Position the board under your microscope so you can clearly see the HDMI pins, and using the tip of your tweezers try to move each pin. If any of them wiggle you'll need to add flux, then press them down with your iron. With practice you can get them all to set with just the hot air. Either way, once all the pins are firmly seated you're ready to clean the board up, and start putting the PS5 back together. Turn it on and marvel at how awesome you are! Read more