


Good starter set, but here's some advice
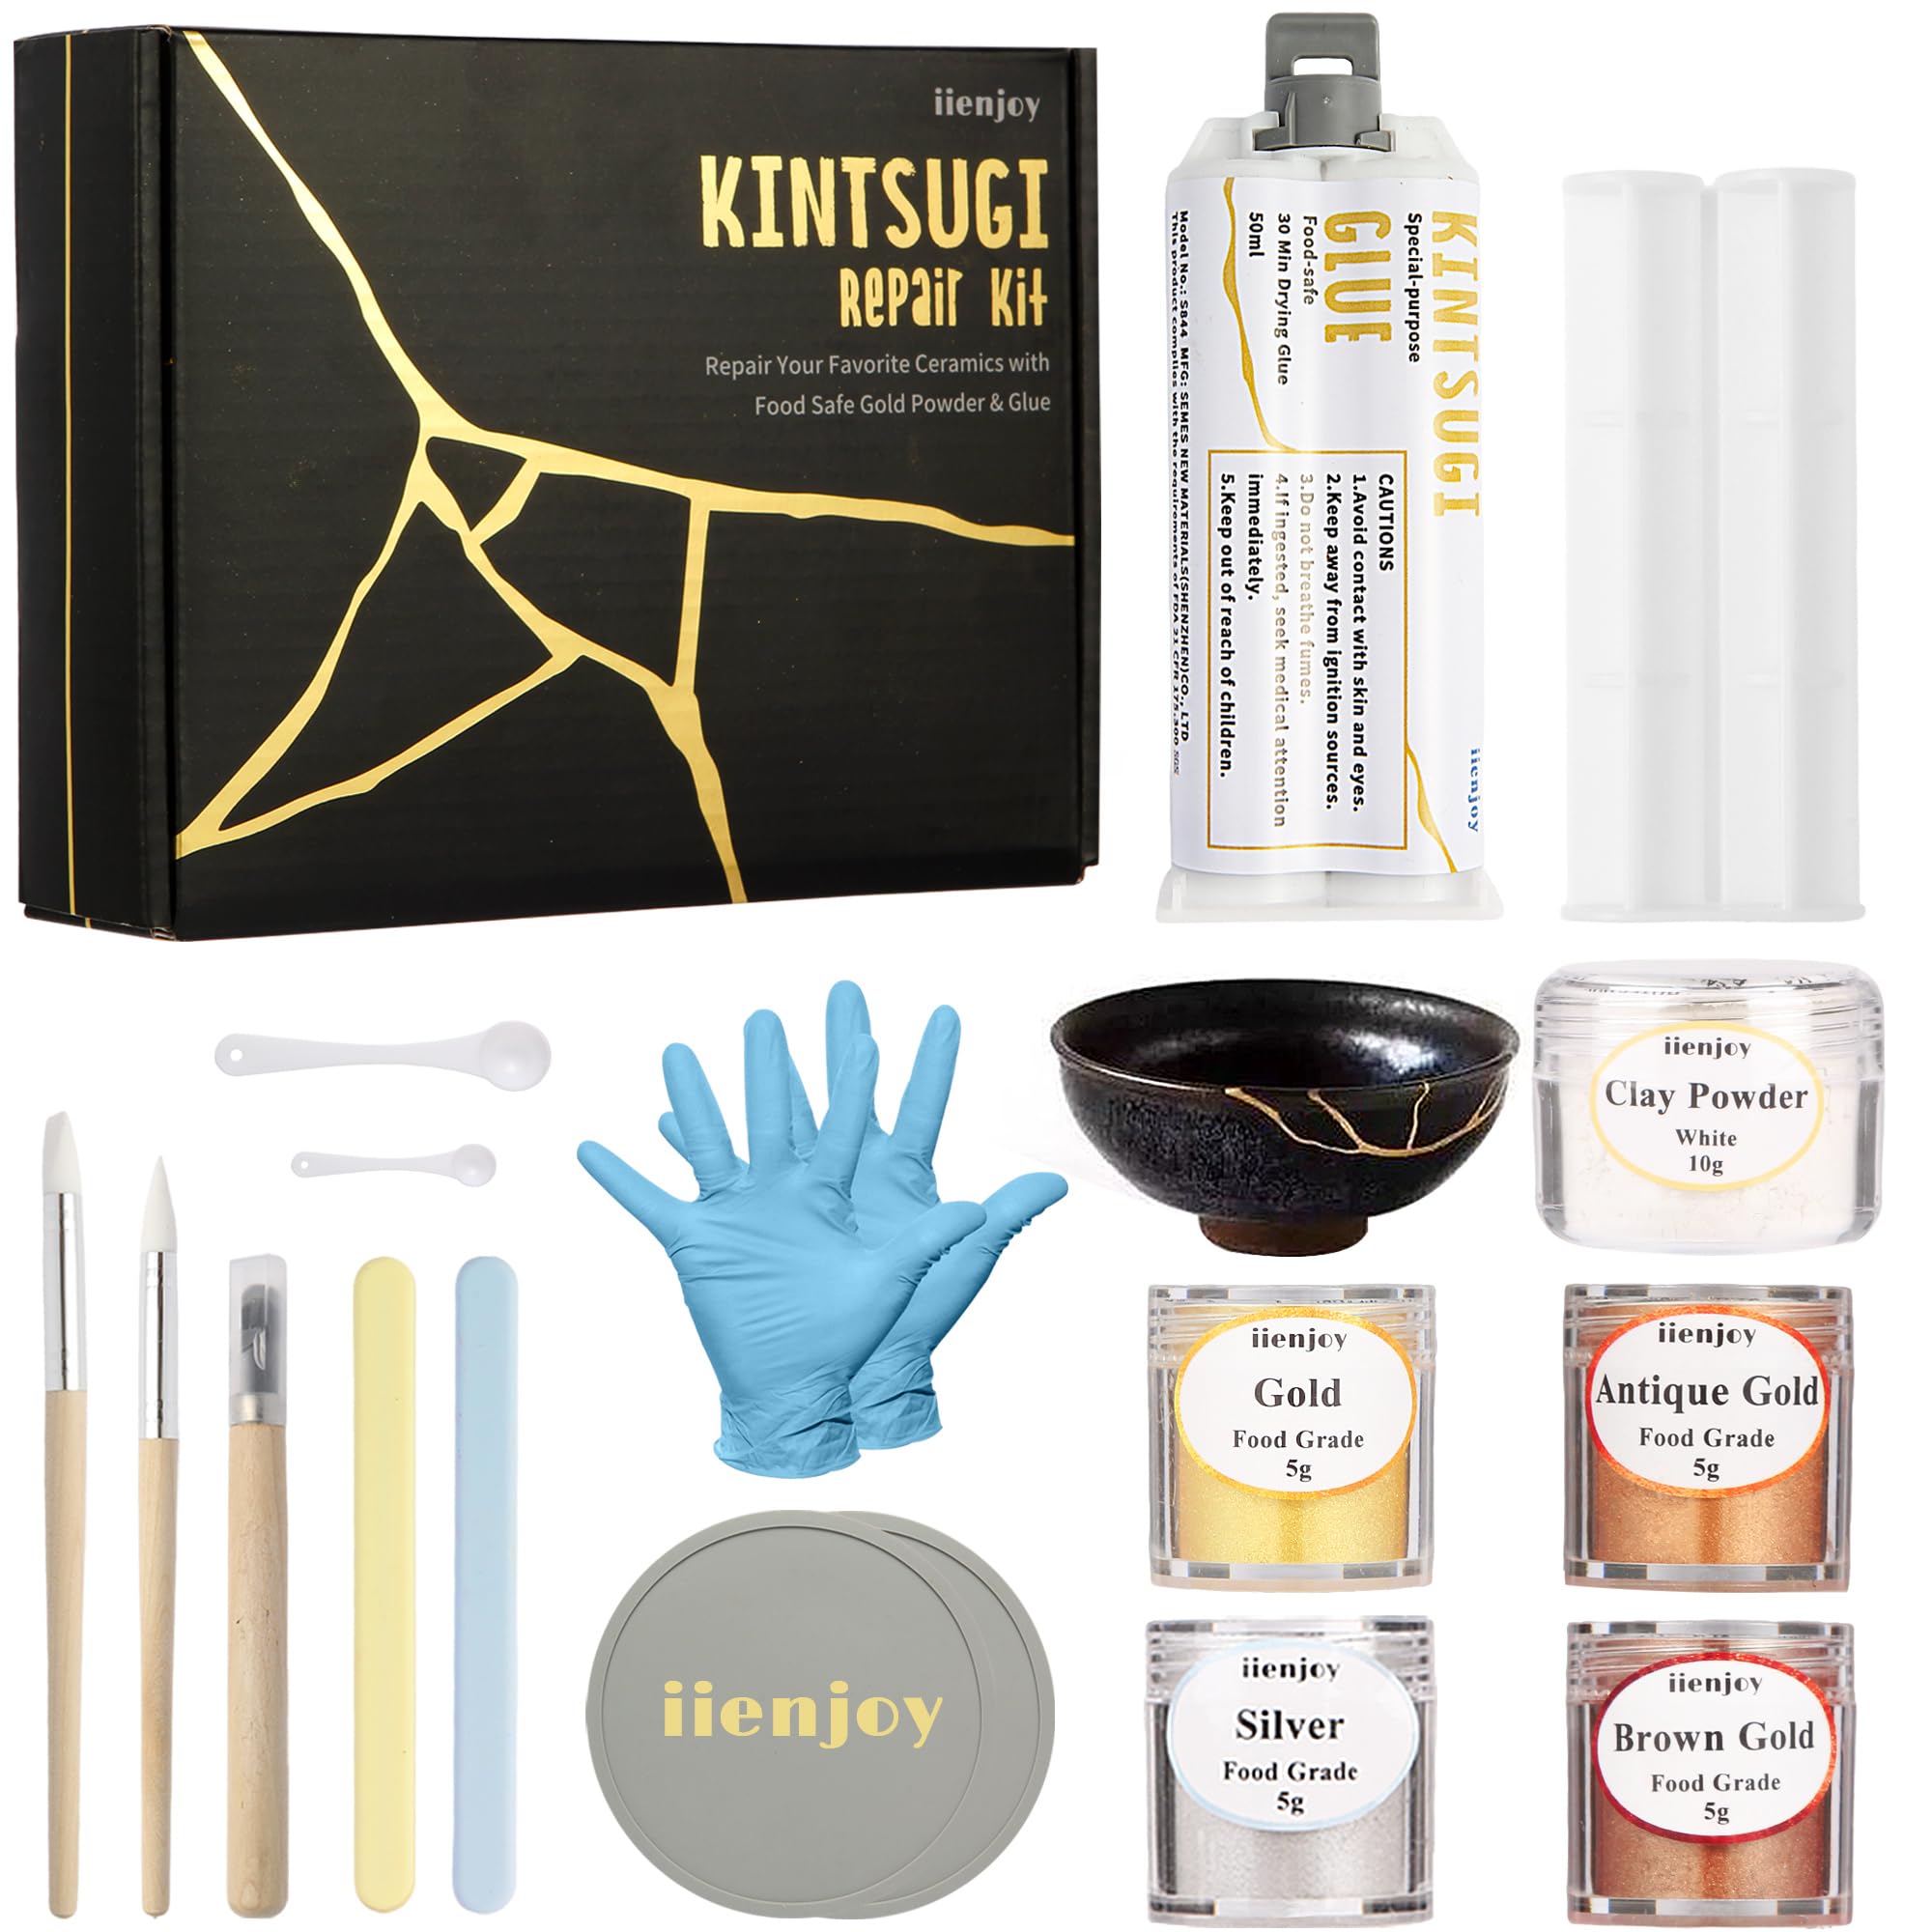
I have never done kintsugi before. I think this is a really good starter set for non-traditional materials kintsugi, and I appreciate that it’s food and heat-safe. With a couple adjustments to materials (and a lot of practice) I will eventually use these tools and materials to repair a tea set that I really want to turn out well. The silicone tools are easy to use, the scraper is a must-have, and I find the epoxy easy to work with. I don’t particularly like the colors of the mica (I assume) powder because none of them look like real metal (haven’t tried the silver), but the quality seems fine. As others have noted, the lack of measurements on the glue, and the mis-match between the size of the scoops and the mixing directions is a problem, but the formula seems forgiving enough that I’ve just estimated and things have turned out fine. After playing around with the set on a bunch of broken bowls I’ve been stockpiling (all mass produced china), I have these observations and advice. I began (as many people seem to) treating the repair process as one step: gluing the broken pieces together with tinted epoxy, which seeps out at the join, giving the golden seam. The problem is the results aren’t very elegant: it’s hard to control the evenness of the bead of glue, and the powder didn’t have the sort of true-gold luster I was going for, even when I mixed different shades together, so it looked cheap. With just a little epoxy seeping through, the gleam of the mica doesn’t show and the join is just stained, not shiny. With more epoxy, I got an uneven bead, and I thought the bigger, raised seam looked sloppy anyway. If I scraped it down, I scraped all the light-reflective part off and was left again with a stained join. So, here’s the method I’ve hit on. In addition to the tools included, I used isopropyl alcohol (at least 90%) for clean up (with cotton pads and a rag. Use this only on the china if you’re concerned about degrading the silicone tools), painter’s masking tape, fine grit sanding paper (600 or so), a fine-tip paint brush, and a loose, soft paint brush (both cheap, the type for acrylics). There are three steps to traditional kintsugi: bonding, patching, and applying the gold. I got much better results if I did the process following these three steps. Step 1: Mix the epoxy with a bit of mica powder as a colorant so you can see the seam. I didn’t sand my seams first to widen them, so they were very narrow and would be hard to see if I just used the uncolored epoxy (if you want to see a wider, flat seam, sand the broken faces first). Contrary to the included directions, spread it thinly it on the faces you’re going to join right away, while it’s still thin and easy to spread. Then let them sit 30 minutes until the epoxy becomes tacky. Fit the pieces together and hold the joins together for 2-3 minutes, then gently set them down to cure. If you do this too soon, the pieces will slip against each other and the bonding process will try your patience (and hand strength), but once the glue is tacky enough, it binds pretty quickly and doesn't have to be held tightly. It can help to use painter’s masking tape to hold the pieces in place as they dry (some of my joins shifted while drying when I didn’t do this. You can break them apart in the first couple hours, but when it's fully set, it’s set). The tape shouldn’t mess up the final product if it touches a seam, as there shouldn’t be enough epoxy to seep out, and, if there is, you can scrape it off once it hardens. Wait at least an hour for this, but you can scrape it even when it’s fully cured, as it comes off of china glazes pretty easily. If you get epoxy where you don’t want it, wipe it off using the alcohol before it hardens. Q-tips also come in handy here. Step 2: Once the entire piece is glued back together and the epoxy has cured (24 hours), mix up another batch of epoxy with the clay to patch any chips and holes. If you don’t wait until the epoxy is fully cured, you run the risk of knocking pieces off as you work. Again, I use the epoxy right away, though it needs to set up a bit for bigger holes. I used painter’s tape to plug the opposite side of the holes, and it worked well. You can smooth it with a damp finger once it’s become putty-like. I did bigger holes and chips in more than one session. Once it has dried, sand and carefully scrape the epoxy patch until you’re happy with it. I want everything to be pretty smooth, because I don’t want germs and dirt getting trapped in the cracks when I use the dishes. The epoxy is softer than the china glaze, so sanding didn’t mess up the glaze except for one piece that was textured. I had done a sloppy job on that one (one of the first pieces I worked on), so had to remove more epoxy than I otherwise would have. I’ve seen videos of people being really sloppy with their epoxies/resins at stages 1 and 2, but the overall result will be better the more careful you are. I’m also using this mixture to fix some chips that I won’t be gilding because it blends into light colors really well. It would also be good for invisible mends on light-colored dishes. Step 3: Mix the smallest batch of epoxy possible with your desired powder. Using a fine-tip paint brush, very carefully paint it over the joins and patches. The epoxy gets too tacky for this really quickly, so you’re probably going to waste some epoxy and powder. I’d like to find something that dries slower to avoid this waste (especially as I graduate to more expensive powders). Clean up any mistakes right after you finish with alcohol or the scraper. After the epoxy hardens a bit but while it's still tacky (at about an hour), go back and use the loose paint brush dipped in your powder to dust the seam (try to keep the brush from touching bare glue, but both brushes can be cleaned with alcohol). The final results will gleam better and look more metallic this way. Let it dry and wipe the extra powder off with a damp rag. I then used a silk rag to shine it, but by this point I was using a different powder, so I’m not sure if that step benefits the mica powder. Truthfully, I didn’t like any of the powder colors, so I got a metal powder, Meyspring Gilded Gold True Metallic Pigment Powder, and used it instead, same method as I just outlined. I’m very happy with that result (though recognizing my technique needs some practice). With a fine brush, you can get very fine lines, flush against the join, looking like real metal (because it is) with a rich luster. I’m going to use these dishes for food, even though this powder isn’t marked as food safe. I’m figuring any metal residue will be minimal, and, of course, I won’t microwave the dishes or use them for hot things. In short, if you’re careful, you can get pretty elegant results using just the tools and materials provided + a couple further things you probably already have lying around. With the additional true metal powder, I’m fully satisfied with the results. Read more


