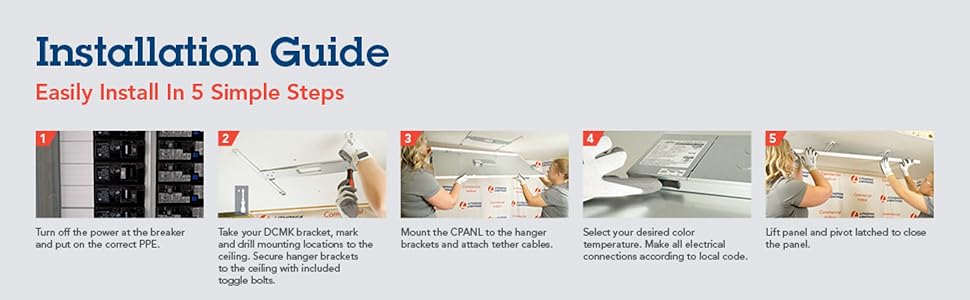
The laundry room luminaire started flickering again; great, another pair of 48" fluorescent tubes to recycle. Nope. Rather than continue the cycle I decided to replace the entire unit with this Lithonia CPANL LED luminaire. Installation was a breeze. It took a lot longer to remove the original luminaire and its ballast than to install this new one. A solid 75% of my time was spent just removing the old fixture. Thanks to the unit emerging from its packaging almost 90% assembled (thank you!) all I really needed to do was take a few measurements and hold the mount up against the ceiling to mark the spots for drilling. Drill. Thread the bolts through the mount into the toggle bolts, shove the toggles into the holes, pop through, tighten; this is all typical simple DIY electrical stuff. Then, the panel just hooks on one side of the mount, and latch-locks the other. Super-easy to "open and close" it and security tethers hold it gently in place while you're wiring it. If you want to change the color temperature, you'll need to open the latches and drop the unit to access the switch, so easy off/on is a pretty nice feature to have. This one's done well. Electricals are exactly what you'd expect, wire nuts, black to black, white to white, green/unsheathed to ground. Four metal toggle bolts hold the mount and luminaire to the ceiling. Bright and beautiful; it's roughly 50% brighter than the fluorescent unit it replaced, and at one-quarter the wattage. Oh, and it'll likely outlive me. Not that I'm planning on kicking off any time soon but at an hour a day of use this unit has a 100-year projected life span and I'm just not planning on living QUITE that long. No more tubes to specialty-recycle! Some helpful tips here. You'll need a few tools, but nothing any basic DIY'er wouldn't already own. And if you don't own them, this is your opportunity to purchase them because you'll use them for a hundred future tasks anyway, also known as "Honey, see, I need them because this guy in this review says I do." Your mileage may vary as may the impending status of your relationship; I have no experience as a therapist and as such this is not a counseling offer and I make no warranties express or implied that this sort of manipulation will produce the desired results. It may be fun to witness nonetheless. But in all seriousness: You'll need a 1/2" drill bit and some kind of power drill. Eye and basic face mask (hey, you've got all those leftover N95's right?) are appropriate; you're drilling the ceiling. Good: Medium flat blade and Philips screwdrivers. Better: flat/Philips bits for that power drill Flatnose/Lineman's Pliers. Most national codes require a pretty good twist a good bit up the insulation to hold the wires firmly before you cap them. Don't cut corners; your fingers won't work here. One note: SAVE THE STRAIN RELIEF from your original luminaire. This is that little plastic spacer that the wires go through, to protect them from being cut by...the razor-sharp metal holes the wires thread through on this unit. Despite the manual stating to use one, they DID NOT INCLUDE that strain relief part in the box. Thankfully, the 30+ year-old one from the removed unit fit perfectly so I didn't even need to source one and they seem to be fairly standard. All in all, great unit, zero installation issues, works perfectly. Read more
Mounting lights to the ceiling is usually quite difficult as you're holding the light fixture and trying to connect the wiring at the same time. This unit solves that problem! One side clips in and allows the other side to be suspended at a 45 degree angle and it holds itself in place so you can use both hands to connect the wiring. This is brilliant and sets a new standard. There are only two pieces to install, another brilliant design. I liked how easy it is to adjust the color temperature options and it fills the room with excellent lighting. I can't say enough good about this product and will be installing these in the garage next. Read more
Great light quality but what sets this flat panel apart is the superior hanging bracket design, making installation much, much easier than the many other lights I have installed over the years. For installation the panel initially attaches to ceiling bracket by 2 snap hinges on one side and 2 cables on the other. This fully supports light while one connects wiring, eliminating arm fatigue from prolonged working above your head. When wiring complete unit swings shut and closes with 2 latches that can easily be reopened if you want to change light type. Overall a well-designed fixture that works well. Read more
This was exactly what I wanted. It's bright with adjustable temperature lighting. Very easy to install and meets all of my expectations. Read more
I'm surprised how easy it is to install. The only issue is that with two installed in a row. it is quite hard to line them up perfectly, partly due to the difficulty doing them over the ceiling. I ended up improvising and using wires to hang the two side by side right next to each other; two strong metal clips lined them up perfectly by holding the two narrow sides together. The hanging option isn't clearly mentioned in the manual. Otherwise, it's a good product. The light is very bright. Read more
Our fan light broke, never used the fan so decided to get a strip light like this. Chose this one since on sale and large. It is super bright on 4K alone, the whole kitchen is lit up, love it.. hub had no issues installing it and it works perfect so far. Is dimmable but, i failed to notice that and didn't get a switch but, if you ask AI in listing 'dimmer switch' it shows you 3 of them that supposably will work with this light.. Read more
We installed three of these. There are no instructions included with the product and the QR Code simply takes you to youtube. After watching a video on the Amazon listing, any questions I had were answered. This is super simple to install once you know how to install it. The bracket is an H shape and for the poor soul that thought like I did, insert four screws into each of the four arms. My ceiling had a mix of hitting wood, insulation, and who knows what else. The product comes with toggle lock anchors which work well in some areas where there is nothing behind the ceiling. In other areas we used different things that fit. We started by marking the four places, drilling a small hole to see what was under the sheetrock, and once the bracket was installed, it was simple to hook up. There is a metal plate protecting the wires on the light fixture. Unscrew the plate and we discarded as I couldn't see where it could be used. Again no instructions. Once we got one installed, the other two went quickly and easily. We used these in a mancave and tornado room, so we weren't overly picky with the final look. You will need a level or something to assure the bracket is straight if important to you. And it will not be a tight fit against the ceiling, it is close though. Accessing the light adjustment is inside, but it is easier to access than expected. We are very pleased with these and I recommend them for areas where you need good lighting. Read more
The media could not be loaded. Very nice light, easy to work install, I replaced a small round light fixture in a hallway that barely provided enough light. I like to ability to swing the light down and switch the brightness. Read more