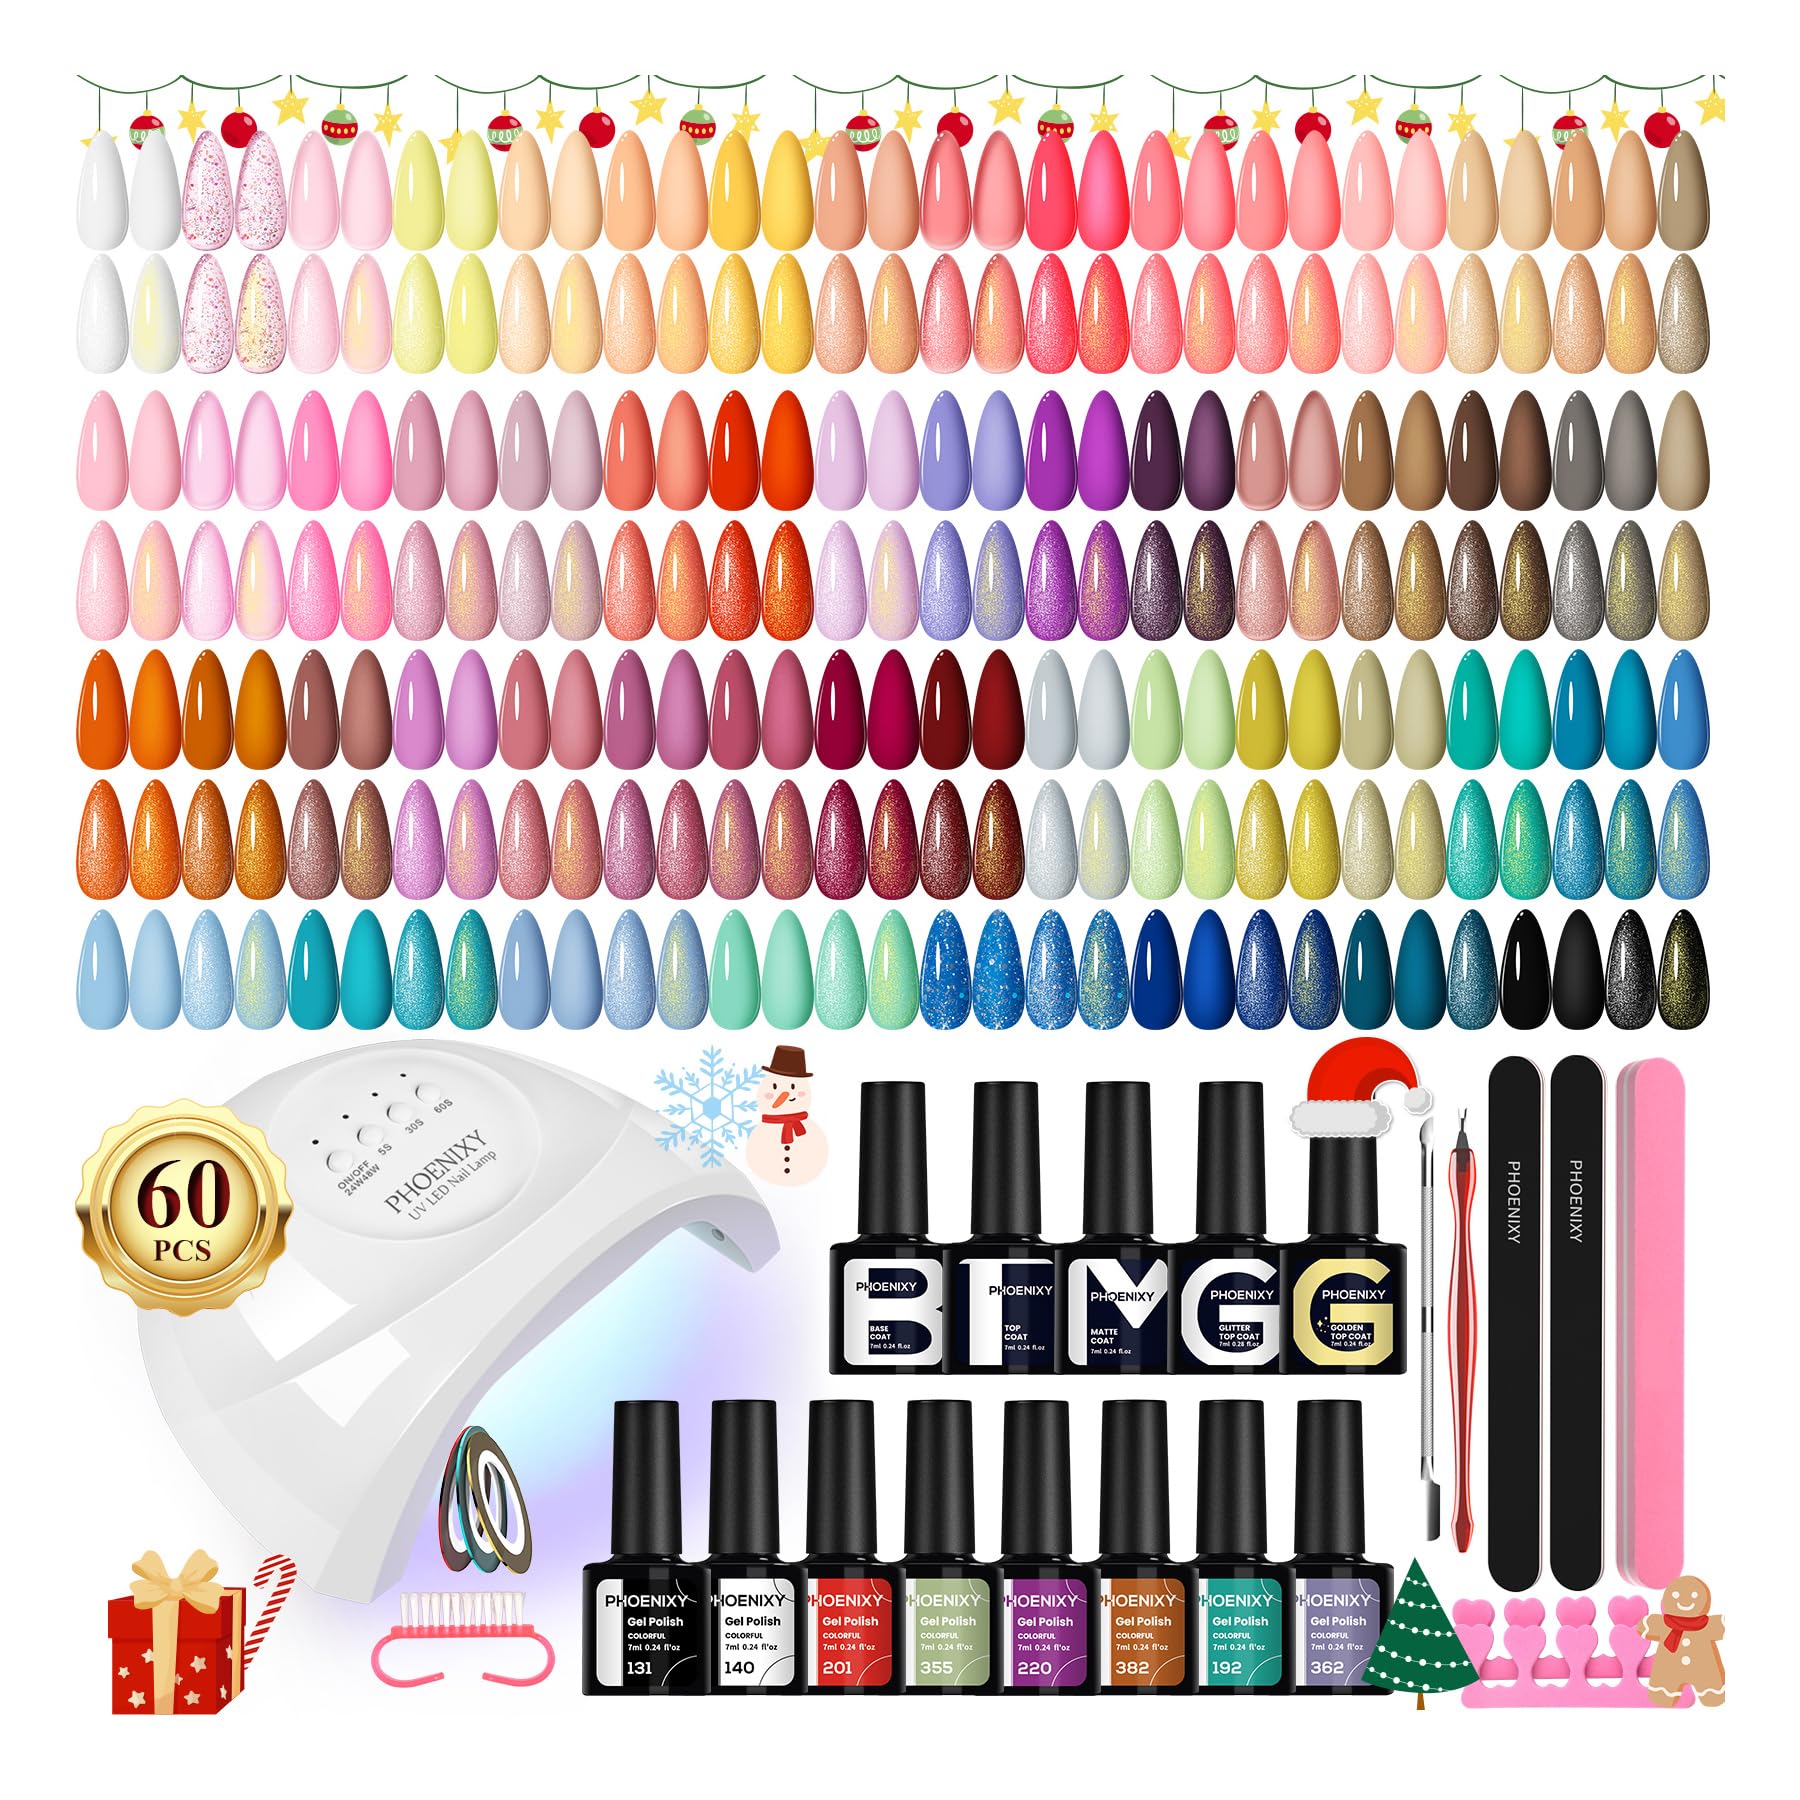
I love these Phoenixy sets. I’ve been doing my own gel polish for a very long time. This brand of polish is one of the best as far as pigmentation and self leveling. Many of the solid colors can be applied with only a single coat if you’d rather use less polish. Note that this is my third Phoenixy set and since so many of the colors are often repeated across sets, I now have several in triplicate. I highly recommend doing sample nail sticks so you can accurately see what these colors look like because the stickers on top aren’t very helpful. It’s also interesting to see how some of the stickers have changed across the sets; some became more accurate, and some far less. Like the other sets, this one includes an acceptable lamp plus a bunch of small accessories that are nice to have as backups. I do recommend you order yourself a more powerful lamp with a reflective, removable base; if you cap your tips (which I also recommend), you’ll appreciate how the reflective base will cure more efficiently. The bonus golden coat is a gold sheen with small glitter, and the glitter coat is the same but in silver, which results in two extra colors not included in the 55 in the title. A base coat, gloss top coat, and matte top coat are also included. Many of the solid colors look similar but are noticeably different when you hold everything side by side, with one exception, noted below. Some Phoenixy kits have names that help describe the color sets; this one is simply named Gel Nail Kit 1. If I were in charge of naming, I’d call it Four Seasons plus Some Mud. Black and white also seem to be included as standard with every set which is great for using with some of the jellies and glitters. There are number of bright neon solid colors and plenty of other solid colors that remind me of Easter. V346 looks like green highlighter with white added that’s a really neat color. Then there just a few winter colors including a dusty plum, which is very richly pigmented. Finally, there are a handful that fall into the camo and mud categories. Aside from doing designs, I can’t imagine I’ll ever use these colors. The maize color (V327) was the only one that didn’t self level as nicely as the others. V348 and V361 definitely are too similar and one should have been omitted. There aren’t many greens, but V339 is Crayola green. There are a couple that fall into that jelly category where one and two coats is jelly, but then it turns more opaque on the third coat, including V394 (a deep peacock with fine glitter) and V235 which is a perfect French manicure base color. However, V217 is a purple jelly that looks the same with a single coat as it does with 4 coats. V395 and V396 are more pigmented glittery jellies that remain jelly after three coats but look terrific with a solid under them. V395 is a cranberry color and V36 is more of an orangish-red. V234 and V249 are more of a sheen that grows with each coat, but I still believe both require a base color. There are also blue-green and blue glitters, none of which really stand on their own but are all beautiful. But V255 is a blue glitter with a colorless base, and it requires at least three coats to show any significant glitter. I’m not even sure it’s worth storing and keeping that one. Finally, V145 is a silver holographic glitter topper with glitter in multiple sizes, and two coats on top of just about anything looks extra fabulous, and I wish I could order just V145 by itself in a giant bottle. Read more
I think the bottles could be bigger. They're pretty small, but I did a green glitter. And I did 3 layers, I think, on some of them, I could have maybe even done a fourth layer. So we'll see how long it lasts I prepped the nail before I put the gel Polish on too. But all the products it came with are pretty nice.Like the files, the cuticle pusher, all that kind of stuff, instructions, kind of straightforward.But then again, not, you don't really know how to cure the colors.It doesn't tell you how long you should cure the colors Read more
There are 6 reasons that Phoenixy deserves my 5 stars: 1. It cures Fantastically Well. I was very surprised that the feel of the nail is drier and smoother after curing 1 minute as compared to others. It is rock hard/solid with no sticky feel. This is very unusual in that there is usually the slightest bit of sticky in most other products. 2. Whereas other types of gels lose their shine often just after a couple of days with my nursery work, this brand keeps on shining beautifully for 2 weeks so far. 3. 7mm bottles: As far as bottle size and fullness, this product matches all of the many products I have tried in that they are tiny bottles that are half full. The only difference is that some sets have 5.5mm bottles. This set has 7mm bottles which is better. 4. Almost always Just one coat is necessary for full coverage. I just used 1 coat of gel for all of my toenails here. There is just a slight line on my turquoise toe because my nail is uneven. But you can see that the gel is excellent and full of color on the applicator. However, for the first photo. I used the nude color you see in the second photo under the pretty, sparkly gels you see in the first photo. I did this because when you put one color gel under other gels a little of that color shines through and makes your nails look like they belong together. They have that common base. And it allowed me to show you another color as well. I would say that the gels with the large sparkles in them, like the purple one in the first photo, is made to go over other colors because it has less sparkles in it compared to the other gels here that have all the same size glitters. So, as you can see, the champagne colored glitter gel and pinky/orange glitter gel are intensely full of glitter and have excellent coverage in one coat. 5. I am wild about gels so I’ve tried just about everything on the market. So, of course I looked up this company. As with most other gels, they are made in China but this Phoenixy gel is known as a better brand for quality and I can see that is true. They focus all their products on the at home manicure and they are made specifically for people who are new to using gels. These gels are made to have a flexibility without chipping. And they still cure well if you put on a coat that is too heavy. 6. They include excellent prep material here. The cuticle pusher here is actually made of metal! And it works better than most others. In other sets, the cuticle pushers are made of plastic or wood. Qualities That Are As Good as Others: 1. I have been waiting to write this review because I wanted to see if the gels would really last. And they lasted as well as other brands that I have tried or longer. I do a lot of gardening and sometimes I refuse to wear gloves when transplanting so my hands are immersed in soil for several hours. NO gels EVER hold up to this treatment because the tiny bits of soil work their way up into the gels. This was after 10 days of no chipping. So, they did chip a bit just like all other gels I have used under this treatment. That said, the gels on my toes in the photos are still lasting perfectly and are so cute! 2. Lots of different colors here. If anything, this set has more colors that are fun and usable. As you can see, I especially like the glitter gels and the candy colored gels as well. But there are many great choices here so I’ll end up using just about all of them. Cons: A General Con with All sets of gels that I have bought so it’s equal to others: As with all sets like this, we want to have as much gel in each container as possible and these are half full just like all the other sets. As with all gels, prep MUST be followed in order to make the product work well. For people new to using gels, that means: 1. Filing and sanding nails. Sanding them gives the nail something to grab onto the next layer of gel - so important! 2. Use nail dehydrator or rubbing alcohol to remove oils on the nails. 3. Put on the base coat and cure it. Your nail should be sticky after this coat and All coats until the top coat is cured. The stickiness of each layer allows the gel to connect to the next layer of gel. 4. Put on the color/s coat/s and cure. 5. Put on your top coat (several options of top coats provided here) and cure. You’re done! Overall, I’m Very Happy with this set and I think that you will be too, if the prep is followed. Read more